

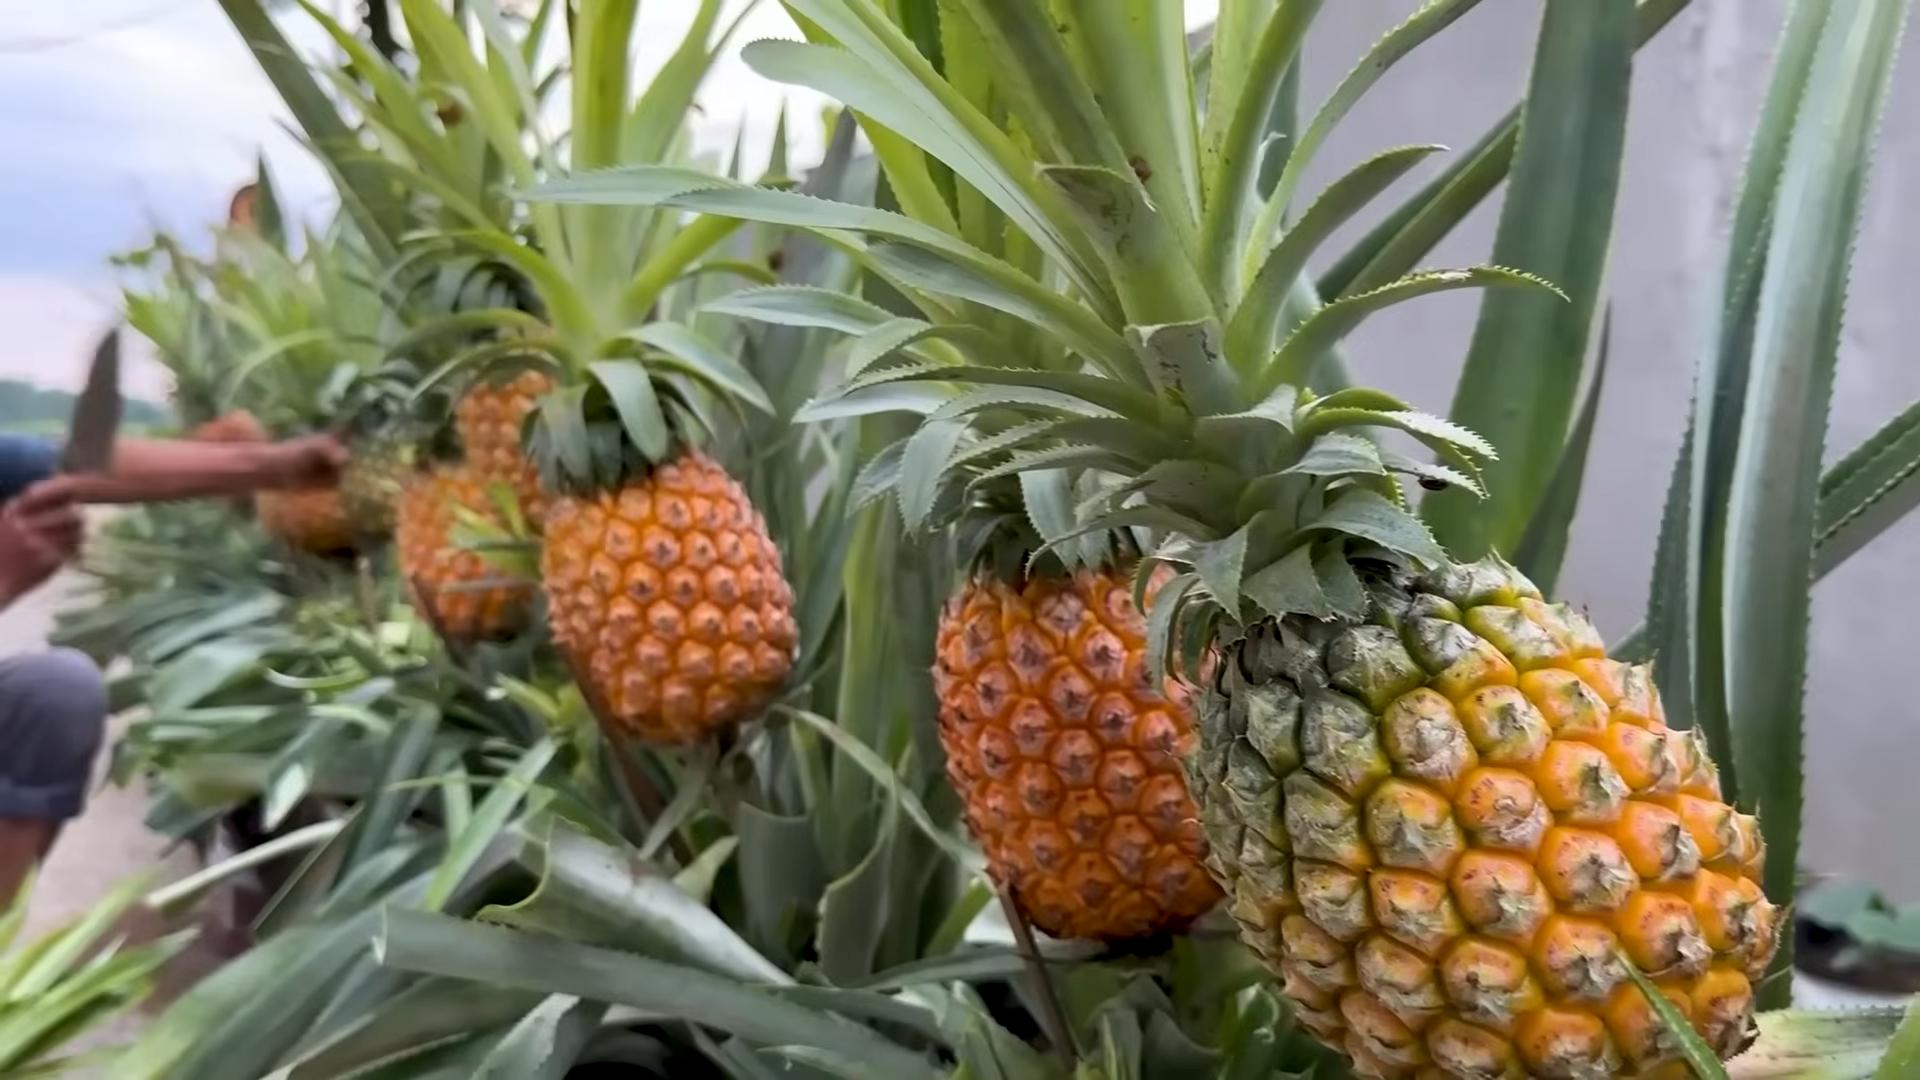
Grow Pineapples at Home? Absolutely! Imagine plucking a juicy, sun-ripened pineapple straight from your own backyard. Sounds like a tropical dream, right? Well, it’s more attainable than you might think, and I’m here to show you how with some simple DIY magic!
Pineapples, symbols of hospitality and luxury, have a fascinating history. Originating in South America, they were prized possessions, often displayed as status symbols in Europe during the 17th and 18th centuries. Now, you can bring a touch of that exotic elegance to your own home, no matter where you live.
But why bother growing your own pineapple? Beyond the sheer satisfaction of nurturing a plant from start to finish, homegrown pineapples often taste sweeter and more flavorful than store-bought ones. Plus, you’ll know exactly what went into growing it – no mystery chemicals or long-distance shipping. In today’s world, knowing where your food comes from is more important than ever. This DIY project is not only fun and rewarding, but it’s also a step towards a more sustainable and self-sufficient lifestyle. So, let’s dive into these easy-to-follow tricks and hacks to grow pineapples at home and enjoy the fruits (literally!) of your labor.
Growing Pineapples at Home: A Tropical Treat You Can DIY!
Hey there, fellow plant enthusiasts! Ever dreamt of harvesting your own juicy pineapple right from your backyard (or even your balcony)? Well, dream no more! It’s totally possible, and I’m here to guide you through the whole process. It might seem intimidating, but trust me, it’s a fun and rewarding project. Let’s get started!
Choosing Your Pineapple Top
First things first, you need a pineapple! But not just any pineapple. You’re looking for a healthy, ripe pineapple from the grocery store.
* Look for a healthy top: The leaves should be green, firm, and free from blemishes or brown spots. Avoid pineapples with dried-out or damaged tops.
* Ripe is key: Choose a pineapple that smells sweet and fragrant at the base. This indicates it’s ripe and the top is more likely to root successfully.
* Organic is best (optional): While not essential, an organic pineapple is less likely to have been treated with growth inhibitors, which can hinder rooting.
Preparing the Pineapple Top
This is where the magic begins! We need to carefully separate the top from the fruit and prepare it for rooting.
1. Twist and Pull (or Cut): The easiest method is to firmly grasp the leaves of the pineapple top and twist it off the fruit. If it doesn’t come off easily, use a sharp knife to carefully cut the top off, leaving about an inch of fruit attached.
2. Remove Excess Fruit: If you cut the top off, carefully remove any remaining fruit flesh from the base. This is crucial because the fruit will rot and attract unwanted pests, potentially ruining your chances of success. Use a sharp knife to trim it away, being careful not to damage the base of the leaves.
3. Peel Back the Lower Leaves: Gently peel back the bottom few layers of leaves from the base of the pineapple top. This will expose the root buds, which are the little brown bumps that will eventually turn into roots. Exposing these buds is essential for successful rooting. Peel back about 1-2 inches of leaves.
4. Let it Dry (Callousing): This is a super important step! Place the prepared pineapple top in a cool, dry place for 3-7 days to allow the cut end to callous over. This helps prevent rot when you plant it. You can stand it upright in a glass or lay it on its side on a paper towel. I usually wait about a week just to be safe.
Rooting Your Pineapple Top
Now that your pineapple top is prepped and calloused, it’s time to encourage those roots to grow! You have two main options here: rooting in water or rooting directly in soil. I’ve had success with both, but I personally prefer rooting in water because you can see the roots developing.
Rooting in Water (My Preferred Method)
1. Choose a Container: Select a clear glass or jar that’s wide enough to support the pineapple top and deep enough to hold a few inches of water.
2. Add Water: Fill the container with clean, room-temperature water. Avoid using tap water that’s heavily chlorinated; let it sit out for 24 hours to allow the chlorine to dissipate, or use filtered water.
3. Submerge the Base: Place the pineapple top in the water, ensuring that only the base (where you peeled back the leaves) is submerged. The leaves should remain above the water line to prevent them from rotting. You can use toothpicks inserted around the base to help suspend the top if needed.
4. Find a Sunny Spot: Place the container in a warm, bright location with indirect sunlight. Avoid direct sunlight, which can scorch the leaves.
5. Change the Water Regularly: Change the water every 2-3 days to keep it fresh and prevent the growth of algae or bacteria.
6. Be Patient: Root development can take several weeks, so don’t get discouraged if you don’t see roots right away. Just keep changing the water and providing it with plenty of indirect light. You should start to see small roots emerging from the base within 2-8 weeks.
7. Wait for Substantial Roots: Allow the roots to grow to at least 2-3 inches long before transplanting to soil. This ensures that the plant has a good foundation for growth.
Rooting Directly in Soil
1. Choose a Pot and Soil: Select a well-draining pot that’s at least 6 inches in diameter. Use a well-draining potting mix, such as a cactus or succulent mix, or a blend of potting soil, perlite, and sand.
2. Plant the Top: Make a hole in the center of the potting mix and carefully plant the pineapple top, burying the base (where you peeled back the leaves) about 1-2 inches deep.
3. Water Lightly: Water the soil lightly, just enough to moisten it. Avoid overwatering, which can lead to rot.
4. Provide Support (Optional): You can use small stakes or skewers to support the pineapple top until it develops roots.
5. Find a Sunny Spot: Place the pot in a warm, bright location with indirect sunlight.
6. Keep the Soil Moist (But Not Soggy): Keep the soil consistently moist, but not soggy. Water when the top inch of soil feels dry to the touch.
7. Be Patient: Root development can take several weeks, so be patient. You can gently tug on the pineapple top after a few weeks to see if it has rooted. If it resists, it means roots are starting to form.
Planting Your Rooted Pineapple Top
Once your pineapple top has developed a good root system (either in water or directly in soil), it’s time to transplant it to a larger pot where it can grow and thrive.
1. Choose a Larger Pot: Select a pot that’s at least 10-12 inches in diameter. Pineapples need room for their roots to grow.
2. Prepare the Potting Mix: Use a well-draining potting mix, similar to what you used for rooting. A mix of potting soil, perlite, and sand works well. You can also add some compost for extra nutrients.
3. Transplant Carefully: Gently remove the pineapple top from its rooting container (or the smaller pot if you rooted directly in soil). Be careful not to damage the roots.
4. Plant at the Same Depth: Plant the pineapple top in the larger pot at the same depth it was previously growing. The base of the leaves should be just above the soil line.
5. Water Thoroughly: Water the soil thoroughly after transplanting, allowing the excess water to drain out of the bottom of the pot.
6. Mulch (Optional): You can add a layer of mulch around the base of the plant to help retain moisture and suppress weeds.
Caring for Your Pineapple Plant
Now that your pineapple plant is happily potted, it’s time to provide it with the care it needs to grow and eventually produce fruit.
* Sunlight: Pineapples need plenty of sunlight, at least 6-8 hours per day. Place your plant in a sunny location, such as a south-facing window or a sunny balcony. If you don’t have enough natural light, you can supplement with a grow light.
* Watering: Water your pineapple plant regularly, allowing the soil to dry out slightly between waterings. Avoid overwatering, which can lead to root rot. During the growing season (spring and summer), you may need to water more frequently than during the dormant season (fall and winter).
* Fertilizing: Feed your pineapple plant with a balanced fertilizer every 2-3 months during the growing season. Look for a fertilizer that’s specifically formulated for tropical plants, or use a general-purpose fertilizer diluted to half strength.
* Temperature: Pineapples thrive in warm temperatures, ideally between 65°F and 85°F (18°C and 29°C). Protect your plant from frost and cold drafts.
* Humidity: Pineapples prefer high humidity. If you live in a dry climate, you can increase the humidity around your plant by misting it regularly, placing it on a pebble tray filled with water, or using a humidifier.
* Pest Control: Keep an eye out for pests, such as mealybugs and scale. If you notice any pests, treat them with insecticidal soap or neem oil.
* Repotting: Repot your pineapple plant every 1-2 years as it grows. Choose a pot that’s slightly larger than the previous one.
Encouraging Fruiting
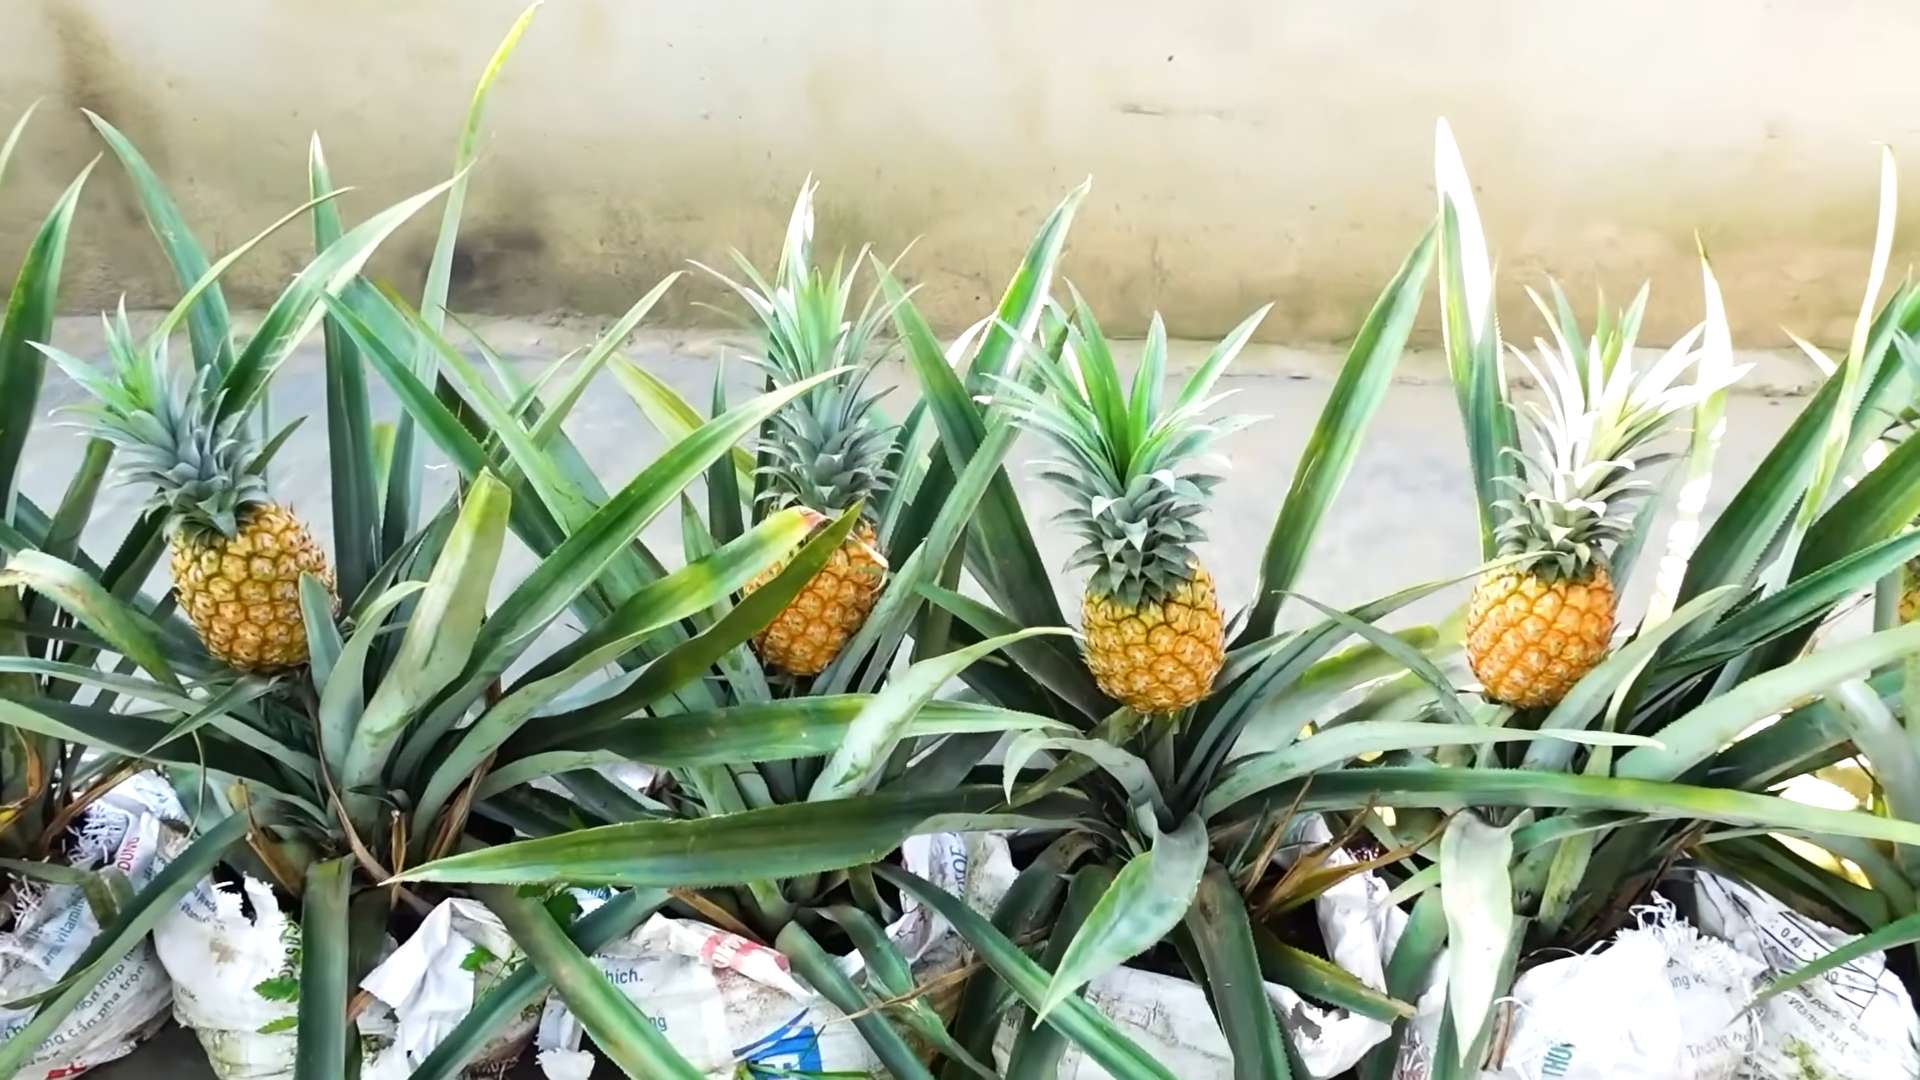
This is the part everyone’s waiting for! Getting your pineapple plant to actually produce a pineapple can take some time and patience. It typically takes 2-3 years for a pineapple plant grown from a top to fruit.
* Maturity: Ensure your plant is mature enough.
Conclusion
So, there you have it! Growing pineapples at home, while it may seem like a tropical dream, is entirely achievable with a little patience and the right approach. This DIY trick isn’t just about saving money; it’s about connecting with nature, understanding the life cycle of a plant, and experiencing the immense satisfaction of harvesting your own delicious, homegrown fruit. Forget those bland, store-bought pineapples that have traveled thousands of miles – imagine sinking your teeth into a juicy, sun-ripened pineapple that you nurtured from start to finish. The difference in flavor is truly remarkable.
But why is this DIY method a must-try? Firstly, it’s incredibly rewarding. Watching a pineapple top transform into a thriving plant is a fascinating process, and the anticipation of that first fruit is exhilarating. Secondly, it’s a sustainable practice. You’re essentially recycling a part of the pineapple that would otherwise be discarded, reducing waste and contributing to a more eco-friendly lifestyle. Thirdly, it’s a conversation starter! Imagine the looks of amazement on your friends’ faces when you tell them you grow your own pineapples.
Don’t be afraid to experiment with variations! Try different types of pineapples to see which ones thrive best in your climate. Consider using different potting mixes to optimize drainage and nutrient availability. You can even try growing your pineapple in a container indoors if you live in a colder region, providing it with ample sunlight using a grow light. Another fun variation is to try propagating multiple pineapple tops at once, creating your own mini-pineapple plantation!
Remember, patience is key. It can take several months, even years, for your pineapple plant to produce fruit. But the wait is well worth it. The moment you harvest that golden, fragrant pineapple, you’ll know that all your hard work has paid off.
We wholeheartedly encourage you to try this DIY trick for growing pineapples at home. It’s a fun, educational, and ultimately delicious experience. And most importantly, don’t forget to share your journey with us! Post pictures of your pineapple plants, share your tips and tricks, and let us know how your homegrown pineapples taste. We’re eager to hear about your successes and learn from your experiences. Let’s create a community of home pineapple growers and spread the joy of this amazing fruit! This method of growing **pineapples at home** is a game changer.
Frequently Asked Questions (FAQ)
How long does it actually take to grow a pineapple from a top?
The timeframe for growing a pineapple from a top can vary significantly depending on several factors, including climate, sunlight exposure, soil quality, and the specific variety of pineapple. Generally, it takes anywhere from 2 to 3 years for a pineapple plant grown from a top to produce its first fruit. The initial rooting phase can take several weeks to a few months. After that, the plant needs to establish itself and grow to a mature size before it’s ready to flower and fruit. Be patient and provide consistent care, and you’ll eventually be rewarded with a delicious homegrown pineapple.
What kind of soil is best for growing pineapples?
Pineapples thrive in well-draining, slightly acidic soil. A sandy loam soil is ideal, as it provides good drainage and aeration, preventing root rot. You can create a suitable potting mix by combining equal parts of potting soil, perlite, and coarse sand. Avoid heavy clay soils, as they retain too much moisture and can lead to root problems. Adding organic matter, such as compost or well-rotted manure, can improve soil fertility and drainage. The ideal pH range for pineapple soil is between 5.5 and 6.5.
How much sunlight do pineapples need?
Pineapples require at least six hours of direct sunlight per day to thrive. They are tropical plants that need plenty of light to photosynthesize and produce energy for growth and fruit development. If you’re growing your pineapple indoors, place it near a sunny window or supplement with a grow light. Insufficient sunlight can result in slow growth, weak stems, and reduced fruit production.
How often should I water my pineapple plant?
Water your pineapple plant regularly, but avoid overwatering. Allow the soil to dry out slightly between waterings. During the growing season (spring and summer), water more frequently than during the dormant season (fall and winter). The frequency of watering will also depend on the climate and the type of soil you’re using. In hot, dry weather, you may need to water more often. Always check the soil moisture before watering to prevent root rot. A good rule of thumb is to water thoroughly until water drains out of the bottom of the pot.
How do I know when my pineapple is ripe?
Determining when a pineapple is ripe can be tricky, but there are several indicators to look for. First, the pineapple should have a vibrant golden-yellow color, especially near the base. The fruit should also have a fragrant aroma. Gently tug on one of the leaves near the top of the pineapple. If it comes off easily, it’s a good sign that the pineapple is ripe. The pineapple should also feel slightly soft to the touch, but not mushy. Finally, the eyes (the individual segments of the pineapple) should be relatively flat and well-developed.
Can I grow a pineapple indoors?
Yes, you can grow a pineapple indoors, especially if you live in a colder climate. Choose a large pot with good drainage and use a well-draining potting mix. Place the pot in a sunny location, such as near a south-facing window. Supplement with a grow light if necessary. Maintain a warm temperature and provide adequate humidity. Water regularly, but avoid overwatering. Be aware that indoor-grown pineapples may take longer to fruit than those grown outdoors.
What are some common problems when growing pineapples and how do I fix them?
Some common problems when growing pineapples include root rot, mealybugs, and nutrient deficiencies. Root rot is caused by overwatering and poor drainage. To prevent root rot, use a well-draining potting mix and avoid overwatering. Mealybugs are small, white, cottony insects that can suck the sap from pineapple plants. To control mealybugs, you can spray the plant with insecticidal soap or neem oil. Nutrient deficiencies can cause yellowing leaves and stunted growth. To correct nutrient deficiencies, fertilize your pineapple plant with a balanced fertilizer according to the package directions.
Do I need to fertilize my pineapple plant?
Yes, fertilizing your pineapple plant is important for healthy growth and fruit production. Use a balanced fertilizer with a ratio of 10-10-10 or 14-14-14. Fertilize every two to three months during the growing season (spring and summer). Reduce fertilization during the dormant season (fall and winter). Follow the package directions carefully to avoid over-fertilizing, which can damage the plant. You can also use organic fertilizers, such as compost tea or fish emulsion.
What do I do with the pineapple plant after I harvest the fruit?
After you harvest the pineapple, the mother plant will eventually die. However, it will often produce “pups” or “suckers” at the base of the plant. These pups can be removed and planted to grow new pineapple plants. Simply cut the pups off the mother plant and allow them to callous over for a few days before planting them in a well-draining potting mix. You can also try to propagate the crown of the pineapple that grew on top of the fruit.
Is growing pineapples at home worth the effort?
Absolutely! While it requires patience and care, growing **pineapples at home** is a rewarding experience. The taste of a homegrown pineapple is far superior to store-bought varieties, and the satisfaction of harvesting your own fruit is unmatched. It’s also a sustainable and educational activity that can connect you with nature and teach you about the life cycle of plants.

Leave a Comment