

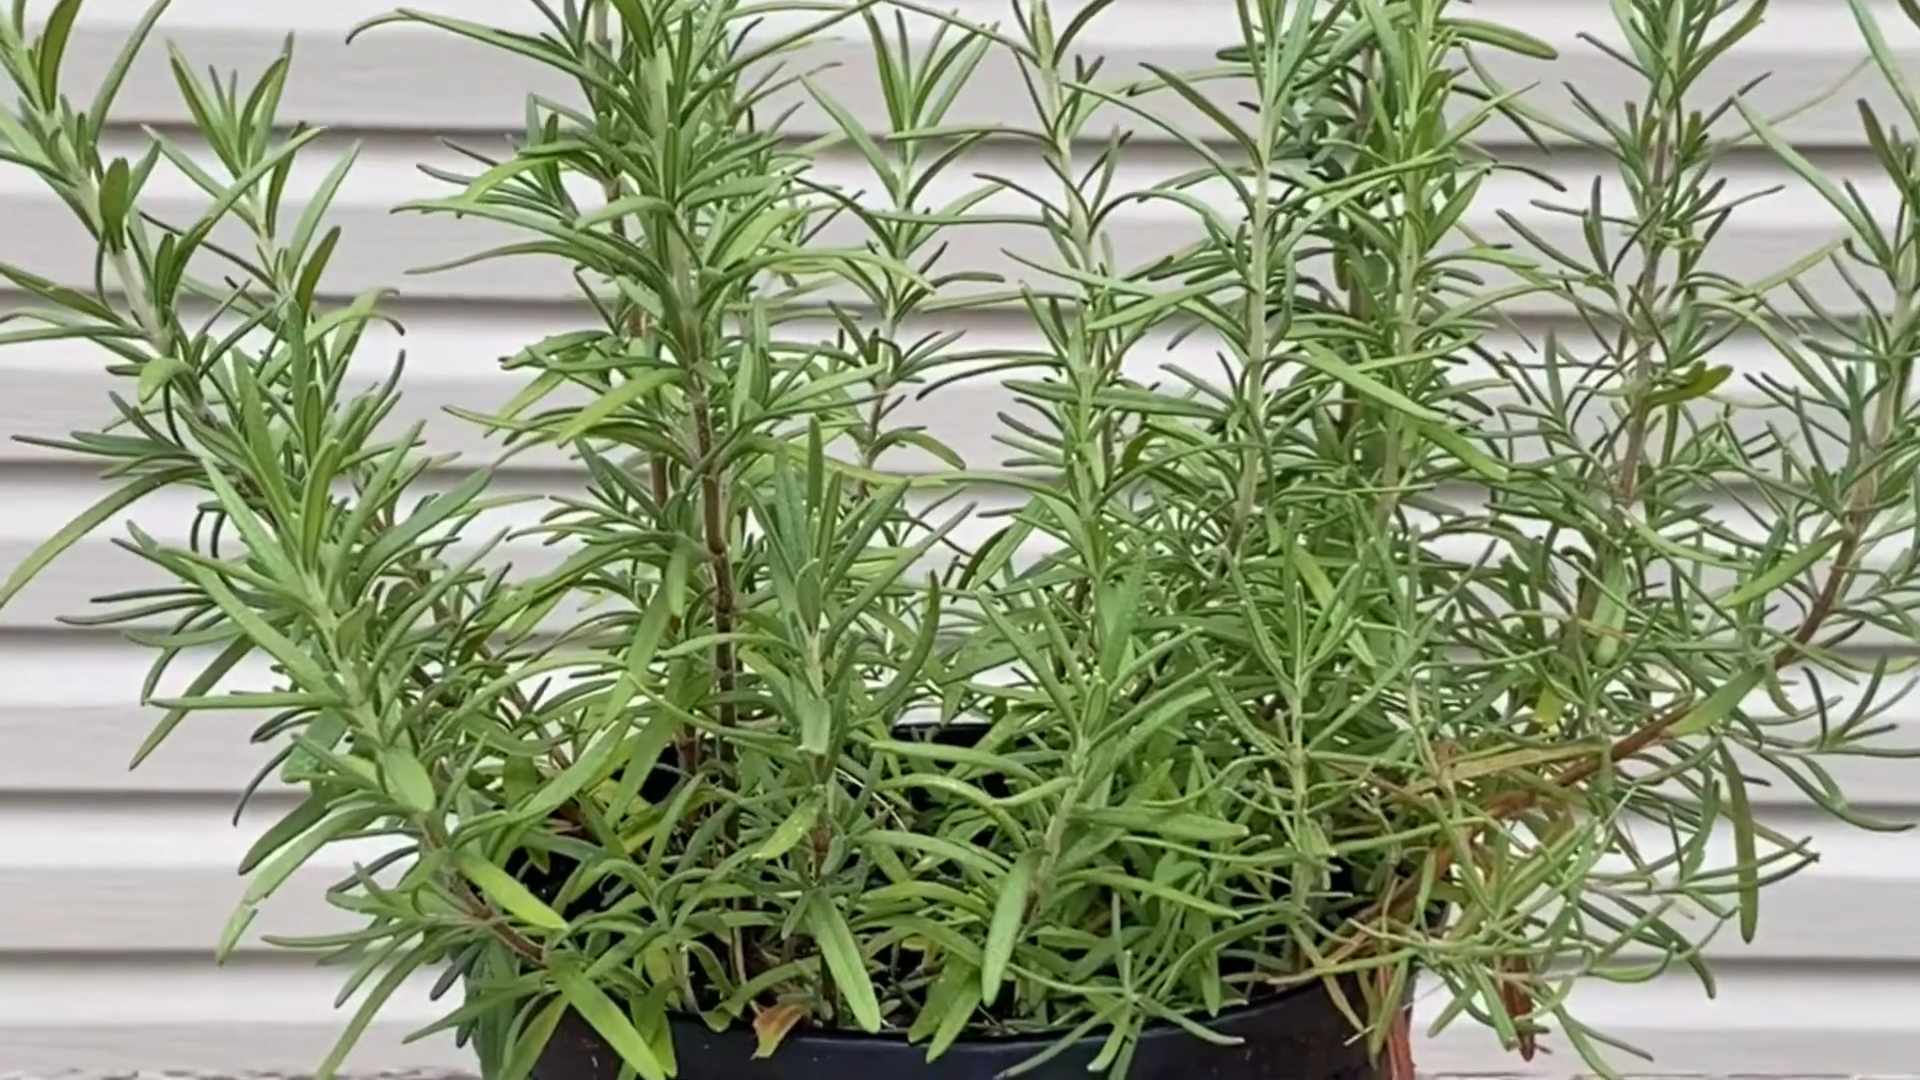
Grow Rosemary Indoors in Pot – ever dreamed of having a fragrant, thriving herb garden right inside your home, even if you don’t have a sprawling backyard? I know I have! There’s something incredibly satisfying about snipping fresh herbs for your meals, knowing you nurtured them from tiny seedlings. But let’s be honest, sometimes the idea of indoor gardening feels a bit daunting, especially when it comes to Mediterranean herbs like rosemary.
Rosemary, with its woody aroma and needle-like leaves, has been cherished for centuries. From ancient Greece, where it was believed to boost memory, to its culinary uses across the globe, rosemary holds a special place in our hearts and kitchens. But bringing this sun-loving herb indoors can seem tricky. That’s where this DIY guide comes in!
Many people struggle to grow rosemary indoors in pot because they don’t know the specific needs of this herb. They might not provide enough sunlight, use the wrong type of soil, or overwater it. This often leads to disappointment and a withered rosemary plant. But fear not! I’m here to share my tried-and-true tips and tricks to help you successfully grow rosemary indoors in pot. With a little know-how, you can enjoy the fresh, invigorating scent and flavor of homegrown rosemary all year round. Let’s get started and transform your windowsill into a mini Mediterranean paradise!
Growing Rosemary Indoors: A Comprehensive DIY Guide
Hey there, fellow plant enthusiasts! I’m so excited to share my secrets for successfully growing rosemary indoors. Rosemary is such a versatile herb – perfect for cooking, aromatherapy, and even just adding a touch of fragrant greenery to your home. While it’s often thought of as an outdoor plant, with the right care, you can absolutely thrive indoors. Let’s dive in!
Choosing the Right Rosemary Variety
Not all rosemary varieties are created equal, especially when it comes to indoor growing. Some grow much larger and bushier than others, which can be a challenge in a limited space. Here are a few of my favorite rosemary varieties that tend to do well indoors:
* ‘Blue Boy’: This is a compact variety with beautiful blue flowers. It’s known for its strong fragrance and relatively slow growth, making it ideal for containers.
* ‘Roman Beauty’: Another compact option, ‘Roman Beauty’ has a slightly weeping habit, which adds a lovely visual element. It’s also quite fragrant and easy to care for.
* ‘Arp’: This variety is known for its cold hardiness, but it also adapts well to indoor conditions. It has a slightly more upright growth habit than the other two, but it’s still manageable in a pot.
Essential Supplies You’ll Need
Before we get started, let’s gather all the necessary supplies. Having everything on hand will make the process much smoother.
* Rosemary Plant: You can purchase a small rosemary plant from a local nursery or garden center. Make sure it looks healthy and vibrant, with no signs of pests or disease.
* Pot: Choose a pot that’s at least 6 inches in diameter and has drainage holes. Rosemary doesn’t like to sit in soggy soil, so drainage is crucial. Terracotta pots are a great option because they allow the soil to breathe.
* Potting Mix: Use a well-draining potting mix specifically formulated for herbs or Mediterranean plants. Avoid using garden soil, as it can be too heavy and retain too much moisture. I personally like a mix of potting soil, perlite, and a little bit of sand.
* Grow Light (Optional): If you don’t have a sunny window, a grow light can provide the necessary light for your rosemary plant to thrive.
* Watering Can: A watering can with a long spout will help you water your rosemary plant evenly without splashing the leaves.
* Pruning Shears: You’ll need pruning shears to trim your rosemary plant and harvest sprigs for cooking.
* Fertilizer: A balanced liquid fertilizer will provide your rosemary plant with the nutrients it needs to grow.
* Spray Bottle: A spray bottle filled with water will help you increase humidity around your rosemary plant, especially during dry winter months.
Step-by-Step Planting Guide
Now for the fun part – planting your rosemary! Follow these steps carefully to ensure a successful start.
1. Prepare the Pot: Start by placing a layer of gravel or pebbles at the bottom of the pot to improve drainage. This will prevent the roots from sitting in water.
2. Add Potting Mix: Fill the pot about two-thirds full with your well-draining potting mix.
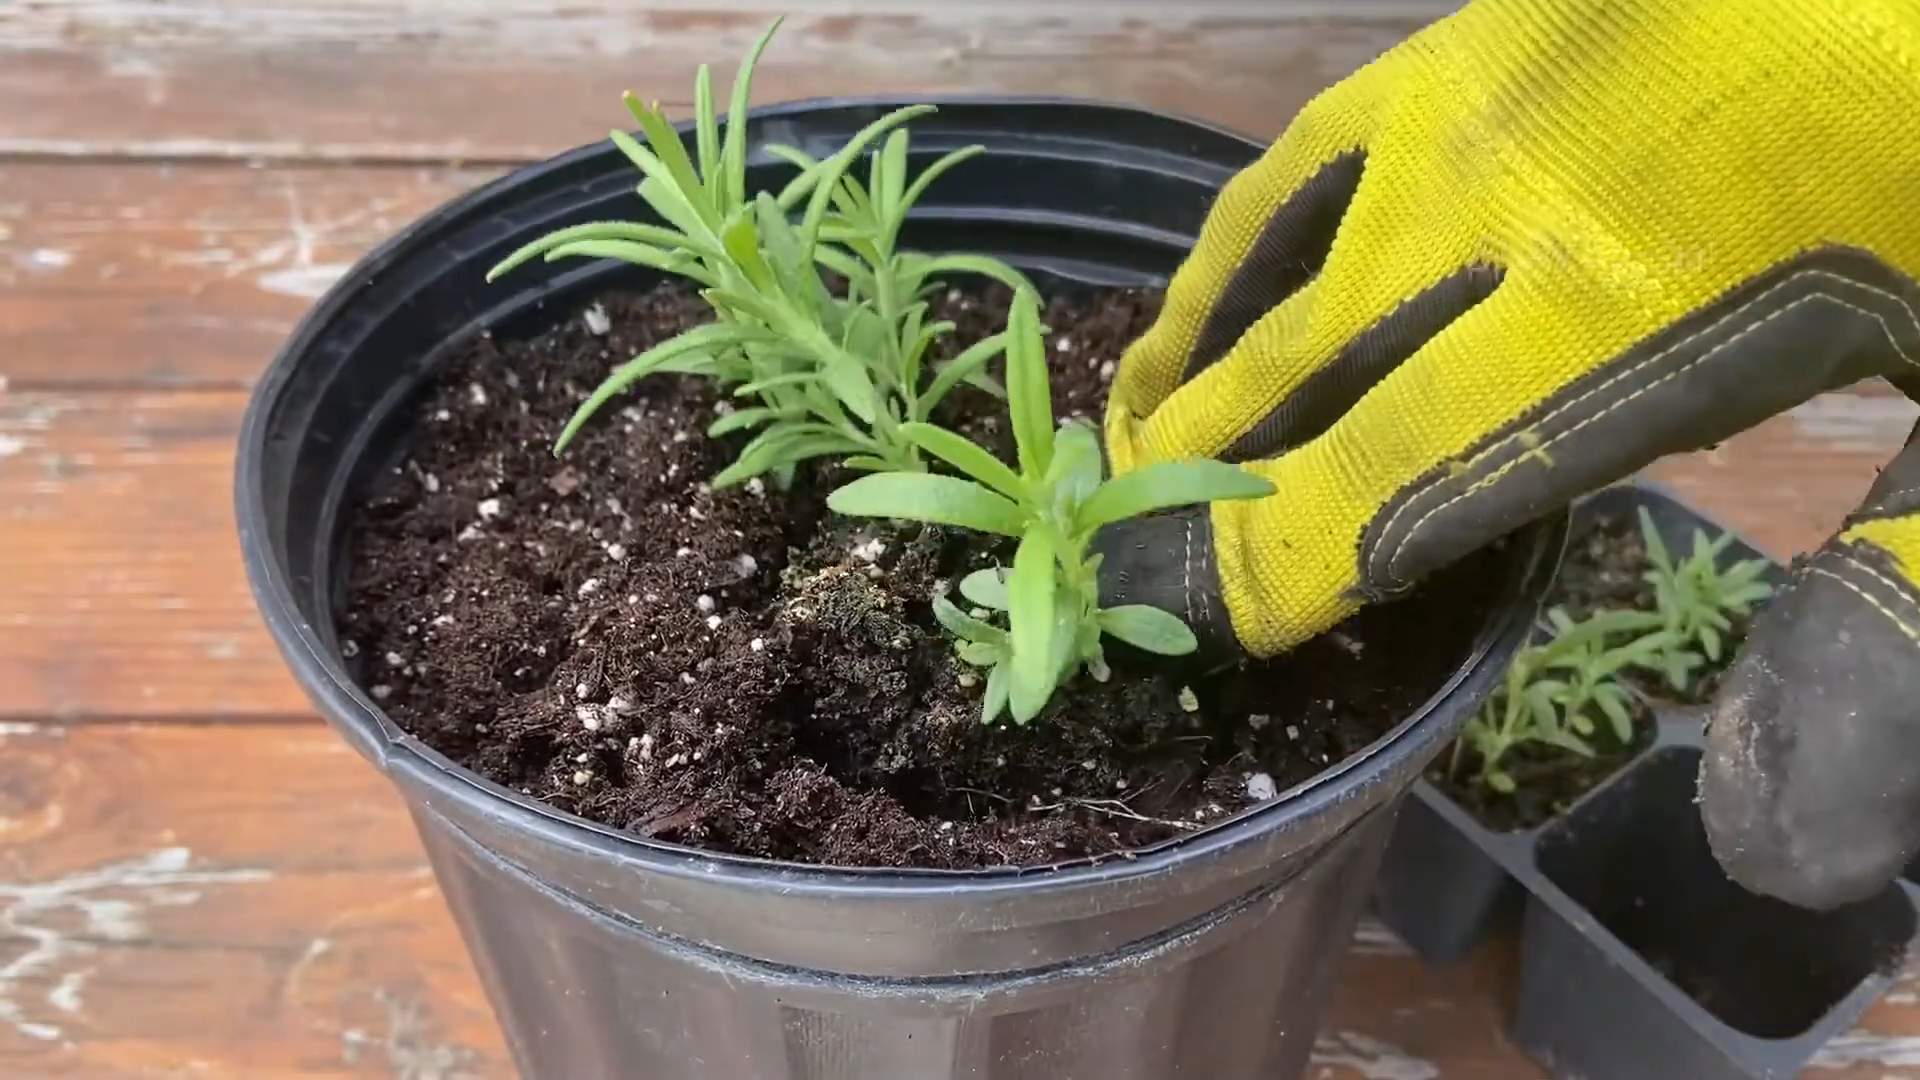
3. Remove Rosemary from Nursery Pot: Gently remove the rosemary plant from its nursery pot. Loosen the roots slightly with your fingers to encourage them to spread out.
4. Plant the Rosemary: Place the rosemary plant in the center of the pot, making sure the top of the root ball is level with the soil surface.
5. Fill with Soil: Fill in the remaining space around the rosemary plant with potting mix, gently pressing down to secure it in place.
6. Water Thoroughly: Water the rosemary plant thoroughly until water drains out of the drainage holes. This will help settle the soil and hydrate the roots.
7. Place in Sunny Location: Place the pot in a sunny location that receives at least 6 hours of direct sunlight per day. A south-facing window is ideal. If you don’t have enough natural light, use a grow light.
Caring for Your Indoor Rosemary Plant
Once your rosemary is planted, it’s important to provide the right care to keep it healthy and thriving. Here’s what you need to know:
1. Watering: Rosemary prefers to dry out slightly between waterings. Water thoroughly when the top inch of soil feels dry to the touch. Avoid overwatering, as this can lead to root rot. During the winter months, you’ll likely need to water less frequently.
2. Light: Rosemary needs plenty of sunlight to thrive. If you don’t have a sunny window, supplement with a grow light. Place the grow light about 6-12 inches above the plant.
3. Humidity: Rosemary prefers relatively low humidity. However, during dry winter months, you may need to increase humidity around the plant. You can do this by misting the leaves with water, placing a tray of water near the plant, or using a humidifier.
4. Fertilizing: Fertilize your rosemary plant every 2-4 weeks during the growing season (spring and summer) with a balanced liquid fertilizer. Follow the instructions on the fertilizer label.
5. Pruning: Prune your rosemary plant regularly to encourage bushier growth and prevent it from becoming leggy. Trim the tips of the stems with pruning shears. You can also harvest sprigs for cooking at any time.
6. Repotting: Repot your rosemary plant every 1-2 years, or when it becomes root-bound. Choose a pot that’s slightly larger than the previous one.
7. Pest Control: Keep an eye out for pests such as spider mites, aphids, and whiteflies. If you notice any pests, treat them with insecticidal soap or neem oil.
Troubleshooting Common Rosemary Problems
Even with the best care, you may encounter some problems with your indoor rosemary plant. Here are a few common issues and how to address them:
* Yellowing Leaves: Yellowing leaves can be a sign of overwatering, underwatering, or nutrient deficiency. Check the soil moisture and adjust your watering accordingly. If the soil is dry, water thoroughly. If the soil is soggy, allow it to dry out before watering again. You may also need to fertilize your plant.
* Brown Leaves: Brown leaves can be a sign of underwatering, low humidity, or sunburn. Check the soil moisture and adjust your watering accordingly. Increase humidity around the plant by misting the leaves or placing a tray of water nearby. If the plant is getting too much direct sunlight, move it to a slightly shadier location.
* Leggy Growth: Leggy growth is a sign that your rosemary plant isn’t getting enough light. Move it to a sunnier location or supplement with a grow light. Prune the plant to encourage bushier growth.
* Root Rot: Root rot is a fungal disease that can occur when rosemary plants are overwatered. The roots will turn brown and mushy. To prevent root rot, make sure your pot has drainage holes and avoid overwatering. If your plant has root rot, you may need to repot it with fresh potting mix and trim away any affected roots.
Harvesting Your Rosemary
One of the best things about growing rosemary is being able to harvest fresh sprigs for cooking! Here’s how to do it:
1. Choose Sprigs: Select healthy, vibrant sprigs that are at least 4 inches long.
2. Cut Sprigs: Use pruning shears to cut the sprigs from the plant. Make the cuts just above a leaf node (the point where leaves grow from the stem).
3. Use Fresh or Dry: You can use the rosemary sprigs fresh or dry them for later use. To dry rosemary, tie the sprigs together and hang them upside down in a cool, dry place. Once they’re completely dry, you can store them in an airtight container.
Enjoying Your Indoor Rosemary
Growing rosemary indoors can be a rewarding experience. Not only will you have fresh herbs for cooking, but you’ll also enjoy the fragrant aroma and the beauty of this versatile plant. With a little care and attention, your indoor rosemary plant can thrive for years to come. I hope this guide has been helpful! Happy growing!
Conclusion
So, there you have it! Mastering the art of growing rosemary indoors in a pot is not only achievable, but it’s also incredibly rewarding. Imagine having fresh, fragrant rosemary readily available to elevate your culinary creations, infuse your home with its invigorating scent, and even use for homemade beauty remedies. Forget those sad, wilted sprigs from the grocery store – with a little care and attention, you can cultivate a thriving rosemary plant right on your windowsill.
This DIY trick is a must-try for several compelling reasons. First and foremost, it empowers you to control the quality and freshness of your rosemary. You know exactly where it comes from and how it’s been grown, ensuring it’s free from harmful pesticides and packed with flavor. Secondly, it’s a sustainable and cost-effective solution. Instead of constantly buying rosemary, you’ll have a continuous supply at your fingertips. Finally, it’s a therapeutic and enjoyable hobby. Nurturing a plant and watching it flourish is incredibly satisfying, and the aroma of rosemary is known to have calming and mood-boosting effects.
Don’t be afraid to experiment with different varieties of rosemary. Some are more upright, while others have a trailing habit, making them perfect for hanging baskets. Consider trying ‘Blue Boy’ for its compact size and intense flavor, or ‘Golden Rain’ for its variegated foliage. You can also play around with different pot sizes and materials. Terracotta pots are excellent for drainage, while glazed ceramic pots retain moisture better. Just remember to always choose a pot with drainage holes to prevent root rot.
Beyond culinary uses, your indoor rosemary plant can be used in a variety of ways. Infuse olive oil with rosemary for a flavorful dipping sauce, add sprigs to your bath for a relaxing aromatherapy experience, or even use it to create homemade cleaning products. The possibilities are endless!
We wholeheartedly encourage you to embark on this green-thumb adventure and try growing rosemary indoors in a pot. It’s a simple yet transformative experience that will enhance your cooking, your home, and your well-being. Once you’ve successfully cultivated your own rosemary plant, we’d love to hear about your experience! Share your tips, tricks, and photos in the comments below. Let’s create a community of indoor rosemary enthusiasts! What are you waiting for? Get planting!
Frequently Asked Questions (FAQs)
1. What is the best type of rosemary to grow indoors?
While most rosemary varieties can be grown indoors, some are better suited than others. Compact varieties like ‘Blue Boy’ and ‘Dwarf Rosemary’ are excellent choices because they don’t require as much space. Trailing varieties like ‘Prostratus’ can also be grown indoors, especially in hanging baskets. Ultimately, the best type depends on your personal preference and the space you have available. Consider the mature size of the plant and choose a variety that will thrive in your indoor environment.
2. What kind of pot and soil should I use for growing rosemary indoors?
Choose a pot that is at least 6 inches in diameter and has drainage holes to prevent waterlogging. Terracotta pots are a good option because they allow the soil to breathe. As for soil, rosemary prefers well-draining soil that is slightly acidic to neutral. A mixture of potting soil, perlite, and sand is ideal. Avoid using heavy garden soil, as it can retain too much moisture and lead to root rot. You can also purchase a potting mix specifically formulated for herbs.
3. How much sunlight does indoor rosemary need?
Rosemary needs at least 6-8 hours of direct sunlight per day to thrive. Place your rosemary plant near a south-facing window where it can receive ample sunlight. If you don’t have a sunny window, you can supplement with a grow light. Rotate the plant regularly to ensure that all sides receive equal sunlight. Insufficient sunlight can lead to leggy growth and reduced flavor.
4. How often should I water my indoor rosemary plant?
Water your rosemary plant when the top inch of soil feels dry to the touch. Avoid overwatering, as this can lead to root rot. When you water, water thoroughly until water drains out of the drainage holes. Allow the soil to dry out slightly between waterings. During the winter months, when the plant is not actively growing, you may need to water less frequently.
5. What is the ideal temperature and humidity for growing rosemary indoors?
Rosemary prefers temperatures between 60-70°F (15-21°C). Avoid placing your plant near drafts or heat sources. Rosemary also prefers low to moderate humidity. If the air in your home is very dry, you can increase humidity by placing a tray of water near the plant or using a humidifier.
6. How often should I fertilize my indoor rosemary plant?
Fertilize your rosemary plant every 2-3 months during the growing season (spring and summer) with a balanced liquid fertilizer diluted to half strength. Avoid fertilizing during the winter months when the plant is dormant. Over-fertilizing can lead to leggy growth and reduced flavor.
7. How do I prune my indoor rosemary plant?
Prune your rosemary plant regularly to encourage bushier growth and prevent it from becoming leggy. Prune after flowering, removing any dead or damaged stems. You can also pinch back the tips of the stems to encourage branching. Use clean, sharp pruning shears to avoid damaging the plant.
8. How do I harvest rosemary from my indoor plant?
Harvest rosemary sprigs as needed throughout the growing season. Simply snip off the stems with clean, sharp scissors or pruning shears. Avoid removing more than one-third of the plant at a time. The best time to harvest rosemary is in the morning, after the dew has dried.
9. What are some common problems with growing rosemary indoors and how can I fix them?
Some common problems with growing rosemary indoors include root rot, spider mites, and powdery mildew. Root rot is caused by overwatering. To prevent root rot, ensure that your pot has drainage holes and allow the soil to dry out slightly between waterings. Spider mites are tiny pests that can suck the sap from rosemary leaves. To control spider mites, spray the plant with insecticidal soap or neem oil. Powdery mildew is a fungal disease that can cause a white, powdery coating on the leaves. To prevent powdery mildew, ensure that your plant has good air circulation and avoid overhead watering.
10. Can I propagate rosemary from cuttings?
Yes, you can easily propagate rosemary from cuttings. Take a 4-6 inch cutting from a healthy stem, remove the lower leaves, and dip the cut end in rooting hormone. Plant the cutting in a pot filled with well-draining potting mix and keep the soil moist. Place the pot in a warm, bright location and cover it with a plastic bag to create a humid environment. Roots should develop in 4-6 weeks.


Leave a Comment