

Grow Tomatoes Backyard – the words themselves conjure up images of sun-ripened goodness, bursting with flavor, ready to be plucked straight from the vine and enjoyed. But let’s be honest, the dream of a bountiful tomato harvest can quickly turn into a frustrating reality of stunted plants, blossom end rot, and unwelcome pests. Have you ever wondered why those supermarket tomatoes just don’t taste the same? It’s because they lack the love and care (and sunshine!) that backyard-grown tomatoes receive.
For centuries, cultivating tomatoes has been a cherished tradition in cultures worldwide, from the sun-drenched fields of Italy to the vibrant gardens of Mexico. These juicy fruits, once considered ornamental, have become a staple in our diets, adding a burst of flavor to everything from salads to sauces. But what if I told you that achieving tomato-growing success is easier than you think?
That’s where this DIY guide comes in! I’m going to share some simple yet effective home gardening tricks and hacks that will transform your backyard into a tomato-growing paradise. Whether you’re a seasoned gardener or a complete beginner, these tips will help you grow tomatoes backyard like a pro. Say goodbye to bland, store-bought tomatoes and hello to a summer filled with delicious, homegrown goodness. Let’s get started!
Growing Delicious Tomatoes in Your Backyard: A DIY Guide
Okay, tomato lovers, let’s get our hands dirty! I’m going to walk you through everything you need to know to grow plump, juicy, and flavorful tomatoes right in your own backyard. Trust me, there’s nothing quite like the taste of a homegrown tomato, and it’s way easier than you might think.
Choosing the Right Tomato Variety
Before we even think about digging, we need to pick the right tomato variety. This is crucial because different tomatoes thrive in different climates and have different uses. Here’s a quick rundown:
* **Determinate Tomatoes:** These are bush-type tomatoes that grow to a certain size and then stop. They produce most of their fruit all at once, making them perfect for canning or making sauce. Think Roma or Celebrity varieties.
* **Indeterminate Tomatoes:** These are vining tomatoes that keep growing and producing fruit throughout the season. They need staking or caging to support their growth. Think Beefsteak, Cherry, or Heirloom varieties.
* **Heirloom Tomatoes:** These are older varieties that have been passed down through generations. They’re known for their unique flavors and colors, but they can be a bit more finicky to grow.
* **Cherry Tomatoes:** Small, sweet, and perfect for snacking. They’re usually very prolific producers.
* **Beefsteak Tomatoes:** Large, meaty tomatoes that are great for slicing and sandwiches.
Consider your climate, space, and what you want to use the tomatoes for when making your choice. I personally love growing a mix of cherry tomatoes for snacking and beefsteak tomatoes for burgers.
Preparing Your Tomato Planting Area
Now that we’ve chosen our varieties, let’s get our planting area ready. Tomatoes need plenty of sunshine and well-drained soil.
* **Sunlight:** Tomatoes need at least 6-8 hours of direct sunlight per day. Choose a spot in your yard that gets plenty of sun.
* **Soil:** Tomatoes prefer slightly acidic soil with a pH between 6.0 and 6.8. You can test your soil with a soil testing kit from your local garden center.
* **Drainage:** Good drainage is essential to prevent root rot. If your soil is heavy clay, you’ll need to amend it with compost or other organic matter to improve drainage.
Step-by-Step Planting Guide
Alright, let’s get those tomato plants in the ground!
1. **Harden Off Your Seedlings:** If you’re starting with seedlings from a nursery, you’ll need to harden them off before planting them in the ground. This means gradually exposing them to outdoor conditions over a period of about a week. Start by putting them outside for an hour or two each day, gradually increasing the amount of time they spend outdoors. This helps them acclimate to the sun, wind, and temperature changes.
2. **Dig Your Holes:** Dig holes that are about twice as wide and twice as deep as the root ball of your tomato plants. Space the holes about 2-3 feet apart, depending on the variety. Indeterminate varieties need more space than determinate varieties.
3. **Amend the Soil:** Mix some compost or other organic matter into the soil you removed from the holes. This will help improve drainage and provide nutrients for your tomato plants. I like to add a handful of bone meal to each hole as well, as it provides phosphorus, which is essential for root development.
4. **Plant Your Tomato Plants Deep:** This is a key step! Remove the bottom leaves from the tomato plant and plant it deep enough so that the bottom set of leaves is buried. Tomatoes can grow roots along their stems, so planting them deep will help them develop a stronger root system.
5. **Water Thoroughly:** After planting, water your tomato plants thoroughly. This will help settle the soil around the roots and get them off to a good start.
6. **Add Support:** If you’re growing indeterminate varieties, you’ll need to provide support for them. You can use stakes, cages, or trellises. I prefer using cages because they’re easy to install and provide good support. Insert the stakes or cages immediately after planting to avoid damaging the roots later.
7. **Mulch:** Add a layer of mulch around your tomato plants. Mulch helps retain moisture, suppress weeds, and regulate soil temperature. I like to use straw or wood chips.
Caring for Your Tomato Plants
Now that your tomato plants are in the ground, you need to take care of them to ensure a bountiful harvest.
* **Watering:** Water your tomato plants regularly, especially during hot, dry weather. Aim to water deeply and less frequently, rather than shallowly and often. This encourages the roots to grow deeper, making the plants more drought-tolerant. Check the soil moisture by sticking your finger into the soil. If the top inch or two is dry, it’s time to water.
* **Fertilizing:** Tomatoes are heavy feeders, so you’ll need to fertilize them regularly. Use a balanced fertilizer that’s specifically formulated for tomatoes. Follow the instructions on the fertilizer package. I like to fertilize every 2-3 weeks.
* **Pruning:** Pruning is important for indeterminate tomato varieties. Remove the suckers that grow between the main stem and the branches. These suckers will steal energy from the plant and reduce fruit production. Use your fingers to pinch off the suckers when they’re small.
* **Pest and Disease Control:** Tomatoes are susceptible to a variety of pests and diseases. Keep an eye out for common problems like aphids, tomato hornworms, and blight. Treat any problems promptly with organic pesticides or fungicides. I prefer to use neem oil as a preventative measure.
* **Weeding:** Keep the area around your tomato plants free of weeds. Weeds compete with your tomato plants for water and nutrients.
Dealing with Common Tomato Problems
Even with the best care, you might encounter some problems along the way. Here are a few common issues and how to deal with them:
* **Blossom End Rot:** This is caused by a calcium deficiency. The bottom of the tomato turns black and leathery. To prevent blossom end rot, make sure your soil has enough calcium and water your plants consistently. You can also add calcium to the soil by using bone meal or crushed eggshells.
* **Tomato Hornworms:** These are large green caterpillars that can quickly defoliate your tomato plants. Handpick them off the plants and drop them into a bucket of soapy water.
* **Aphids:** These are small, sap-sucking insects that can weaken your tomato plants. Spray them off with a strong stream of water or use insecticidal soap.
* **Early Blight:** This is a fungal disease that causes brown spots on the leaves. Remove infected leaves and spray the plants with a fungicide.
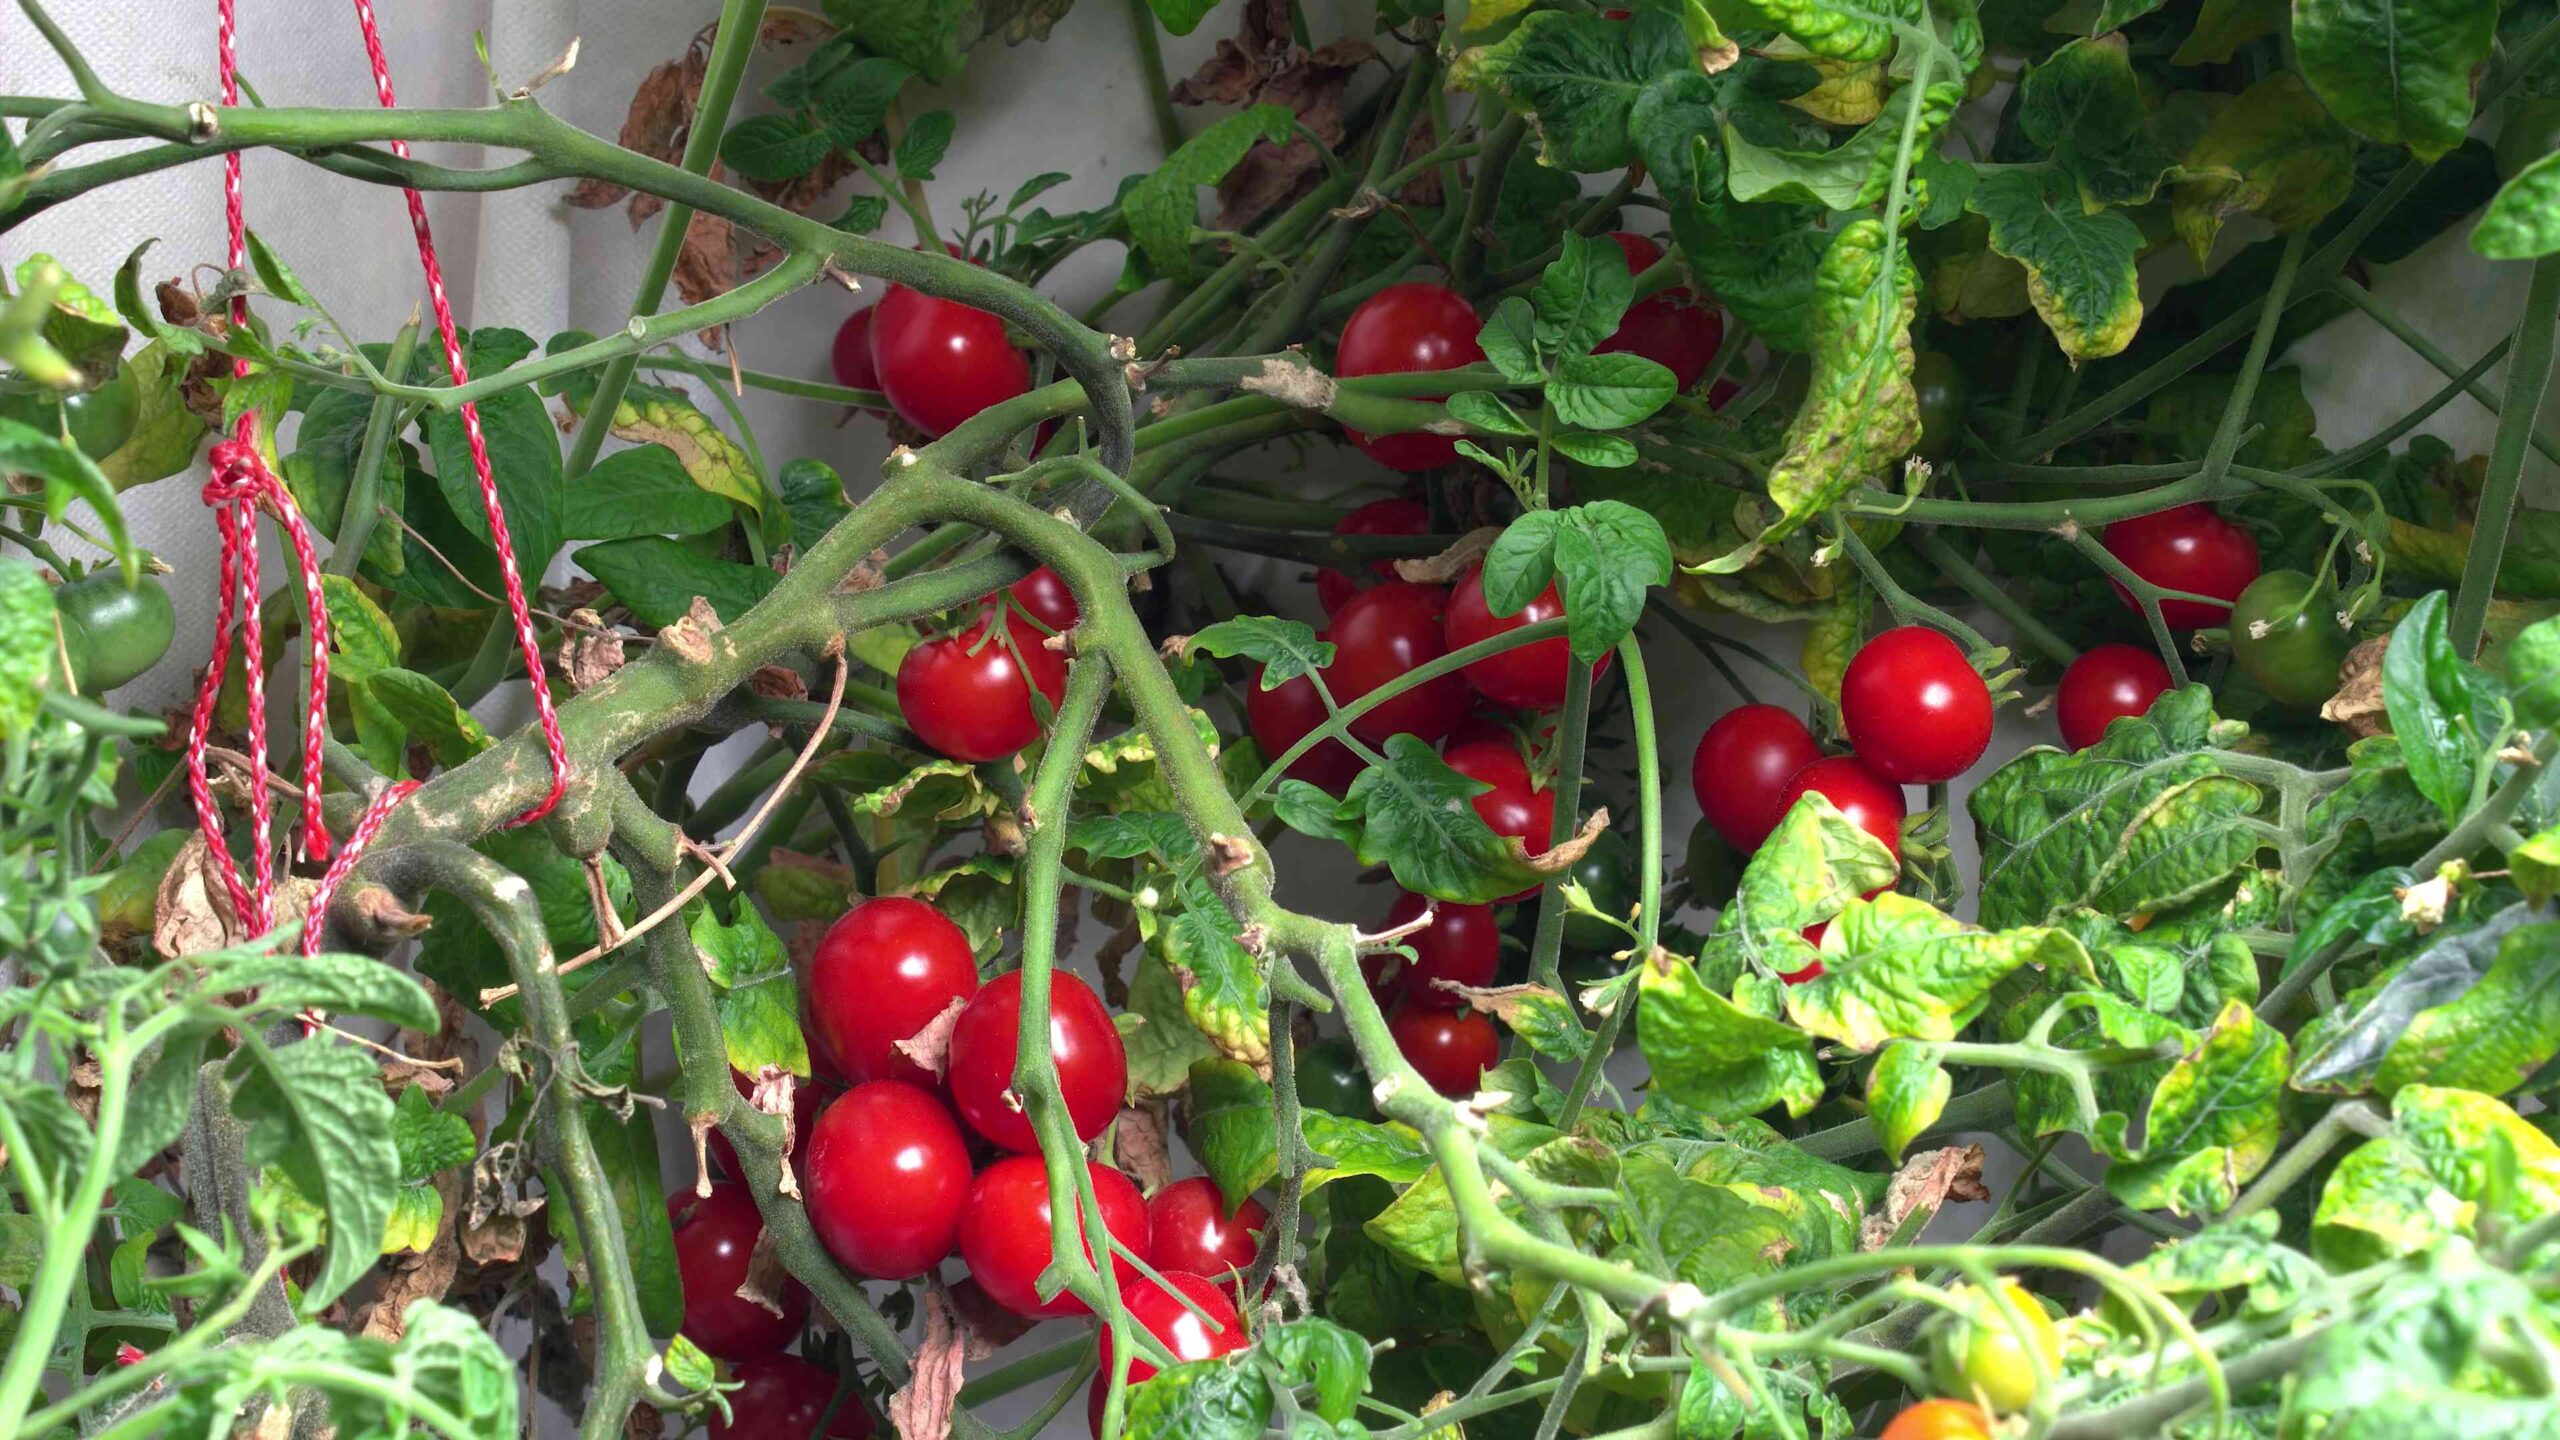
Harvesting Your Tomatoes
The moment we’ve all been waiting for! Harvesting your tomatoes is the most rewarding part of the process.
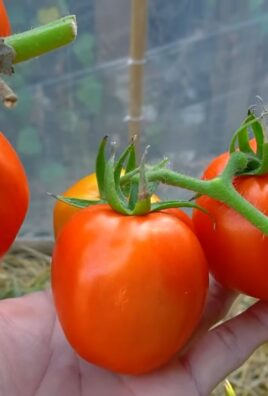
* **When to Harvest:** Tomatoes are ripe when they’re fully colored and slightly soft to the touch. The color will depend on the variety you’re growing.
* **How to Harvest:** Gently twist the tomato off the vine. Be careful not to damage the plant.
* **Storing Your Tomatoes:** Store your tomatoes at room temperature. Refrigerating them can affect their flavor and texture.
Enjoying Your Homegrown Tomatoes
Now that you’ve harvested your tomatoes, it’s time to enjoy them! There are endless ways to use homegrown tomatoes. Here are a few ideas:
* **Eat them fresh:** Slice them up and add them to salads, sandwiches, or burgers.
* **Make sauce:** Use them to make homemade tomato sauce for pasta or pizza.
* **Can them:** Preserve them for later use by canning them.
* **Roast them:** Roast them with olive oil, garlic, and herbs for a delicious side dish.
* **Make salsa:** Use them to make fresh salsa.
Growing your own tomatoes is a rewarding experience. With a little bit of effort, you can enjoy delicious, homegrown tomatoes all summer long. Happy gardening!
Conclusion
So, there you have it! Growing tomatoes in your backyard doesn’t have to be an expensive or complicated endeavor. By embracing this simple yet effective DIY trick, you’re not just saving money; you’re also taking control of the quality and freshness of your produce. Imagine biting into a sun-ripened tomato, bursting with flavor, knowing that you nurtured it from seedling to table, all thanks to a little ingenuity and resourcefulness.
This method is a game-changer for anyone looking to cultivate a thriving tomato patch without breaking the bank. It’s about working smarter, not harder, and leveraging readily available materials to create an optimal growing environment. Think of the satisfaction of bypassing the grocery store’s often lackluster tomato selection and instead harvesting your own vibrant, juicy fruits.
But the beauty of this DIY approach lies not only in its cost-effectiveness but also in its adaptability. Feel free to experiment with different types of containers, soil amendments, and even companion plants to tailor the growing conditions to your specific backyard environment and tomato variety. For instance, if you live in a particularly hot climate, consider using lighter-colored containers to reflect sunlight and prevent the soil from overheating. Or, if you’re growing a sprawling indeterminate variety, ensure you have sturdy support structures in place to accommodate its growth.
Consider these variations to further enhance your tomato-growing experience:
* Vertical Gardening: If you’re short on space, adapt this trick to vertical gardening. Use stacked containers or hanging baskets to maximize your growing area.
* Composting: Incorporate homemade compost into your soil mix for an extra boost of nutrients. This not only enriches the soil but also reduces waste.
* Companion Planting: Plant basil, marigolds, or other beneficial herbs and flowers alongside your tomatoes to deter pests and attract pollinators.
* Watering System: Create a simple drip irrigation system using recycled plastic bottles to ensure consistent watering, especially during dry spells.
Ultimately, the success of your tomato-growing venture hinges on your willingness to experiment and adapt. Don’t be afraid to try new things, observe your plants closely, and adjust your approach as needed. Remember, gardening is a learning process, and every season brings new opportunities for growth and discovery.
We wholeheartedly encourage you to give this DIY trick a try. It’s a rewarding experience that connects you with nature, provides you with delicious, homegrown tomatoes, and empowers you to become a more self-sufficient gardener. Once you’ve experienced the joy of harvesting your own backyard tomatoes, we’re confident you’ll be hooked!
And most importantly, we want to hear about your experience! Share your photos, tips, and stories with us in the comments section below. Let’s create a community of tomato-growing enthusiasts who are passionate about sharing their knowledge and inspiring others to embrace the joys of homegrown produce. Your insights could be invaluable to fellow gardeners, and together, we can all learn and grow. So, get out there, get your hands dirty, and start growing those delicious backyard tomatoes today!
Frequently Asked Questions (FAQs)
Q: What type of containers are best for this DIY tomato-growing trick?
A: The beauty of this DIY method is its flexibility. You can use a wide range of containers, from recycled buckets and plastic bins to fabric pots and even repurposed tires. The key is to ensure that the container is large enough to accommodate the tomato plant’s root system (at least 5 gallons is recommended) and has adequate drainage holes to prevent waterlogging. Dark-colored containers can absorb more heat, which can be beneficial in cooler climates but may overheat the soil in hotter regions. In such cases, opt for lighter-colored containers or consider wrapping dark containers with reflective material.
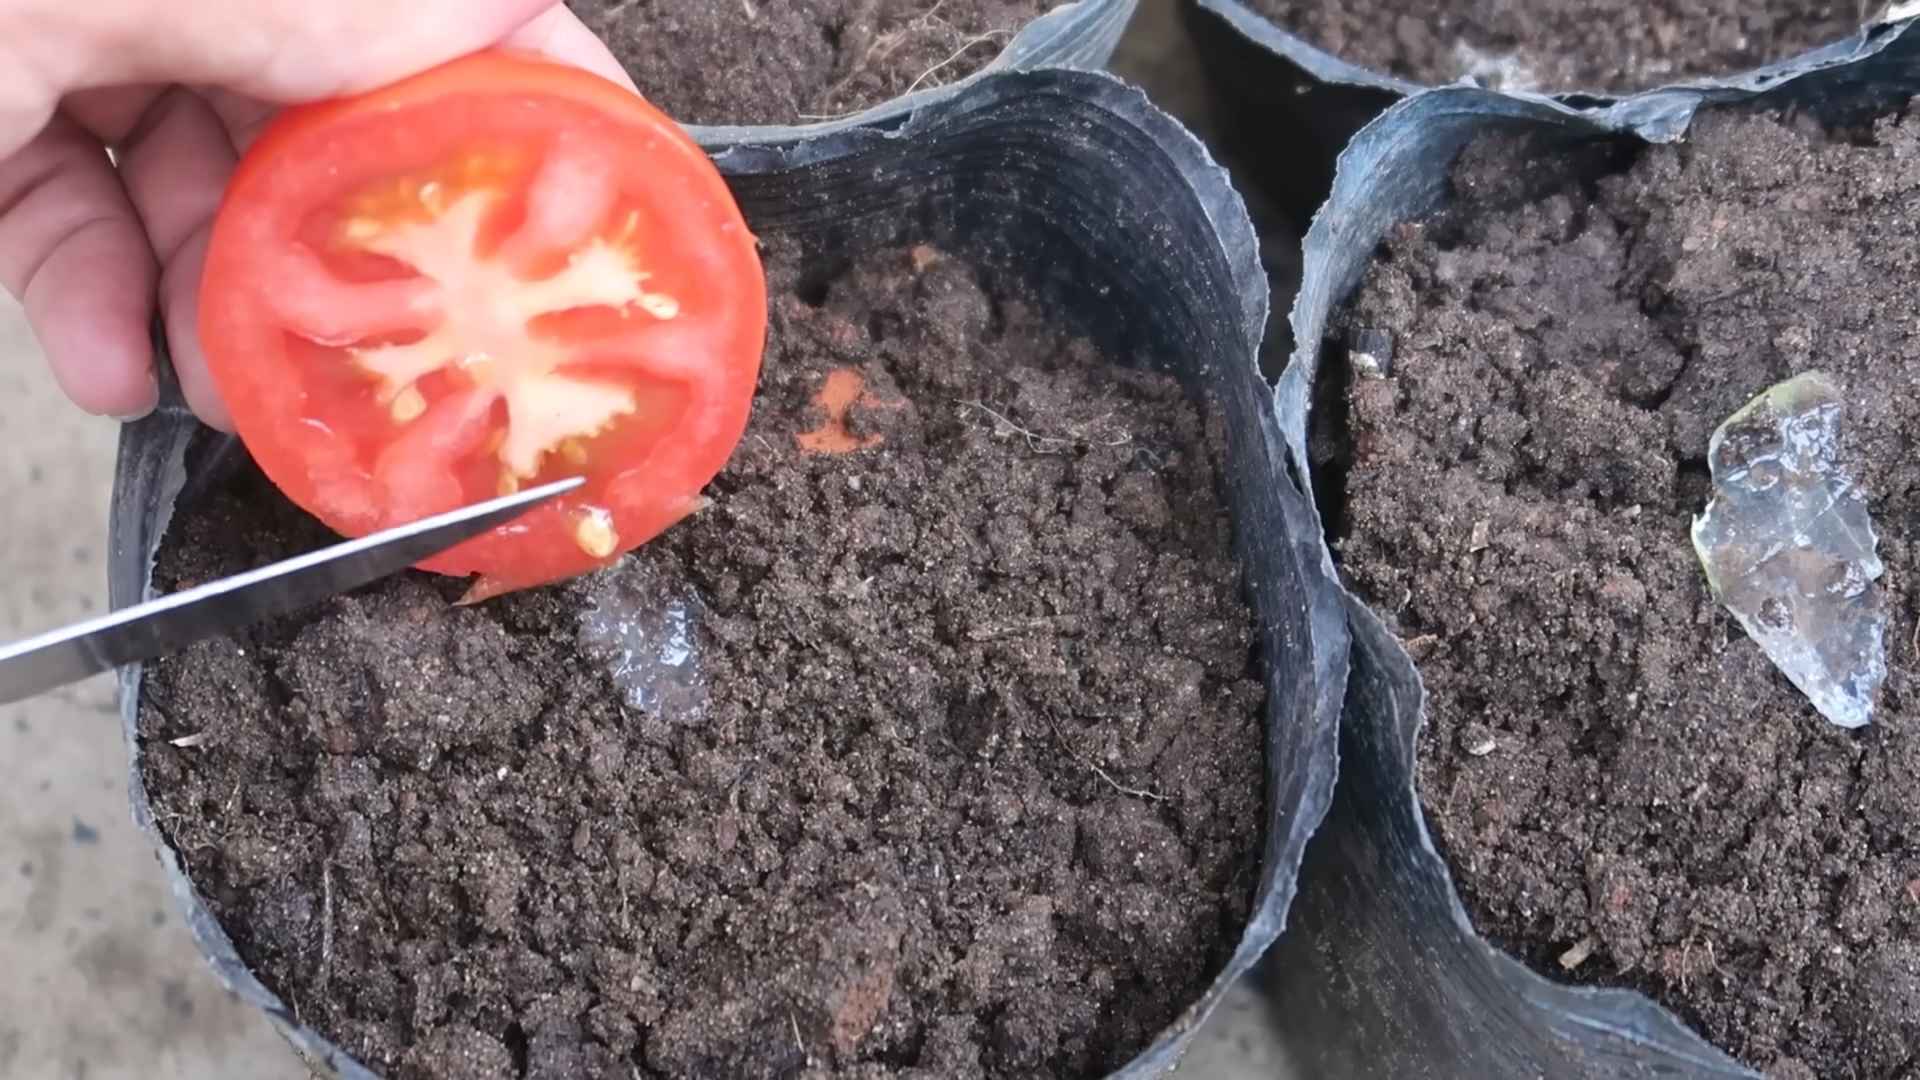
Q: What kind of soil should I use for growing tomatoes in containers?
A: Tomatoes thrive in well-draining, nutrient-rich soil. Avoid using garden soil directly in containers, as it can become compacted and hinder drainage. Instead, opt for a high-quality potting mix specifically formulated for vegetables. You can also create your own custom soil mix by combining equal parts of peat moss or coconut coir, perlite or vermiculite, and compost. Adding slow-release fertilizer granules to the soil mix will provide a steady supply of nutrients throughout the growing season.
Q: How often should I water my tomato plants in containers?
A: Watering frequency depends on several factors, including the size of the container, the weather conditions, and the type of soil you’re using. As a general rule, water your tomato plants deeply whenever the top inch of soil feels dry to the touch. Avoid overwatering, as this can lead to root rot. During hot, dry weather, you may need to water your plants daily, while during cooler, wetter periods, you may only need to water them every few days. A good way to check is to stick your finger about an inch into the soil. If it feels dry, it’s time to water.
Q: How much sunlight do tomato plants need?
A: Tomatoes are sun-loving plants and require at least 6-8 hours of direct sunlight per day to thrive. Choose a location in your backyard that receives ample sunlight throughout the day. If you’re growing tomatoes in containers, you can easily move them to follow the sun. If you live in a particularly hot climate, providing some afternoon shade can help prevent the plants from overheating.
Q: What are some common tomato pests and diseases, and how can I prevent them?
A: Tomatoes are susceptible to a variety of pests and diseases, including aphids, whiteflies, tomato hornworms, blossom end rot, and fungal diseases like early blight and septoria leaf spot. To prevent these problems, practice good gardening hygiene, such as removing weeds and fallen leaves, and providing adequate air circulation around your plants. You can also use organic pest control methods, such as insecticidal soap or neem oil, to control pests. To prevent fungal diseases, avoid overhead watering and apply a copper-based fungicide preventatively. Regularly inspect your plants for signs of pests or diseases and take action promptly to prevent them from spreading.
Q: How do I know when my tomatoes are ripe?
A: The color of a ripe tomato depends on the variety, but generally, tomatoes are ripe when they have reached their mature color and are slightly soft to the touch. Gently squeeze the tomato; it should yield slightly but not be mushy. The tomato should also easily detach from the vine. The aroma of a ripe tomato is also a good indicator; it should have a sweet, earthy scent.
Q: Can I grow tomatoes indoors using this DIY trick?
A: While it’s possible to grow tomatoes indoors, it can be challenging to provide them with the necessary sunlight and pollination. If you’re growing tomatoes indoors, you’ll need to supplement natural light with grow lights and manually pollinate the flowers using a small brush. Dwarf or determinate tomato varieties are generally better suited for indoor growing.
Q: What are some good companion plants for tomatoes?
A: Companion planting can benefit tomatoes by deterring pests, attracting pollinators, and improving soil health. Some good companion plants for tomatoes include basil, marigolds, onions, garlic, carrots, and beans. Basil repels tomato hornworms and whiteflies, while marigolds deter nematodes and other soil pests. Onions and garlic repel aphids and other insects. Carrots improve soil drainage, and beans fix nitrogen in the soil, which benefits tomato growth.
Q: How can I improve the flavor of my homegrown tomatoes?
A: Several factors can influence the flavor of your homegrown tomatoes. First, choose a tomato variety that is known for its flavor. Heirloom varieties are often prized for their rich, complex flavors. Second, ensure that your plants receive adequate sunlight and water. Sunlight is essential for sugar production, which contributes to the sweetness of the tomato. Third, avoid over-fertilizing your plants, as this can dilute the flavor. Finally, harvest your tomatoes when they are fully ripe, as this is when they will have the most intense flavor.
Q: What if I don’t have a backyard? Can I still use this DIY trick?
A: Absolutely! This DIY trick is perfect for anyone, regardless of whether they have a traditional backyard. You can easily adapt it to balconies, patios, rooftops, or even sunny windowsills. The key is to choose containers that are appropriate for the space you have available and to ensure that your plants receive adequate sunlight. Vertical gardening techniques, such as using stacked containers or hanging baskets, can be particularly effective for maximizing space in small areas.

Leave a Comment