

Growing pointed cabbage at home can seem daunting, but trust me, it’s more rewarding than you might think! Have you ever dreamed of strolling into your backyard and harvesting fresh, crisp pointed cabbage for a delicious slaw or stir-fry? This DIY guide will unlock the secrets to cultivating these unique vegetables right in your own garden, regardless of your experience level.
Cabbage, in general, boasts a rich history, dating back to ancient times where it was valued for its nutritional benefits and ease of cultivation. Different varieties have emerged over centuries, with the pointed cabbage offering a distinctive shape and slightly sweeter flavor. While not as widely known as its rounder cousins, the pointed cabbage is gaining popularity for its culinary versatility and visual appeal.
Why should you embark on this home gardening adventure? Well, for starters, growing your own pointed cabbage ensures you know exactly what’s going into your food – no harmful pesticides or questionable practices. Plus, there’s nothing quite like the satisfaction of nurturing a plant from seed to harvest. Growing pointed cabbage at home also saves you money at the grocery store and provides a constant supply of fresh, healthy greens. So, let’s dive in and discover the simple tricks and DIY hacks that will transform your garden into a pointed cabbage paradise!
Growing Pointed Cabbage at Home: A Gardener’s Guide
Hey there, fellow gardening enthusiasts! Ever thought about growing your own pointed cabbage? It’s surprisingly easy and incredibly rewarding. Not only will you have fresh, delicious cabbage right at your fingertips, but you’ll also get the satisfaction of nurturing something from seed to harvest. I’m going to walk you through the whole process, from choosing the right variety to dealing with pesky pests. Let’s get started!
Choosing Your Pointed Cabbage Variety
First things first, let’s talk about varieties. Pointed cabbage comes in a few different types, each with its own unique characteristics. Here’s a quick rundown:
* ‘Hispi’: This is a popular choice, known for its sweet flavor and early maturity. It’s a great option if you’re eager to get your harvest.
* ‘Durham Early’: Another early variety, ‘Durham Early’ produces smaller, more compact heads. It’s perfect for smaller gardens or if you want to stagger your harvests.
* ‘April’: As the name suggests, ‘April’ is an early maturing variety, often ready for harvest in spring.
* ‘Caraflex’: This variety is known for its excellent flavor and good storage capabilities.
I personally love ‘Hispi’ because of its reliable growth and delicious taste, but feel free to experiment and find the variety that suits your preferences and climate best!
Getting Started: Sowing Your Seeds
You have two main options here: starting your seeds indoors or sowing them directly in the garden. I usually prefer starting indoors, especially if I want an early harvest.
* Starting Indoors: This gives you a head start and protects your seedlings from harsh weather.
* Direct Sowing: This is simpler but requires more favorable weather conditions.
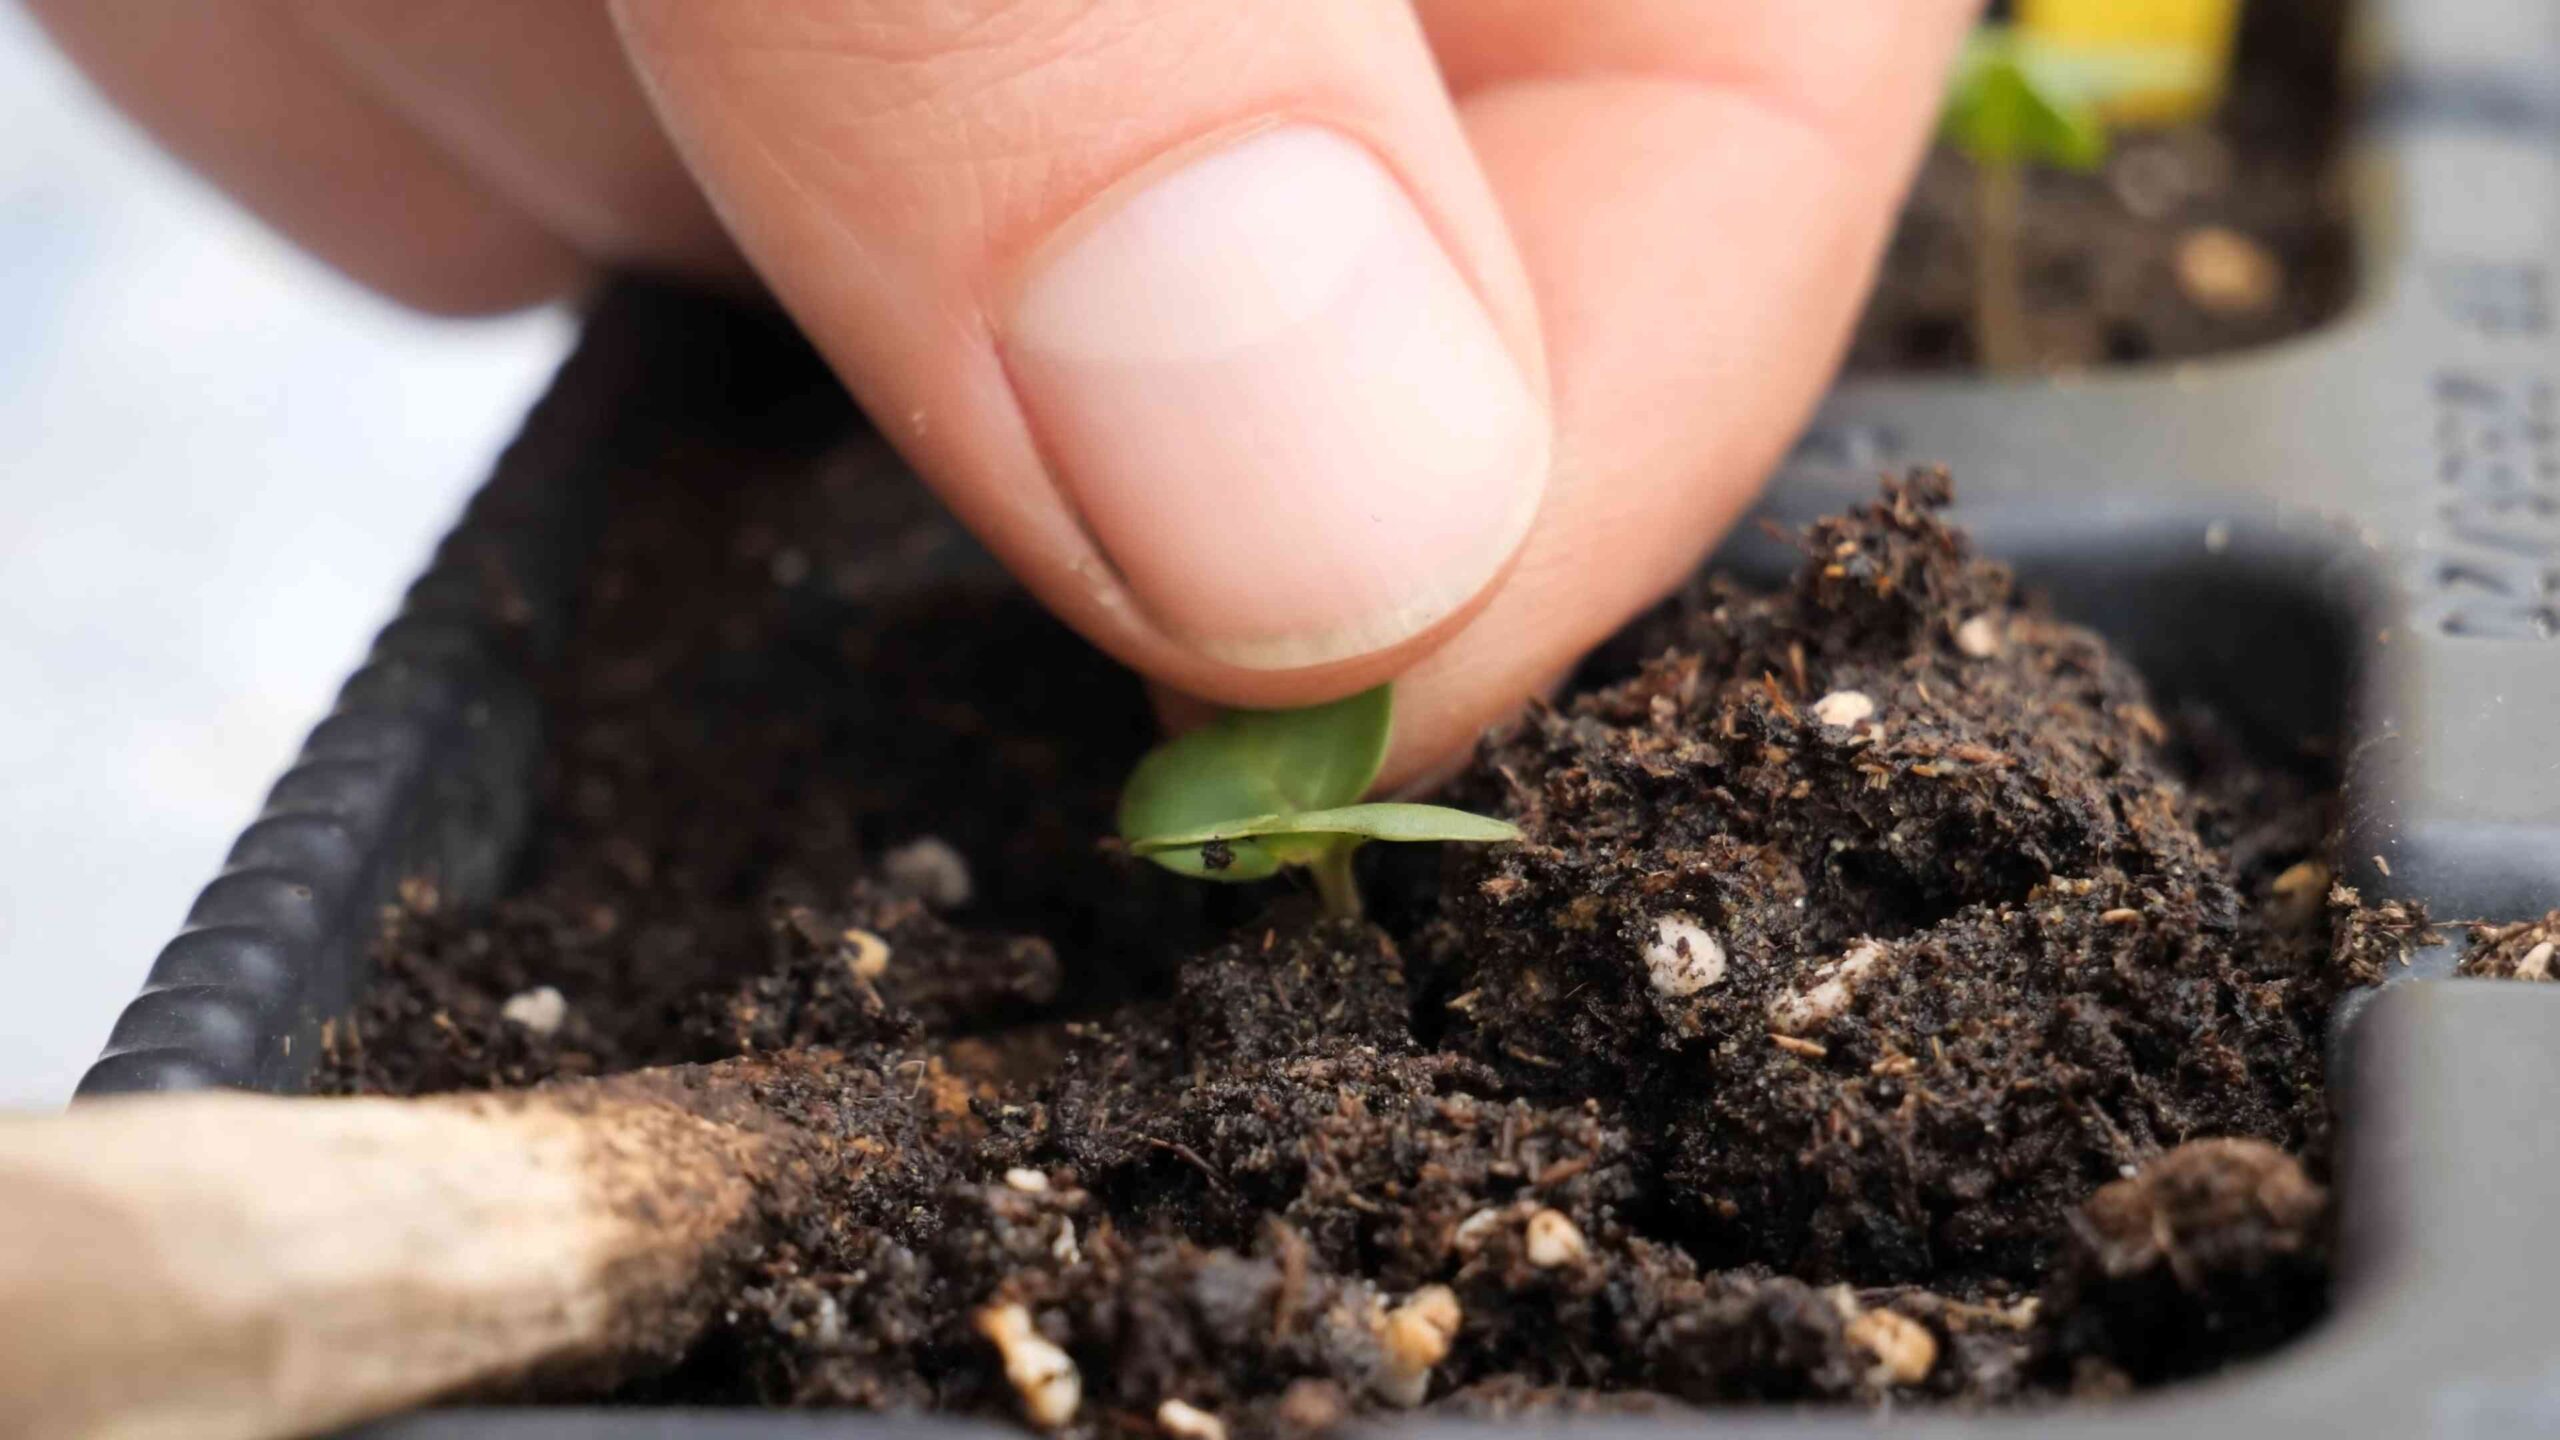
Sowing Seeds Indoors
Here’s how I do it:
1. Gather Your Supplies: You’ll need seed trays or small pots, seed starting mix (a light, well-draining mix is crucial), pointed cabbage seeds, and a spray bottle.
2. Prepare Your Trays: Fill your seed trays or pots with the seed starting mix. Gently firm the soil, but don’t pack it down too much.
3. Sow the Seeds: Make a small indentation (about 1/4 inch deep) in each cell or pot. Place one or two seeds in each indentation and cover lightly with soil.
4. Water Gently: Use a spray bottle to moisten the soil. Avoid overwatering, as this can lead to damping off (a fungal disease that can kill seedlings).
5. Provide Warmth and Light: Place your seed trays in a warm location (around 65-70°F) with plenty of light. A sunny windowsill or a grow light works well.
6. Keep the Soil Moist: Check the soil regularly and water as needed to keep it consistently moist, but not soggy.
7. Thin Seedlings (If Necessary): Once the seedlings emerge and have a couple of true leaves, thin them out, leaving only the strongest seedling in each cell or pot.
Direct Sowing Seeds
If you’re opting for direct sowing, wait until the soil has warmed up and the risk of frost has passed.
1. Prepare the Soil: Choose a sunny spot in your garden with well-drained soil. Amend the soil with compost or well-rotted manure to improve its fertility and drainage.
2. Sow the Seeds: Sow the seeds about 1/2 inch deep and 1 inch apart in rows.
3. Water Gently: Water the soil gently after sowing.
4. Thin Seedlings: Once the seedlings emerge, thin them out to about 12-18 inches apart.
Transplanting Your Seedlings
Whether you started your seeds indoors or bought seedlings from a nursery, transplanting is a crucial step.
1. Harden Off Seedlings: If you started your seeds indoors, you’ll need to harden them off before transplanting. This means gradually exposing them to outdoor conditions over a period of about a week. Start by placing them outside for a few hours each day, gradually increasing the amount of time they spend outdoors.
2. Prepare the Planting Site: Choose a sunny spot in your garden with well-drained soil. Amend the soil with compost or well-rotted manure.
3. Dig Holes: Dig holes that are slightly larger than the root balls of your seedlings. Space the holes 12-18 inches apart.
4. Transplant Seedlings: Gently remove the seedlings from their pots or trays and place them in the holes. Make sure the top of the root ball is level with the soil surface.
5. Fill the Holes: Fill the holes with soil and gently firm the soil around the seedlings.
6. Water Thoroughly: Water the seedlings thoroughly after transplanting.
Caring for Your Pointed Cabbage
Now that your cabbage is in the ground, it’s time to provide the care it needs to thrive.
* Watering: Cabbage needs consistent moisture, especially during hot, dry weather. Water deeply and regularly, aiming for about 1 inch of water per week.
* Fertilizing: Cabbage is a heavy feeder, so it needs plenty of nutrients. Fertilize every few weeks with a balanced fertilizer or a fertilizer specifically formulated for vegetables.
* Weeding: Keep the area around your cabbage plants free of weeds. Weeds compete with the cabbage for water and nutrients.
* Mulching: Apply a layer of mulch around your cabbage plants to help retain moisture, suppress weeds, and regulate soil temperature.
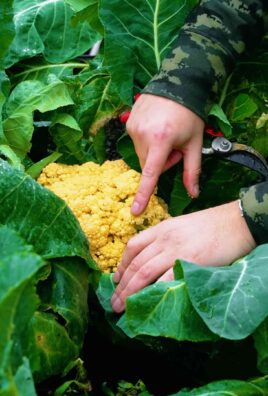
Dealing with Pests and Diseases
Unfortunately, cabbage is susceptible to a few pests and diseases. Here’s what to watch out for and how to deal with them:
* Cabbage White Butterflies: These butterflies lay eggs that hatch into caterpillars that can decimate your cabbage plants. Cover your plants with netting to prevent the butterflies from laying eggs. You can also handpick the caterpillars off the plants.
* Cabbage Root Fly: The larvae of this fly feed on the roots of cabbage plants, causing them to wilt and die. Use cabbage collars around the base of the plants to prevent the flies from laying eggs.
* Slugs and Snails: These pests can chew holes in the leaves of your cabbage plants. Use slug pellets or beer traps to control them.
* Clubroot: This fungal disease causes the roots of cabbage plants to swell and become distorted. Plant resistant varieties and avoid planting cabbage in the same spot year after year.
* Downy Mildew: This fungal disease causes yellow spots on the leaves of cabbage plants. Improve air circulation around the plants and avoid overhead watering.
My Personal Pest Control Tips
I’ve found that a combination of methods works best for me. I use netting to keep cabbage white butterflies away, and I regularly inspect my plants for slugs and snails. I also make sure to rotate my crops to prevent clubroot.
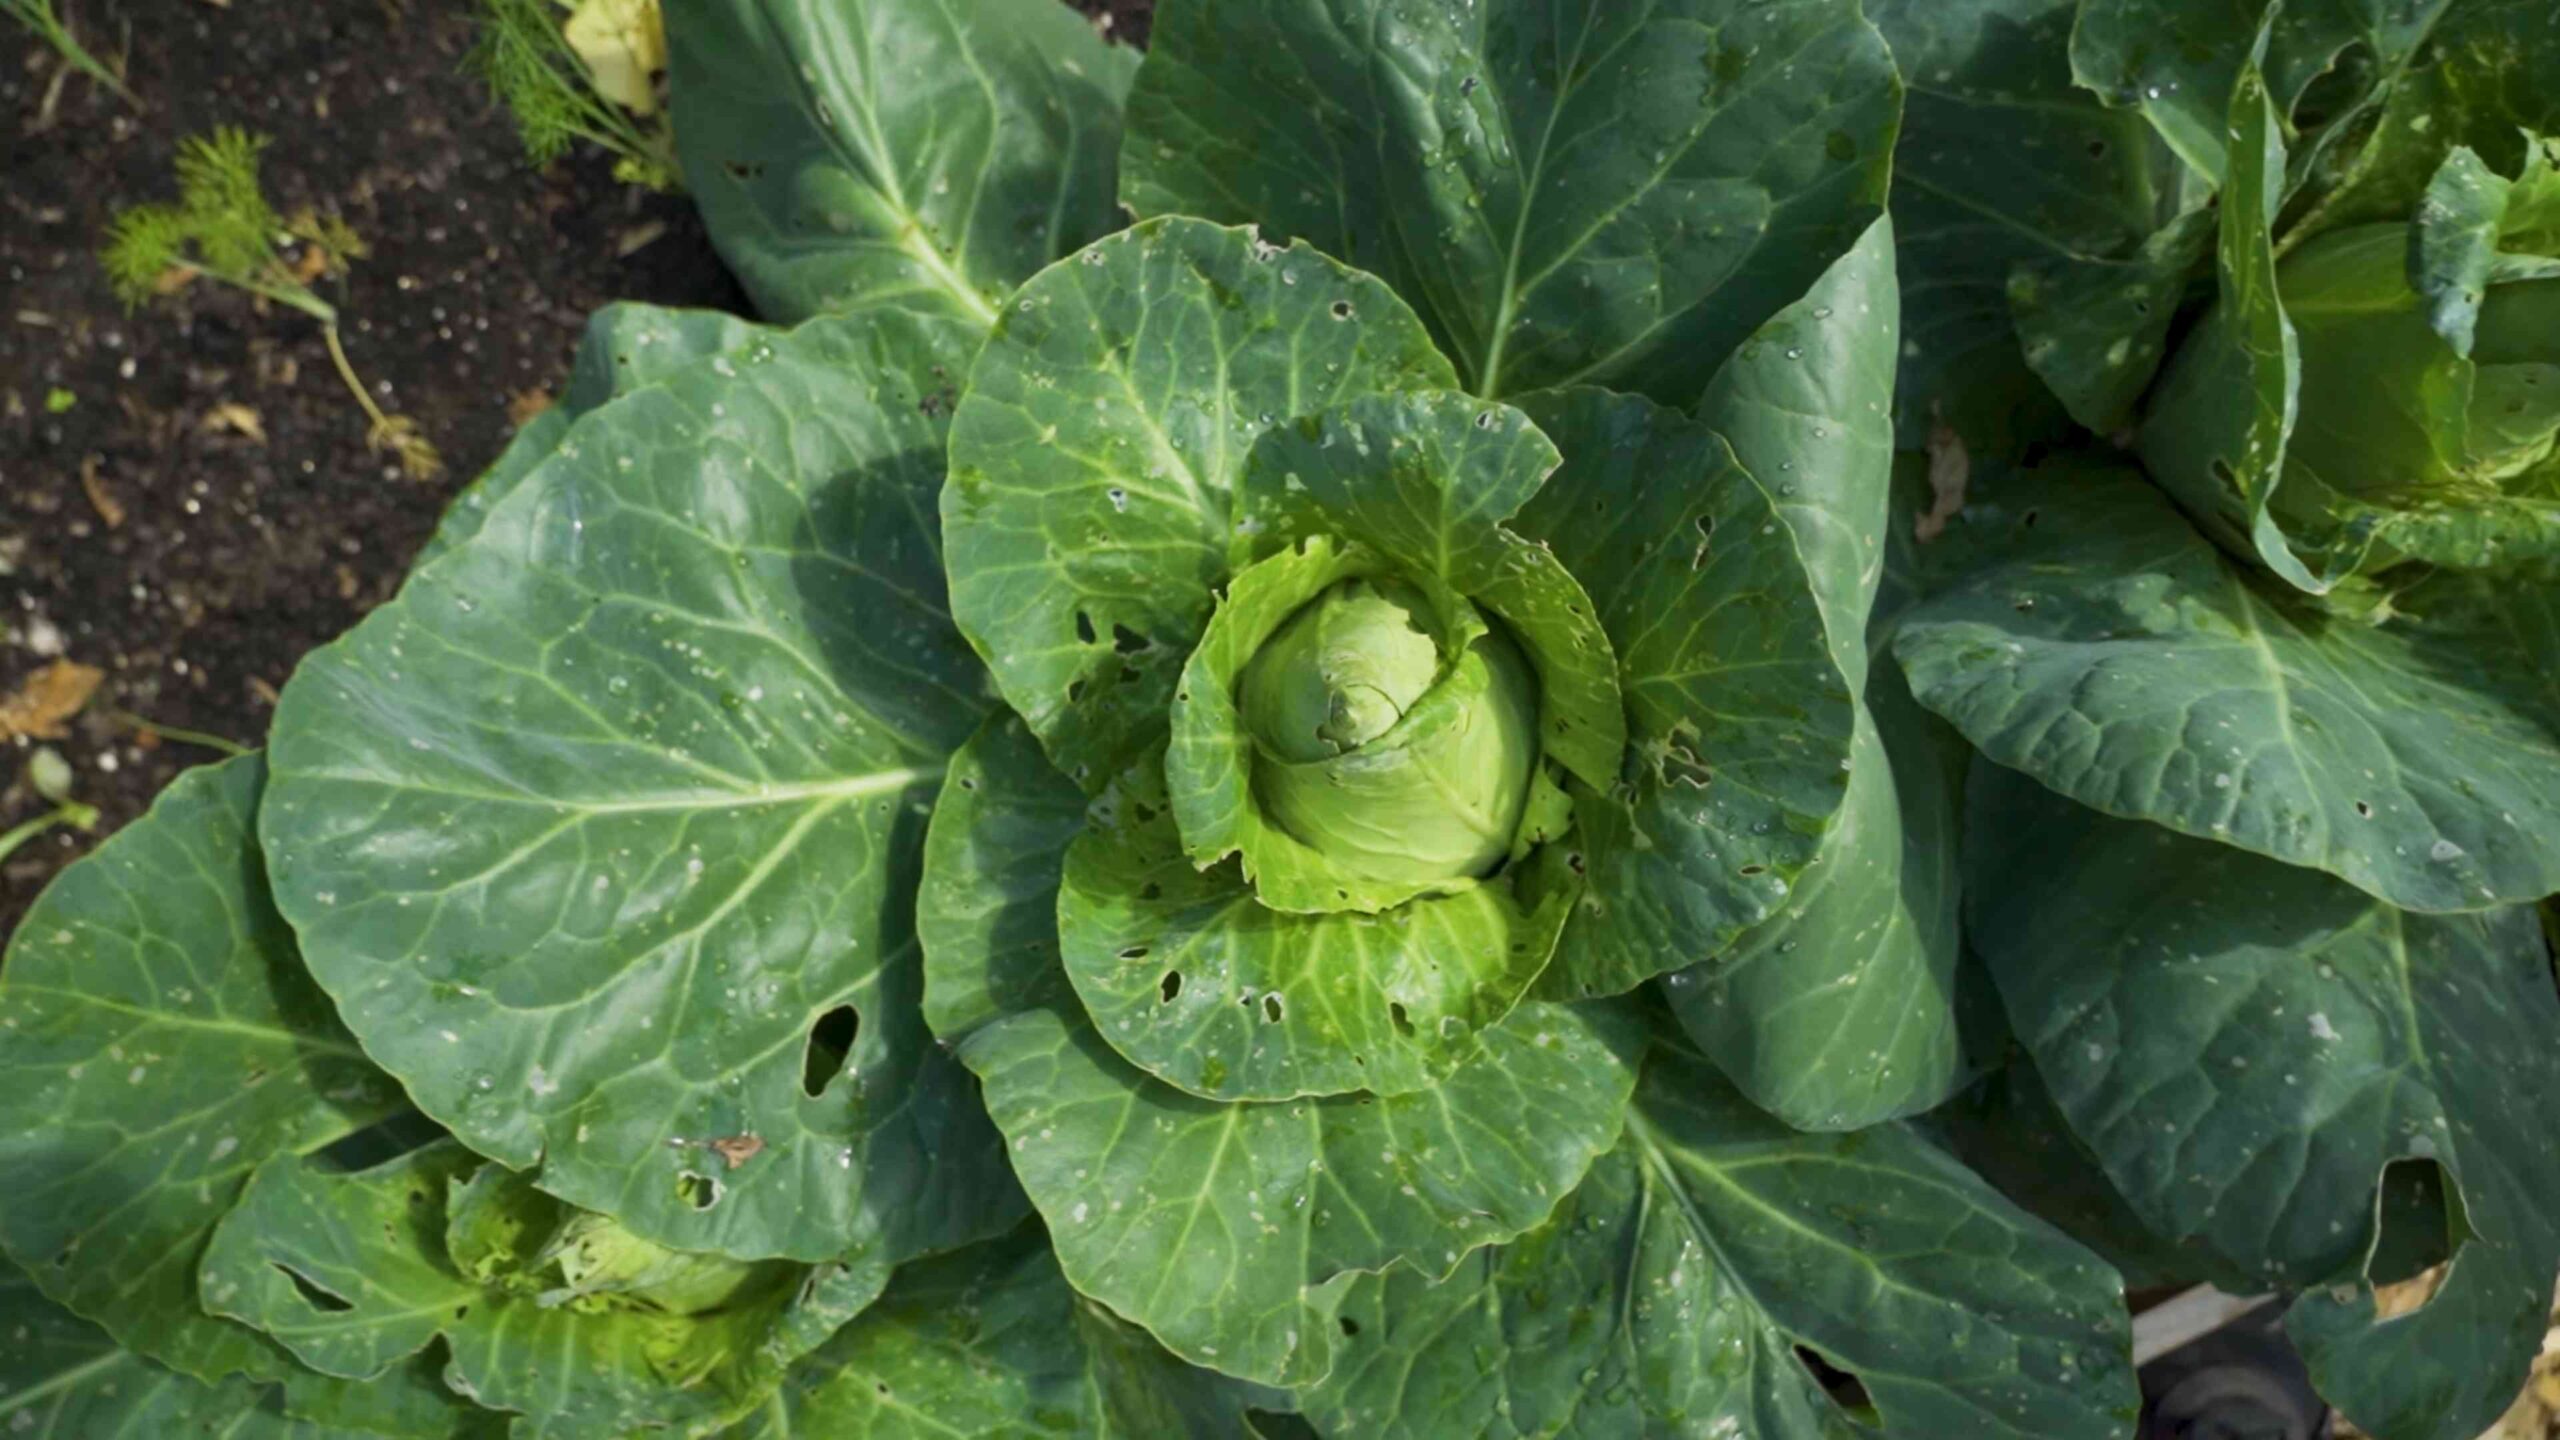
Harvesting Your Pointed Cabbage
The moment you’ve been waiting for! Pointed cabbage is usually ready to harvest about 12-16 weeks after sowing.
1. Check for Firmness: The head should feel firm to the touch.
2. Cut the Head: Use a sharp knife to cut the head from the stem. Leave a few outer leaves on the stem, as these may produce smaller side shoots.
3. Enjoy Your Harvest: Your freshly harvested pointed cabbage is ready to be enjoyed!
Enjoying Your Homegrown Cabbage
Now for the best part – eating your delicious, homegrown pointed cabbage! It’s incredibly versatile and can be used in a variety of dishes.
* Salads: Shredded pointed cabbage adds a lovely crunch and sweetness to salads.
* Slaws: It’s a classic ingredient in coleslaw.
* Stir-fries: Add it to stir-fries for a healthy and flavorful boost.
* Soups and Stews: It’s a great addition to soups and stews.
* Steamed or Boiled: Simply steam or boil it as a side dish.
I personally love using my pointed cabbage in a simple stir-fry with garlic, ginger, and soy sauce. It’s quick, easy, and incredibly delicious!
Extending Your Harvest
If you want to extend your harvest, you can try succession planting. This means sowing seeds every few weeks so that you have a continuous supply of cabbage throughout the growing season. You can also try planting different varieties with different maturity dates.
Troubleshooting Tips
Even with the best care, things can sometimes go wrong. Here are a few common problems and how to fix them:
* Cabbage isn’t forming a head: This could be due to a lack of nutrients or water. Make sure you’re fertilizing regularly and watering deeply.
* Leaves are yellowing: This could be
Conclusion
So, there you have it! Growing pointed cabbage at home isn’t just a gardening project; it’s an investment in fresh, flavorful, and healthy eating. We’ve walked through the steps, addressed the potential challenges, and hopefully, instilled in you the confidence to give it a try. Why is this DIY trick a must-try? Because it puts you in control. You know exactly what goes into your food, from the soil it grows in to the water it receives. You bypass the uncertainties of commercially grown produce, often laden with pesticides and transported long distances, losing freshness and nutrients along the way.
Beyond the health benefits, growing your own pointed cabbage is incredibly rewarding. There’s a unique satisfaction in nurturing a tiny seed into a vibrant, edible plant. It connects you to the natural world, teaches patience, and provides a tangible sense of accomplishment. Plus, the taste of homegrown pointed cabbage is simply superior. It’s sweeter, crisper, and more flavorful than anything you’ll find in the supermarket.
But the journey doesn’t end here! Feel free to experiment with different varieties of pointed cabbage. Some are more compact, ideal for smaller gardens or containers. Others boast unique colors and textures, adding visual appeal to your garden and your plate. Consider companion planting to deter pests and improve soil health. Marigolds, for example, are known to repel cabbage moths, while clover can fix nitrogen in the soil.
Don’t be afraid to get creative with your harvest. Pointed cabbage is incredibly versatile in the kitchen. Use it in slaws, stir-fries, soups, or even grilled as a delicious side dish. Ferment it into sauerkraut or kimchi for a probiotic-rich treat. The possibilities are endless!
We strongly encourage you to embark on this gardening adventure. Growing pointed cabbage at home is easier than you might think, and the rewards are well worth the effort. Take the plunge, get your hands dirty, and experience the joy of harvesting your own fresh produce.
And most importantly, share your experiences! We’d love to hear about your successes, your challenges, and your creative uses for your homegrown pointed cabbage. Post pictures of your garden, share your favorite recipes, and connect with other gardeners in the comments section below. Let’s build a community of passionate home gardeners, all enjoying the delicious benefits of growing our own food. Your insights could inspire others to take the first step and discover the joys of growing pointed cabbage at home.
Frequently Asked Questions (FAQ)
What is the best time of year to plant pointed cabbage?
The best time to plant pointed cabbage depends on your climate. In general, pointed cabbage is a cool-season crop, meaning it thrives in temperatures between 60°F and 70°F (15°C and 21°C). For spring harvests, start seeds indoors 6-8 weeks before the last expected frost. Transplant seedlings outdoors 2-3 weeks before the last frost. For fall harvests, sow seeds directly into the garden in mid-summer, about 10-12 weeks before the first expected frost. Check your local frost dates for the most accurate timing.
How much sunlight does pointed cabbage need?
Pointed cabbage requires at least 6 hours of direct sunlight per day. Choose a sunny location in your garden that receives ample sunlight throughout the day. If you live in a particularly hot climate, some afternoon shade can be beneficial to prevent the leaves from scorching.
What type of soil is best for growing pointed cabbage?
Pointed cabbage prefers well-drained, fertile soil that is rich in organic matter. The ideal soil pH is between 6.0 and 7.0. Before planting, amend the soil with compost or well-rotted manure to improve drainage and fertility. You can also add a slow-release fertilizer to provide essential nutrients throughout the growing season.
How often should I water pointed cabbage?
Pointed cabbage needs consistent moisture to thrive. Water deeply and regularly, especially during dry periods. Aim to keep the soil consistently moist but not waterlogged. Mulching around the plants can help retain moisture and suppress weeds. Check the soil moisture regularly by sticking your finger about an inch into the soil. If it feels dry, it’s time to water.
What are some common pests and diseases that affect pointed cabbage?
Pointed cabbage is susceptible to several pests and diseases, including cabbage worms, cabbage loopers, aphids, flea beetles, and clubroot. Regularly inspect your plants for signs of infestation or disease. Use organic pest control methods, such as handpicking pests, using insecticidal soap, or applying Bacillus thuringiensis (Bt) to control cabbage worms. To prevent clubroot, ensure good soil drainage and avoid planting cabbage in the same location year after year. Crop rotation is key to preventing soilborne diseases.
How do I harvest pointed cabbage?
Pointed cabbage is ready to harvest when the head is firm and compact. The exact time will vary depending on the variety and growing conditions, but generally, it takes about 60-80 days from transplanting. To harvest, use a sharp knife to cut the head from the stem, leaving a few outer leaves intact.
Can I grow pointed cabbage in containers?
Yes, pointed cabbage can be successfully grown in containers, especially smaller varieties. Choose a container that is at least 12 inches in diameter and depth. Use a high-quality potting mix and ensure the container has good drainage. Water regularly and fertilize as needed. Container-grown cabbage may require more frequent watering and fertilization than those grown in the ground.
How do I store pointed cabbage after harvesting?
Pointed cabbage can be stored in the refrigerator for several weeks. Wrap the head in plastic wrap or store it in a plastic bag to prevent it from drying out. You can also store pointed cabbage in a root cellar or cool, dark place for longer periods.
What are some good companion plants for pointed cabbage?
Good companion plants for pointed cabbage include marigolds, nasturtiums, dill, rosemary, thyme, and clover. Marigolds and nasturtiums repel cabbage moths, while dill attracts beneficial insects that prey on cabbage pests. Clover fixes nitrogen in the soil, benefiting the cabbage plants. Avoid planting pointed cabbage near other members of the brassica family, such as broccoli, cauliflower, and kale, as they can attract the same pests and diseases.
Can I save seeds from my pointed cabbage?
Saving seeds from pointed cabbage is possible, but it requires allowing the plant to overwinter and produce flowers in the second year. This is a more advanced gardening technique and requires specific knowledge of seed saving practices. Be aware that hybrid varieties may not produce true-to-type seeds.


Leave a Comment