

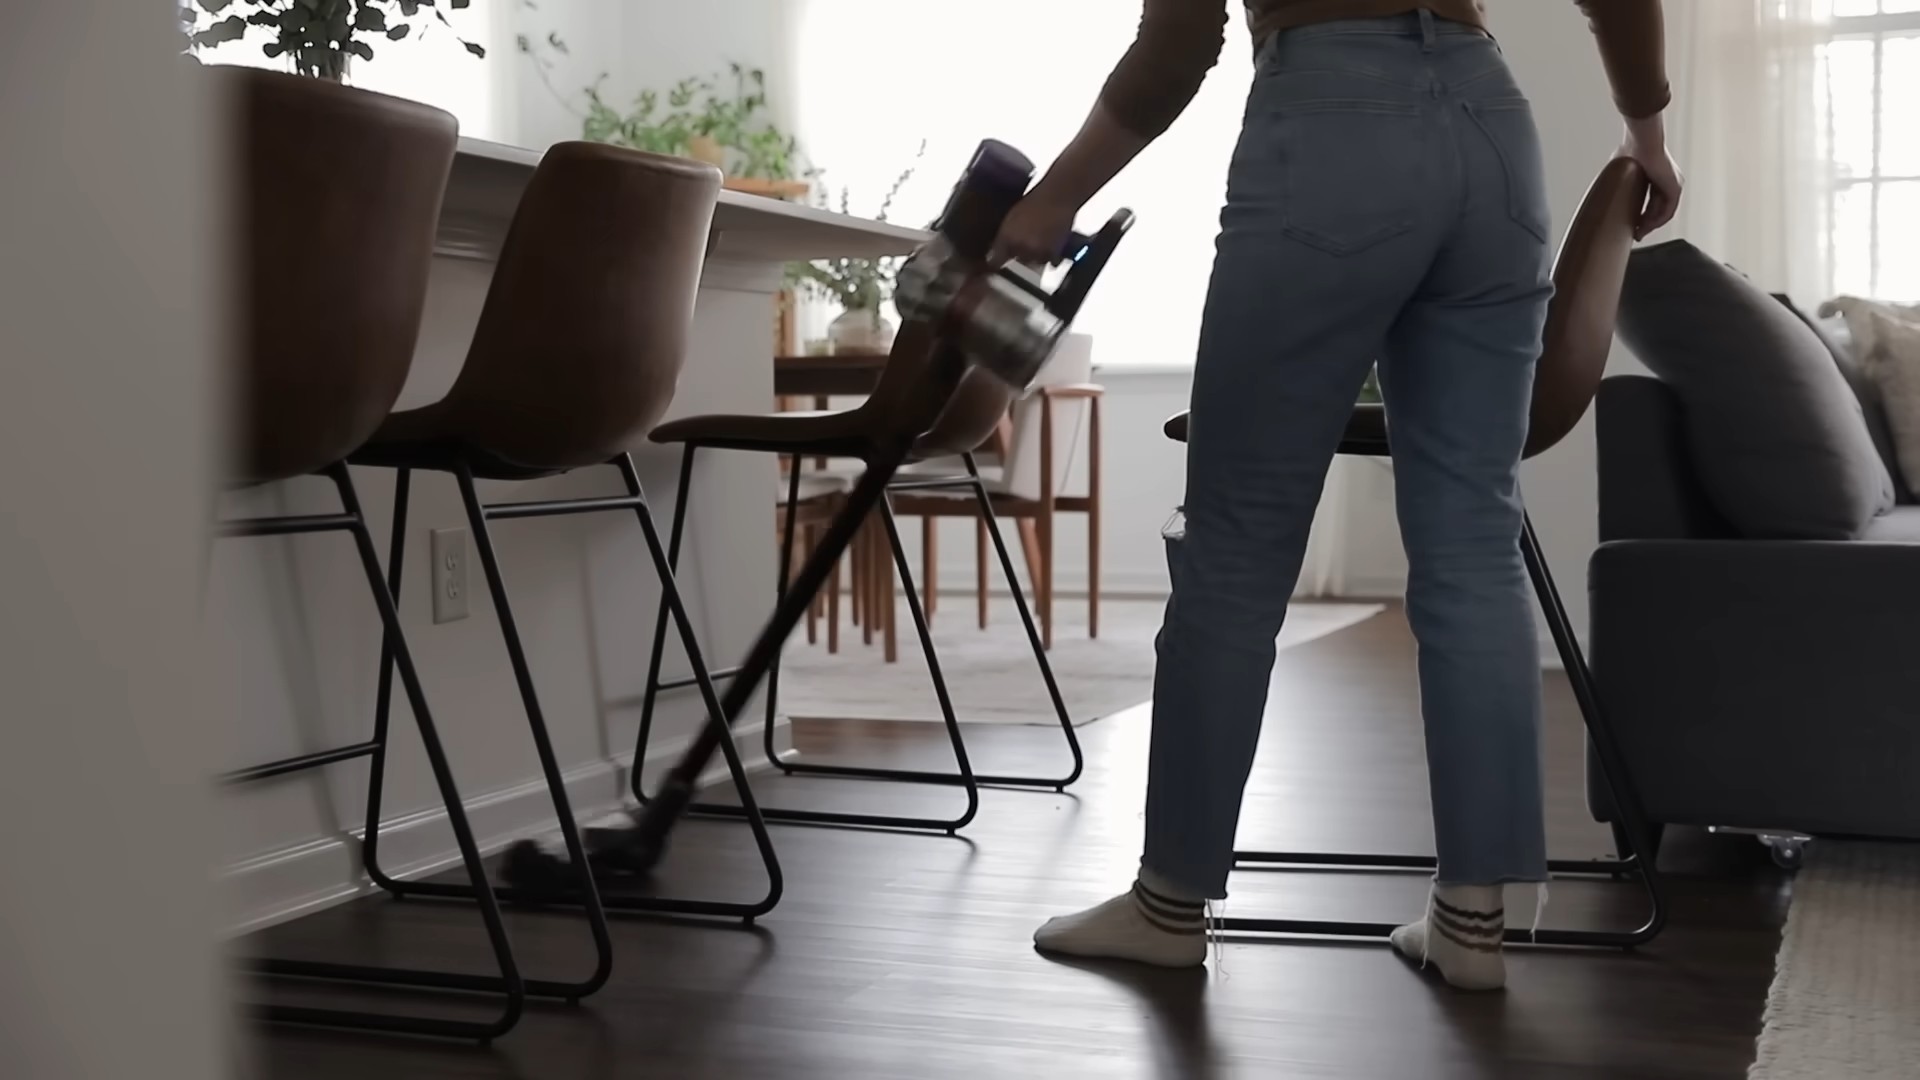
Home cleaning habits – we all have them, some better than others, right? Let’s be honest, keeping a house sparkling can feel like a never-ending battle. But what if I told you that a few simple tweaks to your routine could make a world of difference? Forget spending hours scrubbing and stressing; this article is all about working smarter, not harder!
Throughout history, maintaining a clean home has been more than just aesthetics. In many cultures, a tidy space is linked to mental clarity, productivity, and even spiritual well-being. Think of the ancient practice of Feng Shui, where decluttering and cleaning are essential for positive energy flow. While we might not all be aiming for perfect harmony, we can certainly appreciate the benefits of a clean and organized living space.
That’s why I’m so excited to share these DIY home cleaning tricks and hacks with you. We’ll dive into simple yet effective strategies that will transform your home cleaning habits. From natural cleaning solutions to clever organizational tips, you’ll discover how to create a cleaner, healthier, and happier home without breaking the bank or sacrificing your precious free time. Ready to ditch the overwhelm and embrace a more efficient cleaning routine? Let’s get started!
DIY Home Cleaning Hacks: Making Your Life Easier and Your Home Sparkle!
Hey everyone! I’m so excited to share some of my favorite DIY home cleaning hacks with you. I’m all about saving money and using natural ingredients whenever possible, so these tips are perfect for anyone who wants a cleaner home without breaking the bank or exposing themselves to harsh chemicals. Let’s get started!
Cleaning Your Microwave Like a Pro (Without Scrubbing!)
Okay, let’s be honest, cleaning the microwave is probably nobody’s favorite chore. But with this simple hack, you can say goodbye to endless scrubbing!
What You’ll Need:
* 1 cup of water
* 1 tablespoon of white vinegar or lemon juice
* Microwave-safe bowl
Step-by-Step Instructions:
1. Combine Water and Vinegar/Lemon Juice: In your microwave-safe bowl, mix together the water and vinegar (or lemon juice). I personally love using lemon juice because it leaves a fresh, citrusy scent.
2. Microwave the Mixture: Place the bowl in your microwave and heat it on high for 5-10 minutes. You want the mixture to boil and create steam inside the microwave. The steam is what will loosen all the grime and splatters.
3. Let it Sit: Once the timer goes off, don’t open the microwave immediately! Let it sit for another 5 minutes. This allows the steam to continue working its magic.
4. Wipe it Clean: Carefully remove the bowl (it will be hot!). Then, using a clean cloth or sponge, wipe down the inside of the microwave. You’ll be amazed at how easily the grime comes off! For stubborn spots, you might need a little extra elbow grease, but it should be significantly easier than scrubbing for ages.
5. Dry it Off: Finally, dry the inside of the microwave with a clean towel. And voila! A sparkling clean microwave with minimal effort.
Freshening Up Your Mattress: Say Goodbye to Dust Mites and Odors
We spend a significant portion of our lives sleeping, so keeping our mattresses clean is super important. This DIY method is great for removing dust mites, absorbing odors, and leaving your mattress feeling fresh.
What You’ll Need:
* Baking soda
* Essential oil (optional, but I love lavender or eucalyptus)
* Vacuum cleaner with upholstery attachment
* Sieve or strainer (optional, for even distribution of baking soda)
Step-by-Step Instructions:
1. Strip the Bed: Remove all bedding, including sheets, blankets, and pillowcases. Wash them in hot water to kill any dust mites that might be lurking.
2. Sprinkle Baking Soda: In a bowl, mix baking soda with a few drops of your favorite essential oil (if using). I usually use about 10-15 drops of essential oil per cup of baking soda. The essential oil adds a pleasant scent and can also have antibacterial properties.
3. Evenly Distribute: Using a sieve or strainer, evenly sprinkle the baking soda mixture over the entire surface of your mattress. This helps to ensure that the baking soda is distributed evenly and doesn’t clump together. If you don’t have a sieve, you can just sprinkle it by hand, but try to be as even as possible.
4. Let it Sit: This is the most important part! Let the baking soda sit on the mattress for at least 30 minutes, but ideally for several hours. The longer it sits, the more effectively it will absorb odors and moisture. I often leave it on overnight.
5. Vacuum Thoroughly: Using your vacuum cleaner with the upholstery attachment, thoroughly vacuum the entire surface of the mattress. Make sure to get into all the crevices and seams. This will remove all the baking soda and any dust mites or other debris that it has absorbed.
6. Flip and Repeat: Flip the mattress over and repeat steps 2-5 on the other side. This ensures that both sides of the mattress are thoroughly cleaned and refreshed.
7. Air it Out: After vacuuming both sides, let the mattress air out for a few hours before making the bed. This will help to remove any lingering baking soda dust and allow the essential oil scent to dissipate slightly.
DIY All-Purpose Cleaner: Simple, Effective, and Natural
This all-purpose cleaner is my go-to for cleaning countertops, sinks, and other surfaces. It’s super easy to make and uses just a few simple ingredients.
What You’ll Need:
* Spray bottle
* 1 cup of white vinegar
* 1 cup of water
* 10-20 drops of essential oil (optional, but I love tea tree, lemon, or lavender)
Step-by-Step Instructions:
1. Combine Ingredients: In your spray bottle, combine the white vinegar, water, and essential oil (if using).
2. Shake Well: Shake the bottle well to mix the ingredients.
3. Spray and Wipe: Spray the cleaner onto the surface you want to clean and wipe it down with a clean cloth or sponge.
4. Dry if Needed: If necessary, dry the surface with a clean towel.
Important Note: Avoid using this cleaner on marble or granite surfaces, as the vinegar can damage them.
Unclogging Drains Naturally: Skip the Harsh Chemicals
Clogged drains are a common household problem, but you don’t need to resort to harsh chemicals to fix them. This natural method is effective and safe for your pipes.
What You’ll Need:
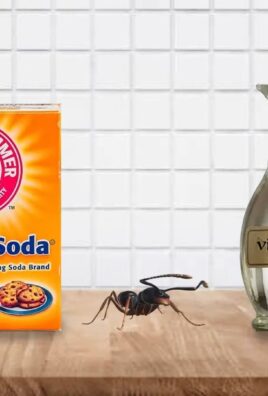
* 1/2 cup of baking soda
* 1 cup of white vinegar
* Boiling water
Step-by-Step Instructions:
1. Pour Baking Soda: Pour the baking soda down the drain.
2. Add Vinegar: Immediately follow with the white vinegar.
3. Let it Fizz: Let the mixture fizz and bubble for about 30 minutes. This chemical reaction helps to break down the clog.
4. Flush with Boiling Water: After 30 minutes, carefully pour boiling water down the drain. The hot water will help to flush away the loosened debris.
5. Repeat if Necessary: If the drain is still clogged, repeat the process. For stubborn clogs, you may need to repeat it several times.
Cleaning Your Shower Head: Removing Mineral Buildup
Over time, shower heads can accumulate mineral buildup, which can reduce water pressure and make your shower less enjoyable. This simple hack will remove the buildup and restore your shower head to its former glory.
What You’ll Need:
* Plastic bag (gallon-sized works well)
* White vinegar
* Rubber band or twist tie
Step-by-Step Instructions:
1. Fill the Bag with Vinegar: Fill the plastic bag with enough white vinegar to completely submerge the shower head.
2. Attach the Bag: Carefully attach the bag to the shower head, making sure that the shower head is fully submerged in the vinegar. Use a rubber band or twist tie to secure the bag in place.
3. Let it Soak: Let the shower head soak in the vinegar for at least 30 minutes, but ideally for several hours or even overnight. The longer it soaks, the more effectively the vinegar will dissolve the mineral buildup.
4. Remove the Bag: Carefully remove the bag from the shower head and discard the vinegar.
5. Rinse Thoroughly: Turn on the shower and let the water run for a few minutes to rinse away any remaining vinegar and mineral deposits.
6. Wipe Clean: Wipe the shower head clean with a cloth or sponge.
Cleaning Grout: Brightening Up Your Tiles
Dirty grout can make your entire bathroom or kitchen look dingy. This DIY grout cleaner is effective and easy to make.
What You’ll Need:
* Baking soda
* Water
* Old toothbrush or grout brush
* Spray bottle (optional)
Step-by-Step Instructions:
1. Make a Paste: In a small bowl, mix baking soda with enough water to form a thick paste.
2. Apply the Paste: Apply the paste to the grout lines. You can use your fingers, a spoon, or a small spatula to apply the paste.
3. Scrub the Grout: Using an old toothbrush or grout brush, scrub the grout lines thoroughly.
4. Rinse with Water: Rinse the grout lines with water. You can use a spray bottle to spray the grout lines with water, or you can use a damp sponge to wipe away the paste.
5. Dry with a Towel: Dry the grout lines with a clean towel.
For stubborn stains, you can try adding a little bit of hydrogen peroxide to the baking soda paste.
Cleaning Blinds: A Quick and Easy Method
Cleaning blinds can be a tedious task, but this method makes it much easier.
Conclusion
So, there you have it! This simple yet incredibly effective DIY cleaning trick is a game-changer for anyone looking to streamline their home cleaning habits and achieve a sparkling clean without breaking the bank or relying on harsh chemicals. We’ve shown you how to harness the power of readily available ingredients to create a cleaning solution that’s both powerful and gentle on your home and the environment.
Why is this a must-try? Because it’s efficient, economical, and eco-friendly. Think about it: no more trips to the store for expensive, specialized cleaners. No more worrying about the fumes and residue left behind by harsh chemicals. This DIY approach puts you in control, allowing you to customize the solution to your specific needs and preferences.
But the benefits don’t stop there. This method is also incredibly versatile. Feel free to experiment with different essential oils to add a pleasant fragrance and boost the cleaning power. Lavender, tea tree, lemon, and eucalyptus are all excellent choices, each offering unique antibacterial and antiviral properties. You can also adjust the ratio of ingredients to suit different surfaces and levels of grime. For tougher stains, a little extra baking soda can work wonders. For delicate surfaces, dilute the solution further with water.
Consider these variations to personalize your cleaning experience:
* **Citrus Burst:** Add the peels of lemons, oranges, or grapefruits to your vinegar infusion for an extra boost of cleaning power and a refreshing citrus scent.
* **Herbal Infusion:** Infuse your vinegar with herbs like rosemary, thyme, or mint for a natural and aromatic cleaning solution.
* **Essential Oil Blend:** Create your own custom blend of essential oils to target specific cleaning needs and create a unique fragrance.
We understand that trying something new can sometimes feel daunting, but we promise you, this DIY cleaning trick is incredibly easy to implement. The initial investment of time to infuse the vinegar is minimal, and the payoff in terms of cost savings, effectiveness, and peace of mind is substantial.
Don’t just take our word for it – try it yourself! We’re confident that you’ll be amazed by the results. Once you’ve experienced the satisfaction of creating your own effective and eco-friendly cleaning solution, you’ll never go back to store-bought cleaners again.
We encourage you to embrace this simple yet transformative approach to home cleaning. It’s a small change that can make a big difference, not only in the cleanliness of your home but also in your overall well-being and environmental impact.
So, go ahead, give it a try! We’re eager to hear about your experiences. Share your tips, variations, and success stories in the comments below. Let’s create a community of DIY cleaning enthusiasts who are passionate about creating a cleaner, healthier, and more sustainable home. Your feedback will not only help others but also inspire us to continue sharing innovative and effective cleaning solutions. Let’s revolutionize our home cleaning habits together, one DIY solution at a time!
Frequently Asked Questions (FAQ)
1. What types of vinegar can I use for this DIY cleaning solution?
You can use white distilled vinegar or apple cider vinegar. White distilled vinegar is generally preferred due to its higher acidity and lack of color, which makes it less likely to stain surfaces. Apple cider vinegar has a milder scent and can be a good alternative if you’re sensitive to the strong smell of white vinegar. Avoid using cleaning vinegar, as it is too strong and can damage some surfaces.
2. Can I use this DIY cleaner on all surfaces in my home?
While this DIY cleaner is generally safe and effective, it’s not suitable for all surfaces. Avoid using it on natural stone surfaces like marble, granite, and limestone, as the acidity of the vinegar can etch and damage them. It’s also best to avoid using it on waxed wood, as it can strip the wax finish. Always test the cleaner on an inconspicuous area first to ensure it doesn’t cause any discoloration or damage.
3. How long does the vinegar infusion process take?
The vinegar infusion process typically takes about 1-2 weeks. The longer the vinegar infuses, the stronger the scent and cleaning power will be. You can speed up the process by gently heating the vinegar (do not boil) before adding the citrus peels or herbs.
4. How do I store the DIY cleaning solution?
Store the DIY cleaning solution in a clean, airtight spray bottle or container. Keep it in a cool, dark place away from direct sunlight. The solution should last for several months without losing its effectiveness.
5. Can I add other ingredients to the DIY cleaning solution?
Yes, you can add other ingredients to customize your DIY cleaning solution. Some popular additions include:
* **Baking soda:** Adds extra scrubbing power for tough stains.
* **Borax:** A natural mineral that can help boost cleaning and disinfecting properties. Use with caution and research proper safety guidelines.
* **Hydrogen peroxide:** A mild bleaching agent that can help whiten and disinfect surfaces.
* **Castile soap:** A gentle, plant-based soap that can help emulsify grease and grime.
Always research the compatibility of different ingredients before combining them, and avoid mixing vinegar with bleach, as this can create toxic fumes.
6. What are some specific uses for this DIY cleaning solution?
This DIY cleaning solution is versatile and can be used for a variety of cleaning tasks, including:
* **All-purpose cleaner:** Spray on countertops, sinks, and other surfaces and wipe clean.
* **Glass cleaner:** Dilute the solution with water for streak-free windows and mirrors.
* **Floor cleaner:** Add the solution to a bucket of water for mopping floors (avoid using on waxed wood).
* **Toilet bowl cleaner:** Pour the solution into the toilet bowl and let it sit for a few minutes before scrubbing.
* **Shower cleaner:** Spray on shower walls and doors to prevent soap scum buildup.
7. Is this DIY cleaning solution safe for pets and children?
This DIY cleaning solution is generally safe for pets and children, as it’s made with natural ingredients. However, it’s still important to keep it out of reach of children and pets to prevent accidental ingestion. If your pet or child ingests the solution, contact a veterinarian or poison control center immediately.
8. How can I reduce the vinegar smell?
The vinegar smell can be strong, but it dissipates quickly after cleaning. To reduce the smell, you can:
* Use apple cider vinegar instead of white vinegar.
* Add essential oils to the solution.
* Open windows and ventilate the area while cleaning.
* Rinse surfaces with water after cleaning.
9. What if the DIY cleaner doesn’t seem to be working effectively?
If the DIY cleaner isn’t working effectively, consider the following:
* Increase the concentration of vinegar in the solution.
* Add baking soda or borax for extra cleaning power.
* Allow the solution to sit on the surface for a longer period of time before wiping clean.
* Use a scrub brush or sponge to agitate stubborn stains.
* Make sure you are using the correct type of vinegar for the task.
10. Can this DIY cleaner be used to disinfect surfaces?
While vinegar has some antibacterial properties, it’s not as effective as commercial disinfectants. To disinfect surfaces, you can add hydrogen peroxide to the DIY cleaning solution or use a separate disinfectant after cleaning. Remember to always follow the manufacturer’s instructions when using disinfectants. For truly effective disinfection, consider using a solution of diluted bleach (always handle with care and proper ventilation). However, for everyday cleaning and maintaining a tidy home, this DIY solution is a fantastic and eco-conscious choice that will significantly improve your home cleaning habits.

Leave a Comment