

Hydroponic water spinach DIY: Ever dreamt of harvesting fresh, crunchy water spinach right from your own home, regardless of space or soil conditions? I know I have! Forget battling weeds and unpredictable weather; with a simple hydroponic setup, you can enjoy a continuous supply of this delicious and nutritious leafy green.
Water spinach, also known as kangkong, has a rich history, deeply rooted in Asian cuisine and culture. For centuries, it’s been a staple in stir-fries, soups, and salads, celebrated for its mild flavor and impressive health benefits. But what if I told you that you don’t need a sprawling garden to cultivate this culinary gem?
In today’s fast-paced world, many of us lack the time or space for traditional gardening. That’s where this hydroponic water spinach DIY guide comes in! I’m going to show you how to create a simple, cost-effective hydroponic system that will allow you to grow your own water spinach indoors or outdoors, even in the smallest of apartments. Imagine the satisfaction of harvesting your own fresh produce, knowing exactly where it came from and how it was grown. Plus, hydroponics is incredibly water-efficient, making it an eco-friendly choice for the conscious gardener. So, let’s dive in and unlock the secrets to growing vibrant, delicious water spinach with this easy-to-follow DIY project!
DIY Hydroponic Water Spinach: A Beginner’s Guide
Hey there, fellow gardening enthusiasts! Ever wanted to grow your own fresh, crunchy water spinach (also known as kangkong or ong choy) right in your kitchen, without all the mess of soil? Well, you’re in the right place! I’m going to walk you through a super simple DIY hydroponic system that’s perfect for growing water spinach. Trust me, it’s easier than you think, and the reward of harvesting your own delicious greens is totally worth it.
What You’ll Need
Before we dive in, let’s gather our supplies. This is a low-cost project, so you probably have some of these items lying around already.
* A Container: A dark-colored plastic storage bin (around 10-20 liters) works great. The darkness helps prevent algae growth.
* Net Pots: These are small, slotted pots that will hold your water spinach seedlings. You’ll need as many as you want to grow plants. 2-inch or 3-inch net pots are ideal.
* Hydroponic Growing Medium: Coco coir, perlite, or rockwool cubes are all excellent choices. I personally prefer coco coir for its water retention and aeration.
* Air Pump and Air Stone: This is crucial for oxygenating the water, which is essential for healthy root growth.
* Air Tubing: To connect the air pump to the air stone.
* Hydroponic Nutrients: A balanced nutrient solution specifically formulated for leafy greens. Look for something with a higher nitrogen content.
* Water Spinach Seeds: You can find these at most garden centers or online.
* pH Meter or pH Test Strips: To monitor and adjust the pH of your nutrient solution.
* Measuring Cups and Spoons: For accurately mixing your nutrient solution.
* Drill with Hole Saw Attachment (optional): If your container lid doesn’t have pre-made holes for the net pots.
* Marker: For marking where to drill holes.
* Water: Tap water is usually fine, but let it sit for 24 hours to dechlorinate.
Setting Up Your Hydroponic System
Alright, let’s get our hands dirty (well, not really, since it’s hydroponics!). This section will guide you through assembling your system.
1. Prepare the Container:
* Clean the plastic storage bin thoroughly with soap and water. Rinse it well to remove any soap residue.
* If your container lid doesn’t have pre-made holes, use the marker to mark the locations where you want to place your net pots. Space them out evenly to allow for adequate growth.
* Using the drill and hole saw attachment, carefully drill holes in the lid that are slightly smaller than the diameter of your net pots. This will ensure a snug fit.
2. Assemble the Air Pump System:
* Connect one end of the air tubing to the air pump.
* Attach the other end of the tubing to the air stone.
* Place the air stone at the bottom of the container.
* Position the air pump outside the container, making sure it’s elevated to prevent water from siphoning back into it in case of a power outage.
3. Prepare the Growing Medium:
* If using coco coir, rinse it thoroughly with water to remove any excess salts. This is especially important if you’re using compressed coco coir bricks.
* If using rockwool cubes, soak them in water for a few hours before use.
4. Fill the Container with Water:
* Fill the container with water, leaving a few inches of space at the top.
5. Add Nutrients:
* Carefully follow the instructions on your hydroponic nutrient solution to determine the correct dosage.
* Use the measuring cups and spoons to accurately measure the nutrients.
* Add the nutrients to the water and stir well to ensure they are fully dissolved.
6. Check and Adjust pH:
* Use the pH meter or pH test strips to check the pH of the nutrient solution. Water spinach prefers a pH between 6.0 and 7.0.
* If the pH is too high, add a small amount of pH down solution. If it’s too low, add a small amount of pH up solution.
* Always add pH adjusters gradually and re-check the pH after each addition.
7. Place the Lid on the Container:
* Securely place the lid on the container.
8. Insert the Net Pots:
* Insert the net pots into the holes in the lid.
Starting Your Water Spinach Seeds
Now that our hydroponic system is ready, let’s get those seeds germinating!
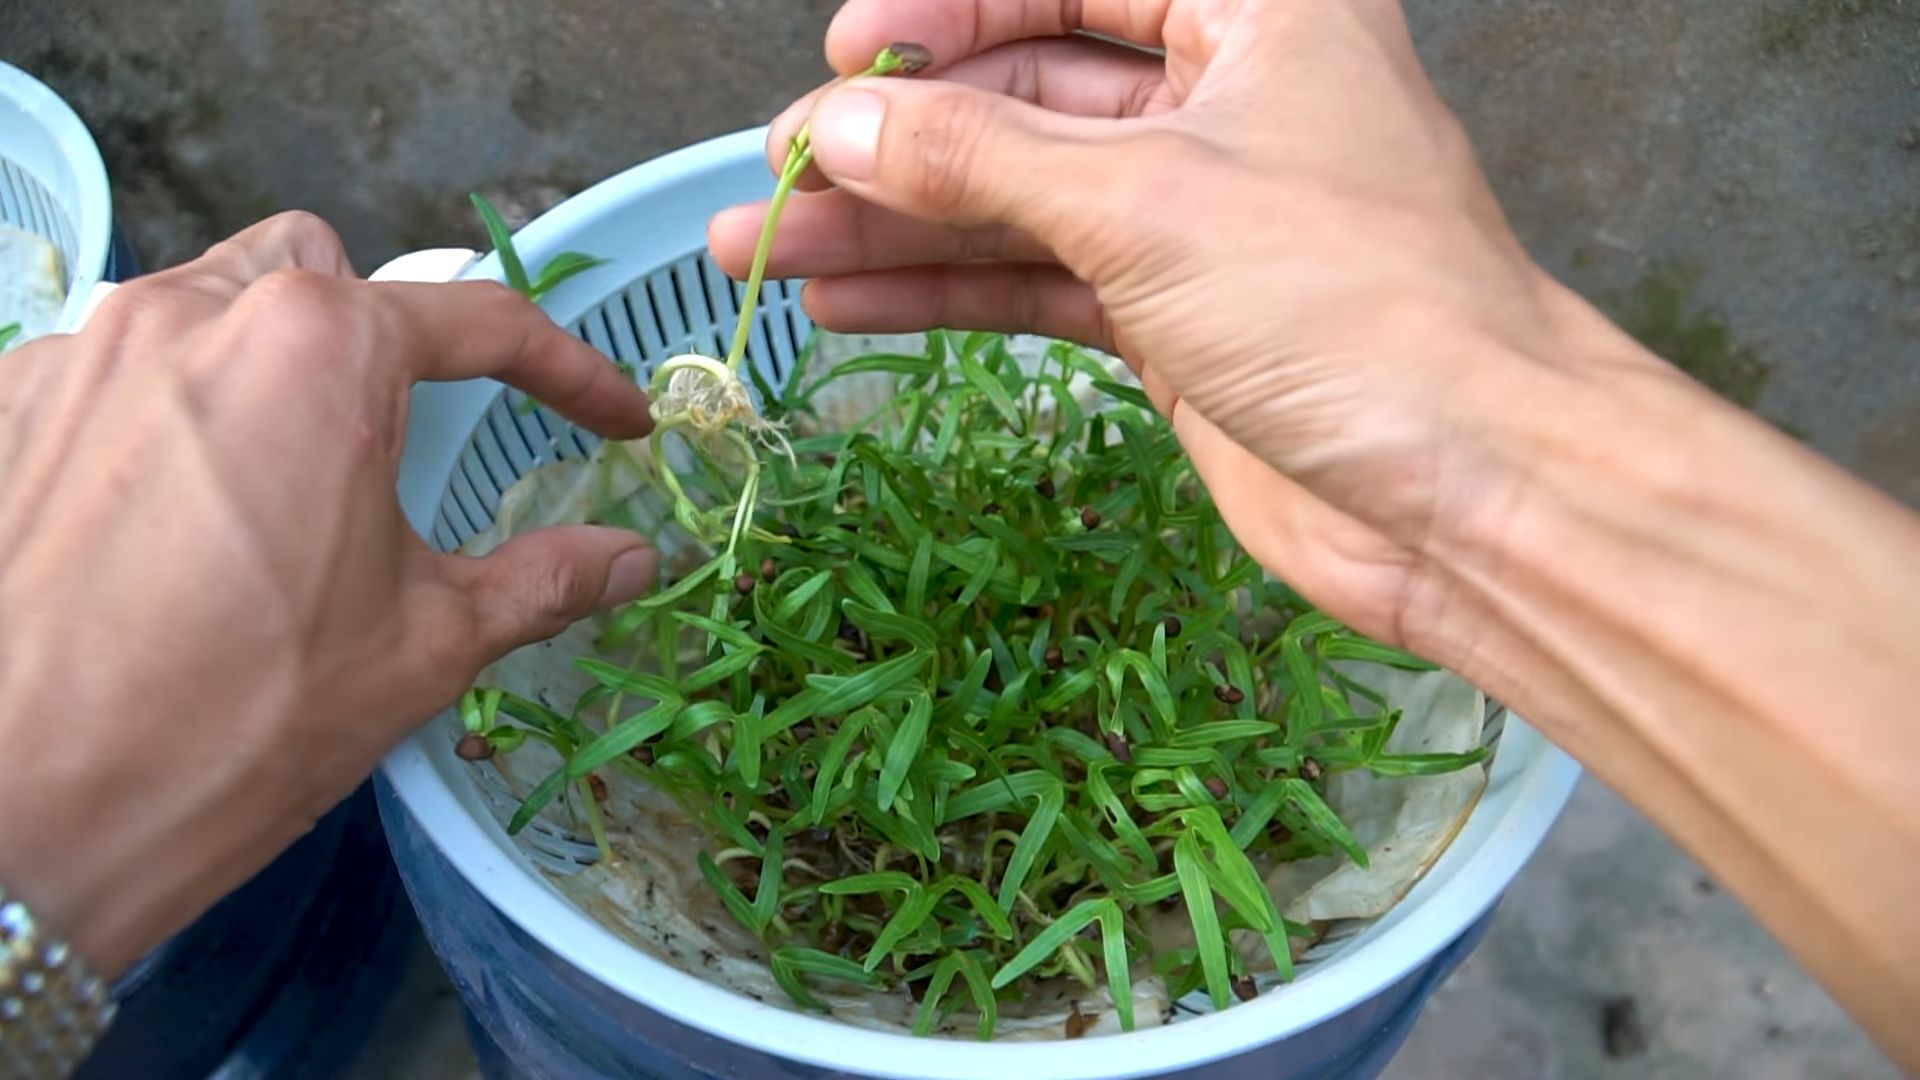
1. Germination:
* You can germinate water spinach seeds directly in the net pots or start them in a separate container. I prefer starting them separately for better control.
* To germinate in a separate container, dampen a paper towel and place the seeds on it. Fold the paper towel over the seeds and place it in a plastic bag.
* Keep the paper towel moist and warm (around 75-85°F). The seeds should germinate in 1-3 days.
2. Planting Seedlings:
* Once the seedlings have sprouted and have a few small roots, carefully transfer them to the net pots.
* Fill the net pots with your chosen growing medium (coco coir, perlite, or rockwool).
* Gently place the seedlings in the growing medium, making sure the roots are covered.
3. Placement in the Hydroponic System:
* Place the net pots with the seedlings into the holes in the lid of your hydroponic system.
* Make sure the bottom of the net pots is slightly submerged in the nutrient solution. This will allow the roots to access the water and nutrients.
Caring for Your Hydroponic Water Spinach
Congratulations! You’ve successfully set up your hydroponic system and planted your water spinach seedlings. Now, let’s talk about how to keep them thriving.
1. Lighting:
* Water spinach needs plenty of light to grow well. If you’re growing indoors, you’ll need to provide artificial lighting.
* LED grow lights are a great option because they are energy-efficient and produce very little heat.
* Aim for at least 12-16 hours of light per day.
2. Nutrient Solution:
* Monitor the nutrient solution regularly. Check the pH and EC (electrical conductivity) levels. EC measures the concentration of nutrients in the solution.
* Adjust the pH and EC as needed to maintain optimal levels for water spinach.
* Change the nutrient solution every 1-2 weeks to prevent nutrient imbalances and the buildup of harmful bacteria.
3. Water Level:
* Keep an eye on the water level in the container. As the water spinach grows, it will absorb water, and the water level will decrease.
* Replenish the water as needed, using fresh nutrient solution.
4. Air Pump:
* Ensure the air pump is running continuously to provide adequate oxygen to the roots.
* Check the air stone periodically to make sure it’s not clogged.
5. Temperature:
* Water spinach prefers warm temperatures, ideally between 70-85°F.
* Avoid exposing your plants to extreme temperature fluctuations.
6. Pest Control:
* Hydroponic systems are generally less susceptible to pests than soil-based gardens, but it’s still important to be vigilant.
* Inspect your plants regularly for any signs of pests, such as aphids or spider mites.
* If you find any pests, you can use insecticidal soap or neem oil to control them.
Harvesting Your Water Spinach
The best part! After about 3-4 weeks, your water spinach should be ready to harvest.
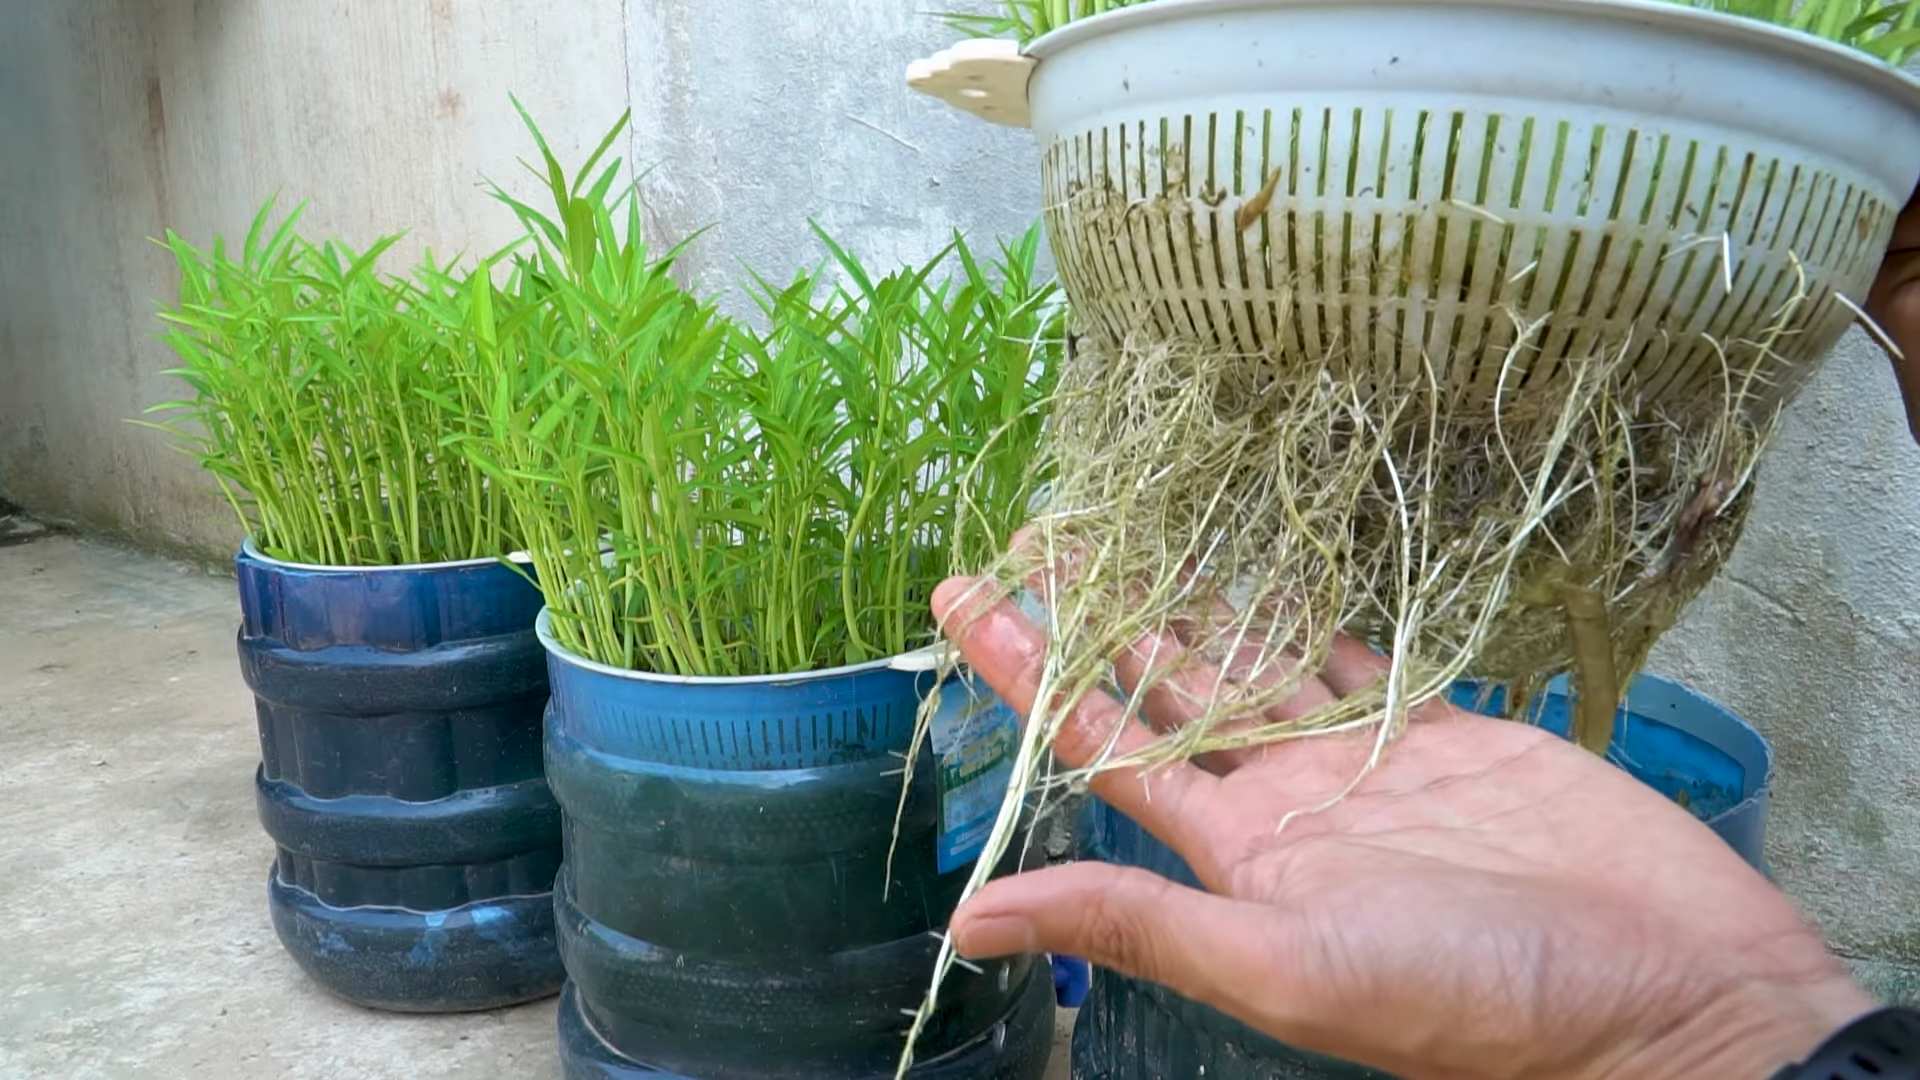
1. Harvesting:
* You can harvest water spinach by cutting the stems about 2 inches above the base of the plant.
* The plant will continue to grow and produce new shoots after harvesting.
* Harvest regularly to encourage continued growth.
2. Enjoying Your Harvest:
* Water spinach is a versatile vegetable that can be used in a variety of dishes.
* It’s delicious stir-fried, steamed, or added to soups and salads.
* Store your harvested water spinach in the refrigerator for up to a week.
Troubleshooting
Even with the best planning, sometimes things don’t go exactly as expected. Here are a few common issues you might encounter and how to address them:
* Yellowing Leaves
Conclusion
So, there you have it! Cultivating your own hydroponic water spinach at home is not only achievable but surprisingly simple and rewarding. We’ve walked you through the process, highlighting the ease and accessibility of this DIY project. Forget expensive store-bought greens that wilt before you can even use them. With this method, you’ll have a constant supply of fresh, crisp, and nutrient-rich water spinach right at your fingertips.
But why is this DIY trick a must-try? It’s more than just a fun project; it’s about taking control of your food source, reducing your environmental impact, and enjoying the unparalleled flavor of homegrown produce. Imagine the satisfaction of harvesting your own vegetables, knowing exactly where they came from and what went into growing them. Plus, hydroponics uses significantly less water than traditional soil-based gardening, making it an eco-friendly choice.
This hydroponic water spinach DIY project is a game-changer for anyone looking to add fresh, healthy greens to their diet.
Don’t be afraid to experiment with variations! Try different nutrient solutions to see which yields the best results for your specific environment. You can also explore different container sizes and setups to optimize your growing space. Consider adding an air pump to your reservoir for increased oxygenation, which can further boost growth. For those with limited space, a vertical hydroponic system is an excellent option. You can even try growing other leafy greens alongside your water spinach, creating a diverse and thriving hydroponic garden.
We encourage you to dive in and give this DIY hydroponic water spinach project a try. It’s a fantastic way to learn about sustainable gardening, enjoy fresh produce, and impress your friends and family with your green thumb (or, in this case, your green water!).
Once you’ve experienced the joy of harvesting your own hydroponic water spinach, we’d love to hear about it! Share your experiences, tips, and photos in the comments below. Let’s build a community of hydroponic enthusiasts and inspire others to embrace this innovative and rewarding way of growing food. What challenges did you face? What successes did you celebrate? Your feedback is invaluable and will help others on their hydroponic journey. Happy growing!
Frequently Asked Questions (FAQ)
What exactly is hydroponics, and why is it good for growing water spinach?
Hydroponics is a method of growing plants without soil, using water-based nutrient solutions to deliver essential elements directly to the roots. It’s particularly well-suited for water spinach because this plant thrives in moist environments and has a relatively short growing cycle. Hydroponics allows for faster growth, higher yields, and reduced water consumption compared to traditional soil-based gardening. It also eliminates soilborne diseases and pests, making it a cleaner and more efficient way to grow your own food.
What kind of nutrient solution should I use for my hydroponic water spinach?
A balanced hydroponic nutrient solution specifically formulated for leafy greens is ideal. Look for solutions that contain essential macronutrients like nitrogen (N), phosphorus (P), and potassium (K), as well as micronutrients like iron (Fe), manganese (Mn), and zinc (Zn). You can find these solutions at most garden centers or online retailers. Follow the manufacturer’s instructions carefully when mixing the solution, as the correct concentration is crucial for healthy plant growth. You can also find DIY nutrient solution recipes online, but be sure to research them thoroughly and use high-quality ingredients.
How often should I change the nutrient solution in my hydroponic system?
The frequency of nutrient solution changes depends on the size of your reservoir and the growth rate of your water spinach. As a general rule, you should change the solution every 1-2 weeks. However, if you notice the solution becoming cloudy or developing an unpleasant odor, it’s a sign that it needs to be changed sooner. Regularly monitoring the pH and EC (electrical conductivity) of the solution can also help you determine when it needs to be replaced. Aim for a pH between 6.0 and 6.5 and an EC that is appropriate for leafy greens (check the nutrient solution instructions).
What kind of lighting is best for hydroponic water spinach?
Water spinach needs plenty of light to thrive. If you’re growing your hydroponic system indoors, you’ll need to provide artificial lighting. LED grow lights are a popular choice because they are energy-efficient and produce a full spectrum of light that is beneficial for plant growth. Fluorescent grow lights are another option, but they are less energy-efficient than LEDs. Aim for at least 12-16 hours of light per day. If you’re growing your system outdoors, make sure it’s placed in a location that receives at least 6 hours of direct sunlight per day.
How long does it take to grow hydroponic water spinach?
One of the great things about hydroponic water spinach is its rapid growth rate. You can typically harvest your first crop within 3-4 weeks of planting the seeds or cuttings. After the initial harvest, you can continue to harvest leaves regularly as they grow, providing a continuous supply of fresh greens. The exact time it takes to grow will depend on factors such as the temperature, lighting, and nutrient solution you’re using.
Can I grow water spinach from cuttings instead of seeds?
Yes, growing water spinach from cuttings is a very effective and often faster method than starting from seeds. Simply take cuttings from a mature water spinach plant, making sure each cutting has at least a few nodes (the points where leaves emerge). Place the cuttings in water or directly into your hydroponic system. Roots will typically develop within a few days, and the cuttings will quickly start to grow. This is a great way to propagate your water spinach and create a continuous supply of plants.
What are some common problems I might encounter when growing hydroponic water spinach, and how can I fix them?
Some common problems include nutrient deficiencies, algae growth, and pest infestations. Nutrient deficiencies can be identified by yellowing leaves or stunted growth. To fix this, ensure you’re using a balanced nutrient solution and following the manufacturer’s instructions. Algae growth can be prevented by keeping the reservoir covered and using opaque containers. If algae does appear, you can clean the reservoir and add a small amount of hydrogen peroxide to the water. Pest infestations are less common in hydroponic systems than in soil-based gardens, but they can still occur. If you notice pests, you can try using insecticidal soap or neem oil.
Is hydroponic water spinach safe to eat?
Yes, hydroponic water spinach is perfectly safe to eat, as long as you’re using food-grade nutrient solutions and maintaining a clean growing environment. In fact, hydroponically grown produce is often considered to be cleaner and safer than conventionally grown produce because it’s less likely to be exposed to soilborne diseases and pests. Be sure to wash your water spinach thoroughly before eating it.
Can I use tap water for my hydroponic system?
While you can use tap water, it’s generally recommended to use filtered or dechlorinated water. Tap water often contains chlorine and other chemicals that can be harmful to plants. If you’re using tap water, let it sit out for 24 hours to allow the chlorine to evaporate. You can also use a water filter to remove chlorine and other impurities.
How do I harvest my hydroponic water spinach?
Harvesting hydroponic water spinach is easy. Simply cut the stems a few inches above the water line. The plant will continue to grow and produce new leaves, allowing you to harvest multiple times. You can harvest individual leaves or entire stems, depending on your needs. Harvest in the morning for the best flavor and texture.


Leave a Comment