

Juicy Tomatoes Growing Tips are what every home gardener dreams of, right? Imagine biting into a sun-warmed, perfectly ripe tomato, bursting with flavor, fresh from your own backyard. Forget those bland, store-bought imposters! I’m here to tell you that achieving tomato nirvana is totally within your reach, even if you think you have a “brown thumb.”
For centuries, tomatoes have held a special place in cultures around the world. Originating in South America, they were initially viewed with suspicion in Europe, even considered poisonous! But thankfully, their deliciousness won out, and now they’re a staple in cuisines globally. From Italian sauces to Spanish gazpacho, the tomato’s versatility is undeniable.
But let’s be honest, getting those truly juicy tomatoes can be tricky. Pests, diseases, and just plain finicky plants can stand in your way. That’s why I’ve compiled this collection of DIY tricks and hacks to help you unlock the secrets to a bountiful tomato harvest. We’ll cover everything from soil preparation and watering techniques to pruning and pest control, all with easy-to-follow instructions. So, ditch the frustration and get ready to enjoy the most delicious, homegrown juicy tomatoes growing tips that will make your neighbors green with envy!
“`html
Unlock Bumper Crops: My Foolproof Guide to Growing Juicy Tomatoes at Home
Okay, tomato lovers, gather ’round! I’m about to spill all my secrets for growing the most delicious, juicy tomatoes you’ve ever tasted. Forget those bland, store-bought imposters – we’re talking homegrown goodness bursting with flavor. This isn’t just about planting a seed and hoping for the best; it’s about understanding what tomatoes need to thrive and giving them exactly that. Get ready to roll up your sleeves and get your hands dirty!
Choosing the Right Tomato Variety
Before we even think about soil, let’s talk varieties. This is crucial because different tomatoes are suited for different climates and purposes.
* Determinate vs. Indeterminate: This is the big one. Determinate tomatoes grow to a certain size and then produce all their fruit at once, making them great for canning. Indeterminate tomatoes keep growing and producing fruit throughout the season, giving you a continuous harvest. I personally prefer indeterminate for fresh eating.
* Heirloom vs. Hybrid: Heirloom tomatoes are open-pollinated varieties that have been passed down for generations. They often have unique flavors and colors but can be more susceptible to diseases. Hybrid tomatoes are bred for specific traits like disease resistance and higher yields.
* Consider Your Climate: If you live in a short-season area, choose early-maturing varieties. If you have a long, hot summer, you can experiment with later-maturing types.
* Think About Your Needs: Do you want slicing tomatoes for sandwiches? Cherry tomatoes for salads? Paste tomatoes for sauce? Choose varieties that fit your culinary preferences. Some of my favorites are ‘Brandywine’ (heirloom, great flavor), ‘San Marzano’ (paste tomato), and ‘Sungold’ (cherry tomato, incredibly sweet).
Getting Started: Seed Starting Indoors (Optional but Recommended)
Starting your tomato seeds indoors gives you a head start on the growing season, especially if you live in a cooler climate.
1. Gather Your Supplies: You’ll need seed starting trays or small pots, seed starting mix (not regular potting soil!), tomato seeds, a spray bottle, and a grow light (or a very sunny windowsill).
2. Sow the Seeds: Moisten the seed starting mix and fill your trays or pots. Plant the seeds about 1/4 inch deep and gently cover them with soil.
3. Water Carefully: Use a spray bottle to mist the soil. You want it to be moist but not soggy.
4. Provide Light and Warmth: Place the trays under a grow light or in a sunny windowsill. Tomato seeds need warmth to germinate (around 70-75°F). A heat mat can be helpful.
5. Keep the Soil Moist: Check the soil daily and mist as needed.
6. Thin the Seedlings: Once the seedlings have their first true leaves (the second set of leaves), thin them out so that only one seedling remains in each cell or pot. Choose the strongest seedling.
7. Harden Off the Seedlings: About a week before you plan to transplant them outdoors, gradually acclimate the seedlings to outdoor conditions. Start by placing them outside for an hour or two each day, increasing the time each day. This helps them adjust to the sun, wind, and temperature changes.
Preparing the Soil: The Foundation for Success
Tomatoes are heavy feeders, so preparing the soil properly is essential.
1. Choose a Sunny Location: Tomatoes need at least 6-8 hours of sunlight per day.
2. Test Your Soil: A soil test will tell you the pH level and nutrient content of your soil. Tomatoes prefer a slightly acidic soil (pH 6.0-6.8). You can buy a soil test kit at most garden centers or send a sample to your local agricultural extension office.
3. Amend the Soil: Based on your soil test results, amend the soil with compost, aged manure, or other organic matter. This will improve drainage, aeration, and nutrient content. I like to add a generous amount of compost to my tomato beds.
4. Add Fertilizer: Incorporate a slow-release fertilizer formulated for tomatoes into the soil. Follow the instructions on the fertilizer package.
5. Ensure Good Drainage: Tomatoes don’t like soggy soil. If your soil is heavy clay, consider adding sand or perlite to improve drainage. Raised beds are also a great option.
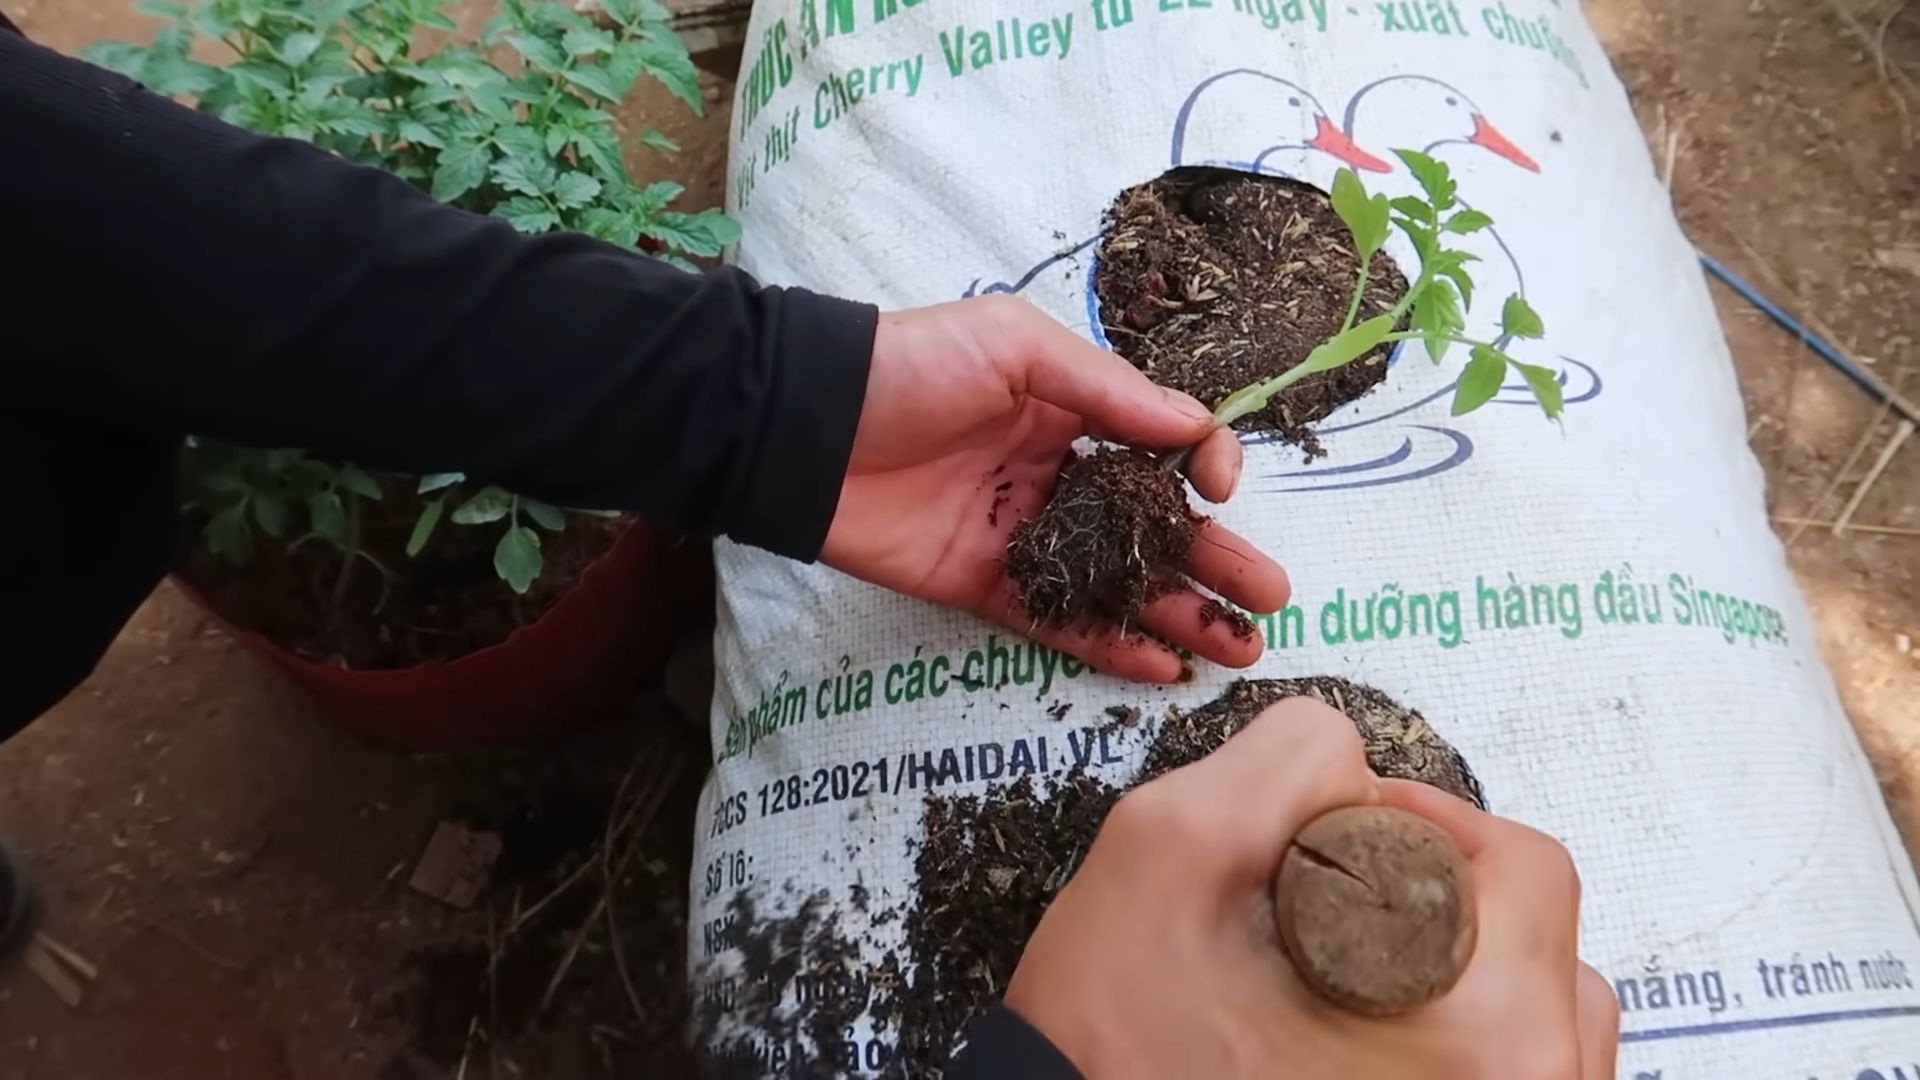
Transplanting Your Tomato Seedlings
Now for the exciting part – getting those little plants into the ground!
1. Choose a Cloudy Day: Transplanting on a cloudy day will help prevent the seedlings from getting stressed by the sun.
2. Dig a Hole: Dig a hole that is deep enough to bury the stem of the tomato plant up to the first set of leaves. This encourages the plant to develop more roots along the buried stem, resulting in a stronger, healthier plant.
3. Add Some Goodies to the Hole: Before planting, I like to add a handful of bone meal (for phosphorus, which promotes root growth) and a tablespoon of Epsom salts (for magnesium, which helps prevent blossom end rot) to the hole.
4. Plant the Seedling: Gently remove the seedling from its pot and place it in the hole. Backfill with soil and gently firm it around the plant.
5. Water Thoroughly: Water the newly transplanted seedlings thoroughly.
6. Mulch: Apply a layer of mulch around the plants to help retain moisture, suppress weeds, and regulate soil temperature. I like to use straw or shredded leaves.
Supporting Your Tomato Plants: Staking, Caging, or Trellising
Tomato plants, especially indeterminate varieties, need support to keep them off the ground and prevent the fruit from rotting.
* Staking: Drive a sturdy stake into the ground near the plant and tie the stem to the stake with soft twine or plant ties.
* Caging: Place a tomato cage around the plant when you transplant it. This provides support as the plant grows.
* Trellising: Use a trellis to support the tomato plants. This is a good option for smaller gardens. I personally prefer caging because it’s easy and provides good support.
Watering and Fertilizing: Keeping Your Tomatoes Happy
Consistent watering and fertilization are crucial for healthy tomato plants and abundant fruit production.
1. Water Deeply and Regularly: Water deeply and regularly, especially during hot, dry weather. Aim to water at the base of the plant to avoid wetting the foliage, which can lead to disease.
2. Fertilize Regularly: Fertilize your tomato plants every 2-3 weeks with a balanced fertilizer or a fertilizer specifically formulated for tomatoes. Follow the instructions on the fertilizer package. I also like to use liquid seaweed fertilizer for an extra boost.
3. Watch for Blossom End Rot: Blossom end rot is a common problem in tomatoes, caused by a calcium deficiency. To prevent it, ensure that your soil has adequate calcium and water consistently. You can also spray the plants with a calcium solution.
Pruning Your Tomato Plants: Encouraging Airflow and Fruit Production
Pruning your tomato plants can improve airflow, reduce disease, and encourage fruit production.
* Suckers: Remove the suckers that grow between the main stem and the branches. These suckers will eventually produce their own stems and fruit, but they will also take energy away from the main plant.
* Lower Leaves: Remove any yellowing or diseased leaves from the bottom of the plant. This will improve airflow and reduce the risk of disease.
* Topping: If you live in a short-season area, you can top the tomato plants in late summer to encourage the remaining fruit to ripen. Topping involves cutting off the top of the main stem.
Dealing with Pests and Diseases: Protecting Your Precious Tomatoes
Unfortunately, tomatoes are susceptible to a variety of pests and diseases.
* Common Pests: Aphids, tomato hornworms, whiteflies, and spider mites are common tomato pests. You can control them with insecticidal soap, neem oil, or by handpicking them off the plants.
* Common Diseases: Early blight, late blight, Septoria leaf spot, and Fusarium wilt are common tomato diseases. To prevent these diseases, choose disease-resistant varieties, provide good airflow, avoid overhead watering, and remove any infected leaves. You can also use a fungicide if necessary.
* Prevention is Key: The best way to deal with pests and diseases is to prevent them in the first place. Choose disease-resistant varieties, provide good airflow, water at the base of the plant, and keep your garden clean.
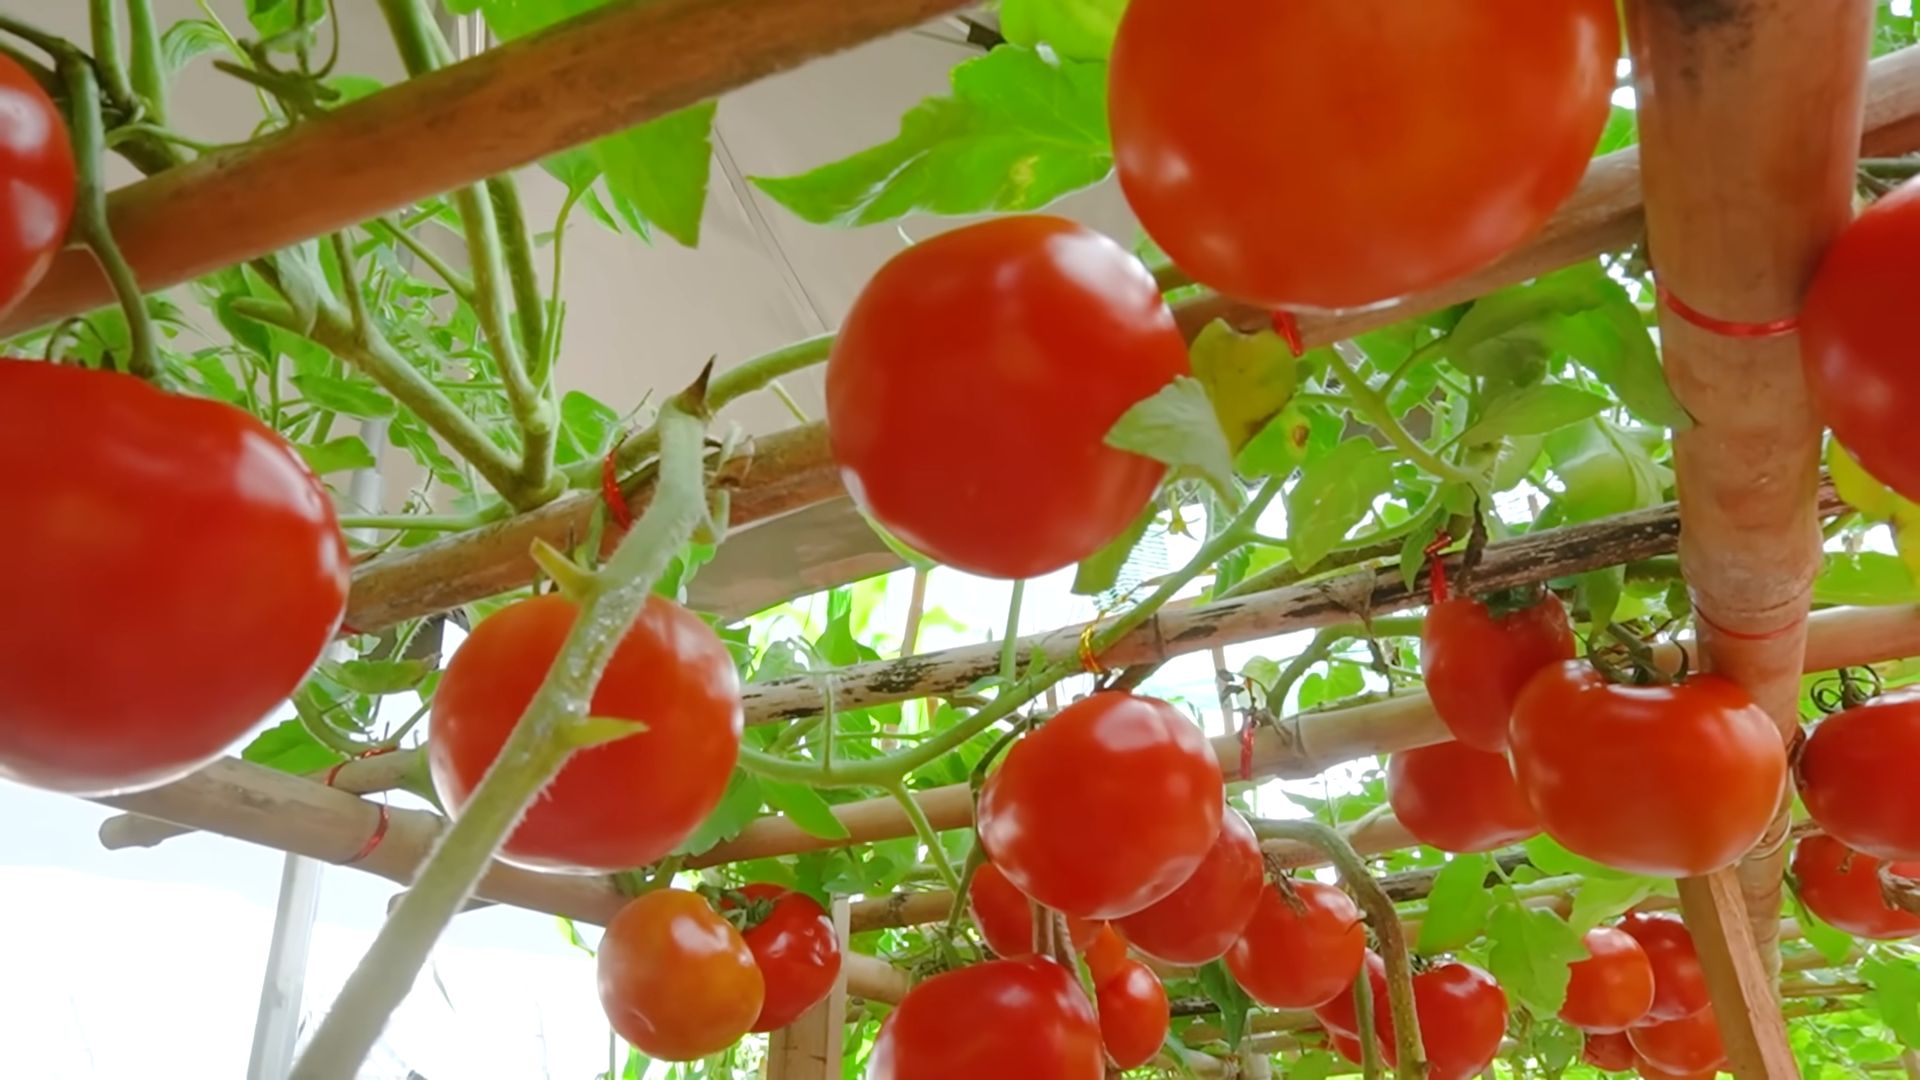
Harvesting Your Tomatoes: The Sweet Reward
Finally, the moment you’ve been waiting for – harvesting your delicious, homegrown tomatoes!
1. Wait for Full Color: Tomatoes are ripe when they are fully colored and slightly soft to the touch.
2. Gently Twist or Cut: Gently twist the tomato off the vine or cut it with pruning shears.
3. Enjoy
Conclusion
So, there you have it! Transforming your tomato-growing game with these simple, yet incredibly effective, DIY tricks is not just about saving money; it’s about fostering a deeper connection with your garden and reaping the rewards of truly flavorful, homegrown tomatoes. We’ve explored how to create nutrient-rich soil amendments from kitchen scraps, build effective supports from repurposed materials, and even craft natural pest deterrents using ingredients you likely already have on hand.
Why is this a must-try? Because it’s a win-win. You’re reducing waste, enriching your soil naturally, and ultimately, enjoying the most delicious, juicy tomatoes imaginable. Store-bought tomatoes simply can’t compare to the vibrant flavor and satisfying feeling of harvesting your own, nurtured with your own hands and ingenuity.
But don’t stop there! The beauty of these DIY approaches lies in their adaptability. Experiment with different types of kitchen scraps in your soil amendments. Try using bamboo stakes instead of tomato cages for a more natural aesthetic. Infuse your pest deterrent spray with different herbs like basil or mint to further enhance its effectiveness. The possibilities are endless!
Consider these variations:
* Compost Tea Boost: Brew a compost tea from your homemade compost to give your tomato plants an extra boost of nutrients during fruiting. Simply steep a handful of compost in a bucket of water for a few days, then dilute the resulting liquid and use it to water your plants.
* Eggshell Calcium Supplement: Finely crush eggshells and sprinkle them around the base of your tomato plants to provide a slow-release source of calcium, which helps prevent blossom-end rot.
* Coffee Ground Soil Acidifier: If your soil is too alkaline, gently work coffee grounds into the soil around your tomato plants. Coffee grounds are slightly acidic and can help lower the pH of the soil.
We are confident that these **juicy tomatoes growing tips** will revolutionize your gardening experience. But the real magic happens when you put them into practice and adapt them to your own unique garden environment.
We wholeheartedly encourage you to try these DIY tricks and witness the difference they make in the health and productivity of your tomato plants. Don’t be afraid to get your hands dirty, experiment with different variations, and most importantly, have fun!
And once you’ve experienced the joy of harvesting your own bountiful crop of juicy, homegrown tomatoes, we want to hear all about it! Share your experiences, successes, and even your challenges in the comments below. Let’s create a community of passionate tomato growers who are committed to sustainable and rewarding gardening practices. Your insights could inspire others to embark on their own DIY tomato-growing journey. Happy gardening!
Frequently Asked Questions (FAQ)
Q: How often should I apply the homemade soil amendments?
A: The frequency of application depends on the specific amendment and the needs of your soil. Generally, you can incorporate compost or other organic matter into the soil at planting time and then side-dress your plants with additional amendments every 4-6 weeks throughout the growing season. Observe your plants closely for signs of nutrient deficiencies and adjust your feeding schedule accordingly. A soil test can also provide valuable insights into your soil’s nutrient levels.
Q: What if I don’t have enough kitchen scraps to make a significant amount of compost?
A: Don’t worry! Even small amounts of kitchen scraps can make a difference. You can also supplement your kitchen scraps with other organic materials like leaves, grass clippings, and shredded paper. Consider asking neighbors or friends to contribute their kitchen scraps to your compost pile. Alternatively, you can purchase pre-made compost from a local garden center.
Q: Are there any specific types of tomatoes that benefit most from these DIY tricks?
A: All types of tomatoes can benefit from these DIY tricks! Whether you’re growing cherry tomatoes, heirloom varieties, or larger beefsteak tomatoes, providing them with nutrient-rich soil, adequate support, and protection from pests will result in healthier plants and more abundant harvests. However, certain varieties may have specific needs. For example, larger varieties may require sturdier supports, while determinate varieties may not require as much pruning.
Q: How do I know if my tomato plants are suffering from a nutrient deficiency?
A: Nutrient deficiencies can manifest in various ways, including yellowing leaves, stunted growth, blossom-end rot, and poor fruit development. The specific symptoms will depend on the nutrient that is lacking. For example, a nitrogen deficiency may cause yellowing of the lower leaves, while a calcium deficiency can lead to blossom-end rot. If you suspect a nutrient deficiency, consult a gardening guide or online resource to identify the specific deficiency and take appropriate action. A soil test can also help you determine the nutrient levels in your soil.
Q: Can I use these DIY pest deterrents on other plants in my garden?
A: Yes, many of the DIY pest deterrents mentioned can be used on other plants in your garden. However, it’s always a good idea to test the spray on a small area of the plant first to ensure that it doesn’t cause any damage. Some plants may be more sensitive to certain ingredients than others. Also, be mindful of beneficial insects when applying pest deterrents. Avoid spraying directly on flowers or areas where beneficial insects are actively foraging.
Q: My tomato plants are already established. Is it too late to implement these DIY tricks?
A: No, it’s never too late to implement these DIY tricks! While it’s ideal to incorporate soil amendments at planting time, you can still side-dress your established plants with compost or other organic matter. You can also add supports to your plants at any time, and apply pest deterrents as needed. Even small changes can make a big difference in the health and productivity of your tomato plants.
Q: What are some common mistakes to avoid when growing tomatoes?
A: Some common mistakes to avoid when growing tomatoes include overwatering, underwatering, planting too close together, not providing adequate support, and neglecting to prune suckers. Overwatering can lead to root rot, while underwatering can stress the plants and reduce fruit production. Planting too close together can restrict airflow and increase the risk of disease. Not providing adequate support can cause the plants to collapse under the weight of the fruit. And neglecting to prune suckers can result in a crowded plant with reduced fruit production.
Q: How do I prevent blossom-end rot in my tomatoes?
A: Blossom-end rot is a common problem in tomatoes that is caused by a calcium deficiency. To prevent blossom-end rot, ensure that your soil is rich in calcium and that your plants are receiving consistent watering. You can also add crushed eggshells to the soil around your plants to provide a slow-release source of calcium. Avoid over-fertilizing with nitrogen, as this can interfere with calcium uptake.
Q: Where can I find more information about growing tomatoes?
A: There are many excellent resources available online and in print about growing tomatoes. Your local library, garden center, and university extension office are all great places to start. You can also find a wealth of information on gardening websites and blogs. Look for resources that are specific to your region and climate.


Leave a Comment