

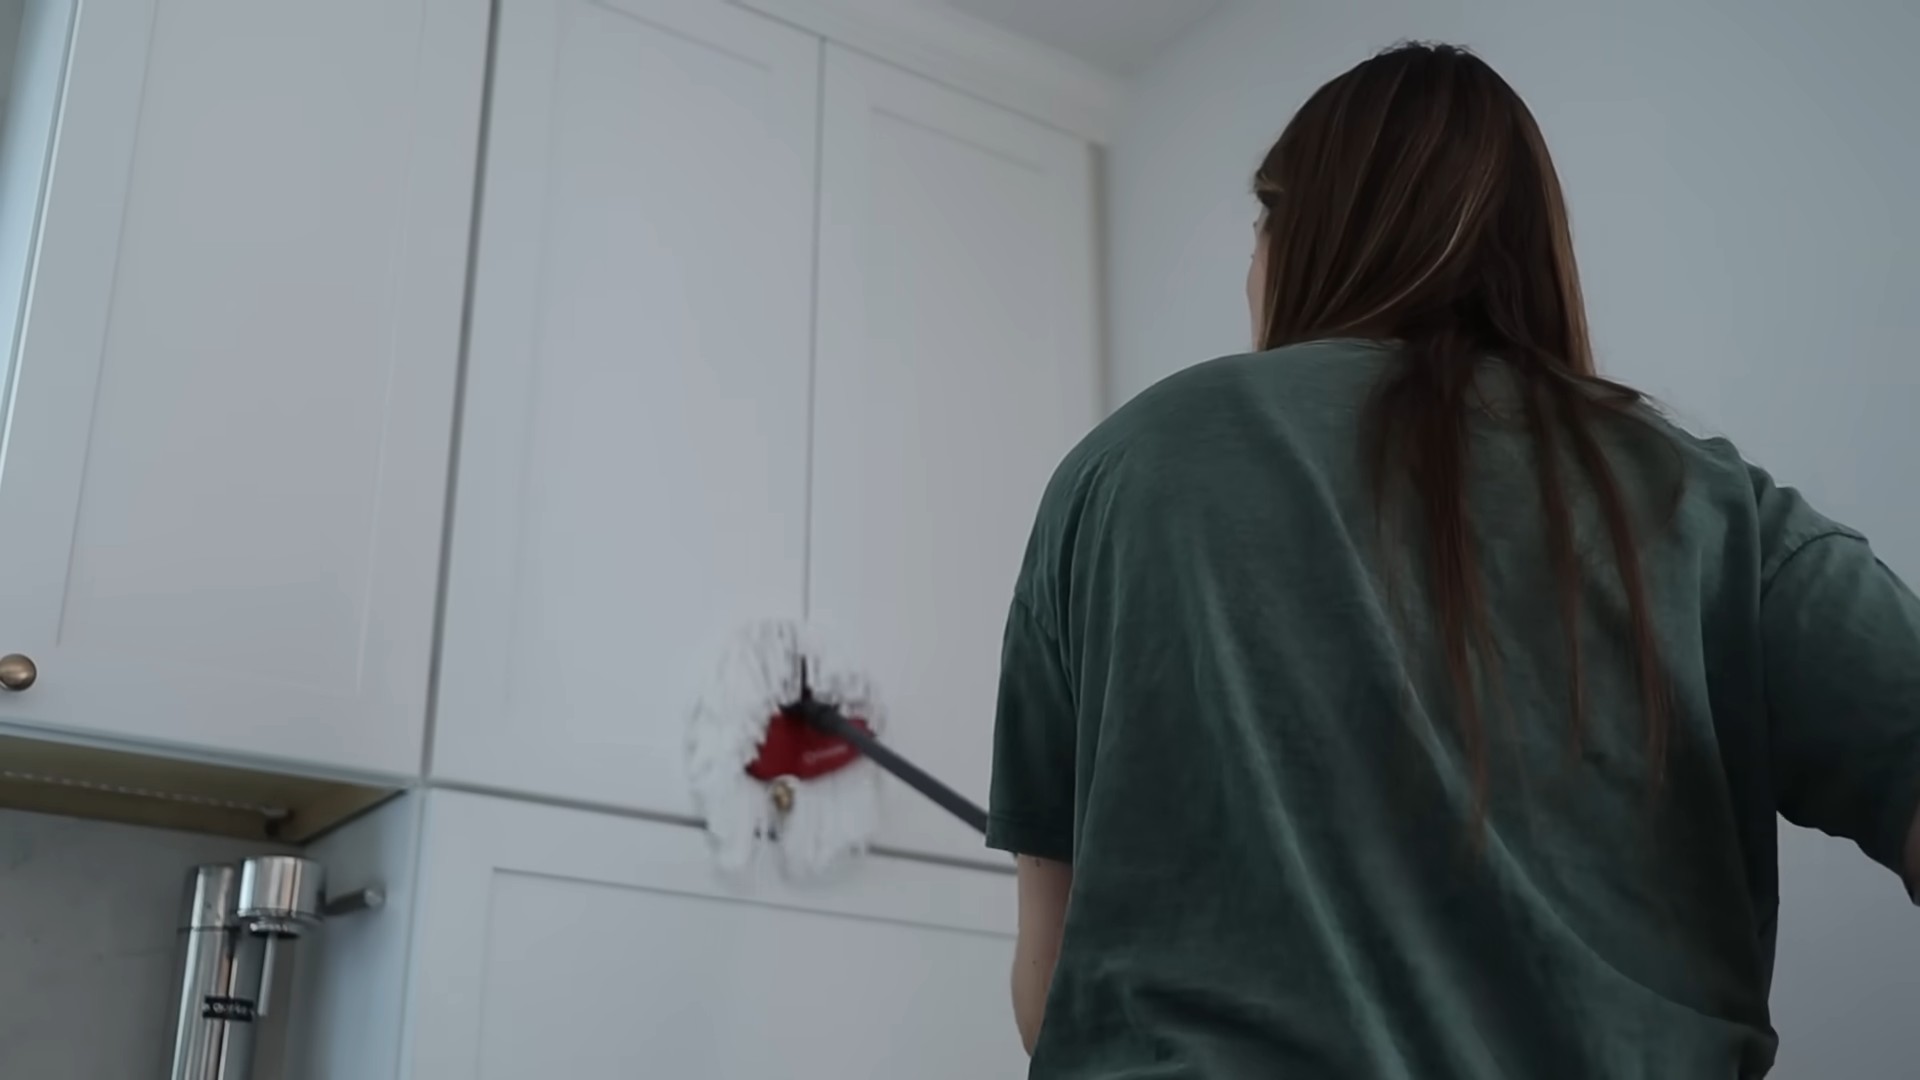
Kitchen cleaning hacks – who doesn’t need a few of those up their sleeve? Let’s be honest, the kitchen, the heart of our homes, often bears the brunt of daily life. From splattered sauces to lingering odors, it can quickly transform from a culinary haven to a cleaning battleground. But fear not, fellow home enthusiasts! I’m here to share some game-changing DIY tricks that will revolutionize your kitchen cleaning routine.
For generations, resourceful homemakers have passed down clever cleaning solutions, often born out of necessity and a desire to keep their kitchens sparkling. Think about it – before the age of specialized cleaning products, people relied on natural ingredients and ingenious methods to maintain a hygienic and inviting space. These time-tested techniques are not only effective but also often eco-friendly and budget-conscious.
In today’s fast-paced world, who has hours to spend scrubbing and scouring? That’s where these kitchen cleaning hacks come in. They’re designed to save you time, energy, and money, allowing you to reclaim your weekends and enjoy a cleaner, more pleasant kitchen environment. Whether you’re battling stubborn grease, tackling a grimy oven, or simply looking for ways to streamline your cleaning process, these DIY solutions will empower you to conquer any kitchen cleaning challenge with ease. Get ready to transform your kitchen from chaos to sparkling clean with these simple yet effective hacks!
DIY Kitchen Cleaning Hacks: Sparkling Clean Without Breaking a Sweat!
Okay, let’s face it, cleaning the kitchen is nobody’s favorite chore. But a clean kitchen is a happy kitchen, and I’m here to share some of my favorite DIY hacks to make the process faster, easier, and even (dare I say?) a little bit fun! These tips use common household ingredients, so you won’t need to buy expensive cleaners. Get ready to transform your kitchen from a sticky, grimy mess to a sparkling haven!
Tackling the Greasy Oven
The oven is often the most dreaded part of kitchen cleaning. Baked-on grease and food splatters can seem impossible to remove. But don’t worry, I’ve got a couple of tricks up my sleeve!
What You’ll Need:
* Baking soda
* White vinegar
* Water
* Spray bottle
* Sponge or scrub brush
* Rubber gloves (optional, but recommended)
* Old towel or rag
Step-by-Step Instructions:
1. Empty the Oven: Remove all racks, baking sheets, and any other items from your oven. These will be cleaned separately (more on that later!).
2. Baking Soda Paste: In a bowl, mix ½ cup of baking soda with enough water to form a thick paste. The consistency should be similar to frosting.
3. Coat the Oven: Using your hands (with gloves on!), spread the baking soda paste all over the interior surfaces of your oven, avoiding the heating elements. Pay special attention to areas with heavy grease buildup.
4. Let it Sit: This is the key! Let the baking soda paste sit in your oven for at least 12 hours, or even overnight. The longer it sits, the better it will work at loosening the grime.
5. Vinegar Time: After the baking soda has sat, fill a spray bottle with white vinegar. Spray the vinegar all over the baking soda paste. The vinegar will react with the baking soda, causing it to fizz.
6. Wipe it Down: Using a damp sponge or scrub brush, start wiping away the baking soda and vinegar mixture. You may need to scrub a bit in stubborn areas.
7. Rinse and Repeat: Rinse your sponge or scrub brush frequently with clean water. Continue wiping until all the baking soda residue is gone.
8. Final Wipe: Use a clean, damp towel or rag to give your oven a final wipe down.
9. Clean the Racks: While the baking soda is working its magic inside the oven, you can clean the racks. Fill your bathtub (or a large utility sink) with hot, soapy water. Add ½ cup of baking soda. Submerge the oven racks in the water and let them soak for several hours, or overnight. After soaking, scrub the racks with a sponge or scrub brush to remove any remaining grease and grime. Rinse thoroughly and dry.
10. Reassemble: Once everything is clean and dry, put the oven racks back in place.
Alternative Oven Cleaning Method (for lighter cleaning):
If your oven isn’t too heavily soiled, you can try a simpler steam cleaning method.
1. Fill a Baking Dish: Fill a baking dish with water and add a few slices of lemon or a splash of vinegar.
2. Bake at Low Heat: Place the dish in your oven and bake at 250°F (120°C) for about an hour.
3. Wipe Down: After an hour, turn off the oven and let it cool slightly. Then, carefully wipe down the interior with a damp sponge or cloth. The steam will have loosened the grime, making it easier to remove.
Degreasing the Stovetop
The stovetop is another area that can quickly become covered in grease and food splatters. Here’s how to get it sparkling clean.
What You’ll Need:
* Baking soda
* Dish soap
* White vinegar (optional)
* Sponge or scrub brush
* Microfiber cloth
* Spray bottle (optional)
Step-by-Step Instructions:
1. Remove Grates and Burner Caps: Remove the stovetop grates and burner caps. These will be cleaned separately.
2. Sprinkle with Baking Soda: Generously sprinkle baking soda over the entire stovetop surface.
3. Add Dish Soap: Squirt a few drops of dish soap onto the baking soda.
4. Scrub: Using a damp sponge or scrub brush, scrub the stovetop surface. The baking soda will act as a gentle abrasive, helping to remove grease and grime.
5. Vinegar Boost (Optional): For extra cleaning power, you can spray the stovetop with white vinegar after scrubbing. The vinegar will react with the baking soda, creating a fizzing action that helps to lift away stubborn stains.
6. Wipe Clean: Wipe the stovetop clean with a damp sponge or microfiber cloth. Rinse frequently.
7. Dry: Dry the stovetop with a clean microfiber cloth.
8. Clean Grates and Burner Caps: Wash the stovetop grates and burner caps in hot, soapy water. Use a scrub brush to remove any baked-on food. Rinse thoroughly and dry. For stubborn grease, you can soak them in a solution of hot water and baking soda before scrubbing.
9. Reassemble: Once everything is clean and dry, put the grates and burner caps back in place.
Cleaning the Microwave with Ease
Microwaves are notorious for splatters and spills. This simple hack will make cleaning your microwave a breeze.
What You’ll Need:
* Microwave-safe bowl
* Water
* White vinegar or lemon juice
Step-by-Step Instructions:
1. Fill the Bowl: Fill a microwave-safe bowl with 1 cup of water.
2. Add Vinegar or Lemon Juice: Add 2 tablespoons of white vinegar or lemon juice to the water.
3. Microwave: Microwave the mixture on high for 5-10 minutes, or until the water boils and the microwave is filled with steam.
4. Let it Sit: Leave the microwave door closed for another 5-10 minutes. The steam will loosen the grime and make it easier to wipe away.
5. Wipe Clean: Carefully remove the bowl (it will be hot!). Wipe down the interior of the microwave with a damp sponge or cloth. The splatters should wipe away easily.
6. Clean the Turntable: Remove the turntable and wash it in hot, soapy water. Rinse thoroughly and dry.
7. Reassemble: Put the turntable back in the microwave.
Shining Up Stainless Steel
Stainless steel appliances can look beautiful, but they’re also prone to fingerprints and smudges. Here’s how to keep them looking their best.
What You’ll Need:
* White vinegar
* Olive oil
* Spray bottle
* Two microfiber cloths
Step-by-Step Instructions:
1. Vinegar Spray: Fill a spray bottle with white vinegar. Spray the vinegar onto the stainless steel surface.
2. Wipe Down: Wipe the surface down with a microfiber cloth, following the grain of the stainless steel.
3. Olive Oil Polish: Pour a small amount of olive oil onto a clean microfiber cloth.
4. Polish: Polish the stainless steel surface with the olive oil, again following the grain.
5. Buff: Use a clean, dry microfiber cloth to buff the surface and remove any excess olive oil.
Deep Cleaning the Sink
Your kitchen sink sees a lot of action, so it’s important to keep it clean and sanitized.
What You’ll Need:
* Baking soda
* White vinegar
* Lemon halves
* Dish soap
* Scrub brush or sponge
Step-by-Step Instructions:
1. Rinse: Rinse the sink with water to remove any loose debris.
2. Baking Soda Scrub: Sprinkle baking soda all over the sink surface.
3. Scrub: Use a damp scrub brush or sponge to scrub the sink. The baking soda will help to remove stains and grime.
4. Vinegar Rinse: Rinse the sink with white vinegar. The vinegar will react with the baking soda, creating a fizzing action that helps to disinfect and deodorize the sink.
5. Lemon Refresh: Cut a lemon in half and use it to scrub the sink. The lemon juice will help to remove any lingering odors and leave the sink smelling fresh.
6. Dish Soap Wash: Wash the sink with dish soap and water.
7. Rinse Thoroughly: Rinse the sink thoroughly with water.
8. Dry: Dry the sink with a clean cloth.
Cleaning Cutting

Conclusion
So, there you have it! These simple yet incredibly effective kitchen cleaning hacks are game-changers for anyone looking to maintain a sparkling clean and hygienic cooking space without spending hours scrubbing or relying on harsh chemicals. We’ve covered everything from tackling stubborn grease stains to deodorizing your refrigerator with ease. The beauty of these DIY solutions lies in their accessibility – you likely already have most of the ingredients you need right in your pantry!
But why are these kitchen cleaning hacks a must-try? Because they offer a trifecta of benefits: they’re cost-effective, environmentally friendly, and surprisingly powerful. Think about it: instead of constantly buying expensive cleaning products filled with questionable chemicals, you can harness the natural cleaning power of ingredients like vinegar, baking soda, and lemon. Not only will your wallet thank you, but you’ll also be reducing your exposure to potentially harmful substances and contributing to a healthier planet.
Beyond the basics, feel free to experiment and adapt these hacks to suit your specific needs and preferences. For instance, if you find the smell of vinegar too strong, infuse it with citrus peels or herbs for a more pleasant aroma. You can also add a few drops of your favorite essential oil to your cleaning solutions for an extra boost of fragrance and antibacterial properties. Consider using old toothbrushes for scrubbing grout or hard-to-reach areas, and microfiber cloths for streak-free surfaces.
Don’t be afraid to get creative and personalize these kitchen cleaning hacks to make them your own!
We’ve shown you how to clean your microwave with lemon steam, how to degrease your stovetop with baking soda paste, and how to banish odors from your refrigerator with baking soda. These are just a few examples of the many ways you can transform your kitchen cleaning routine with simple, natural ingredients.
Now, it’s your turn to put these kitchen cleaning hacks to the test! We’re confident that you’ll be amazed by the results. Imagine a kitchen that’s not only clean but also smells fresh and inviting, all thanks to a few simple DIY solutions.
We encourage you to try these hacks and share your experiences with us. Did you find a particular hack especially effective? Did you discover any new variations or tips that worked well for you? We’d love to hear about your successes and any challenges you encountered along the way. Share your stories in the comments below, and let’s create a community of clean-kitchen enthusiasts!
Remember, a clean kitchen is a happy kitchen, and with these simple kitchen cleaning hacks, you can achieve a sparkling clean space without breaking the bank or compromising your health. So, grab your vinegar, baking soda, and lemon, and get ready to transform your kitchen into a haven of cleanliness and freshness!
Frequently Asked Questions (FAQ)
What are the benefits of using DIY kitchen cleaning hacks compared to commercial cleaning products?
DIY kitchen cleaning hacks offer several advantages over commercial cleaning products. Firstly, they are significantly more cost-effective. Ingredients like vinegar, baking soda, and lemon are readily available and much cheaper than specialized cleaning solutions. Secondly, they are environmentally friendly. By using natural ingredients, you reduce your reliance on harsh chemicals that can pollute waterways and harm the environment. Thirdly, they are safer for your health. Commercial cleaning products often contain volatile organic compounds (VOCs) and other chemicals that can cause respiratory irritation, skin allergies, and other health problems. DIY solutions are generally gentler and less likely to cause adverse reactions. Finally, you have complete control over the ingredients you use, allowing you to avoid allergens or sensitivities.
Are DIY kitchen cleaning hacks as effective as commercial cleaning products?
In many cases, yes! Ingredients like vinegar and baking soda possess powerful cleaning properties. Vinegar is a natural disinfectant and degreaser, while baking soda is a mild abrasive that can scrub away grime and neutralize odors. Lemon juice is a natural bleaching agent and can help remove stains. While some heavy-duty cleaning tasks might require specialized products, DIY solutions are often sufficient for everyday cleaning and maintenance. The key is to use the right ingredients for the specific task and to allow sufficient contact time for the solutions to work effectively.
Can I use these kitchen cleaning hacks on all surfaces in my kitchen?
While most of these hacks are safe for a wide range of surfaces, it’s always a good idea to test them on a small, inconspicuous area first. Avoid using acidic solutions like vinegar or lemon juice on natural stone surfaces like marble or granite, as they can etch the stone. Baking soda can be abrasive, so use it gently on delicate surfaces. Always rinse surfaces thoroughly with water after cleaning to remove any residue. When in doubt, consult the manufacturer’s instructions for your specific appliances and surfaces.
How do I store DIY kitchen cleaning solutions?
Store DIY kitchen cleaning solutions in clean, labeled spray bottles or containers. Clearly label each container with the name of the solution and the date it was made. Store them in a cool, dark place away from direct sunlight and heat. Some solutions, like those containing citrus peels, may need to be refrigerated to prevent spoilage. It’s also important to keep cleaning solutions out of reach of children and pets.
How often should I use these kitchen cleaning hacks?
The frequency of cleaning depends on your individual needs and habits. For everyday cleaning, such as wiping down countertops and stovetops, you can use these hacks daily or as needed. For deeper cleaning tasks, such as cleaning the oven or refrigerator, you can use them weekly or monthly. Regular cleaning will prevent the buildup of grime and make it easier to maintain a clean kitchen.
What are some variations of these kitchen cleaning hacks?
There are many ways to customize these kitchen cleaning hacks to suit your preferences. For example, you can infuse vinegar with citrus peels or herbs for a more pleasant scent. You can add a few drops of essential oils to your cleaning solutions for extra fragrance and antibacterial properties. You can also experiment with different ratios of ingredients to find what works best for you. For example, you can make a stronger baking soda paste for tackling stubborn grease stains.
What if I don’t have all the ingredients for these kitchen cleaning hacks?
Don’t worry! Most of these hacks can be adapted using alternative ingredients. For example, if you don’t have vinegar, you can use lemon juice as a substitute. If you don’t have baking soda, you can use washing soda. The key is to understand the cleaning properties of each ingredient and find a suitable alternative. You can also search online for alternative recipes that use ingredients you have on hand.
Are there any safety precautions I should take when using these kitchen cleaning hacks?
While DIY cleaning solutions are generally safer than commercial products, it’s still important to take some safety precautions. Always wear gloves when cleaning to protect your skin from irritation. Avoid mixing different cleaning solutions together, as this can create dangerous fumes. Ensure adequate ventilation when cleaning, especially in enclosed spaces. Keep cleaning solutions out of reach of children and pets. If you accidentally ingest a cleaning solution, seek medical attention immediately.


Leave a Comment