

Living Room Cleaning Checklist: Is your living room looking less like a sanctuary and more like a disaster zone? Don’t worry, you’re not alone! We’ve all been there – life gets busy, and suddenly the heart of your home is buried under a mountain of clutter. But fear not, because I’m here to share a game-changing living room cleaning checklist that will transform your space from chaotic to cozy in no time!
For centuries, a clean and organized living space has been associated with peace of mind and well-being. Think about it – ancient cultures often incorporated rituals of cleansing and purification into their daily lives, recognizing the profound impact of our surroundings on our mental and emotional state. While we might not be performing elaborate ceremonies, the simple act of tidying up our living room can have a surprisingly powerful effect.
Why do you need this DIY cleaning checklist? Because a clean living room isn’t just about aesthetics; it’s about creating a space where you can truly relax, unwind, and connect with loved ones. Imagine sinking into your sofa after a long day, surrounded by a sparkling clean environment. No more tripping over toys, dodging dust bunnies, or feeling overwhelmed by clutter. This checklist is your secret weapon to reclaim your living room and create a haven of tranquility. Let’s dive in and discover the simple steps to a spotless and inviting living space!
DIY Deep Clean Your Living Room: A Checklist and Guide
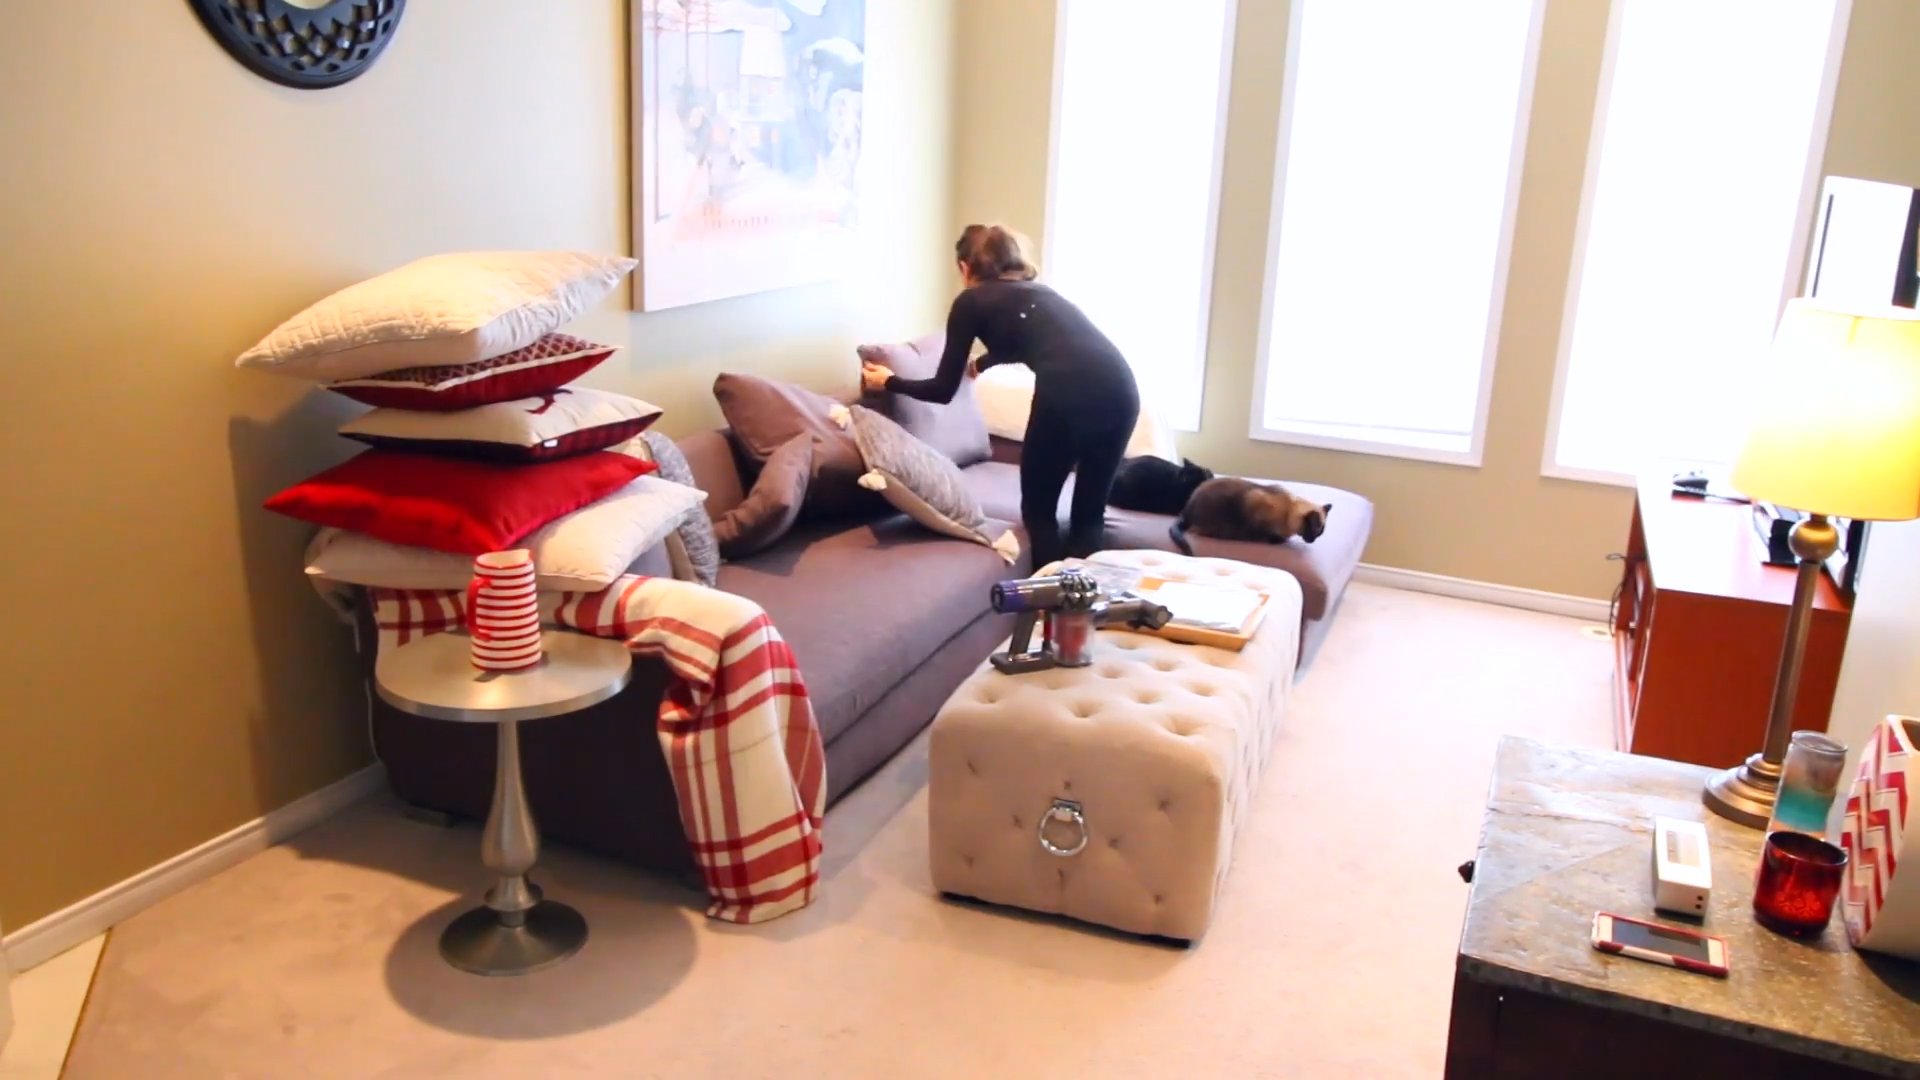
Okay, friends, let’s face it: the living room. It’s the heart of the home, the place where we relax, entertain, and sometimes, let things get a little… chaotic. But fear not! I’m here to guide you through a deep clean that will leave your living room sparkling and feeling brand new. This isn’t just a surface clean; we’re going deep! Grab your cleaning supplies, put on some music, and let’s get started!
The Ultimate Living Room Cleaning Checklist
Before we dive into the nitty-gritty, let’s get organized. Here’s a checklist to keep us on track:
* **Declutter:** Remove anything that doesn’t belong in the living room.
* **Dusting:** Dust all surfaces, including furniture, shelves, electronics, and decorations.
* **Vacuuming/Sweeping:** Clean the floors thoroughly.
* **Upholstery Cleaning:** Vacuum or spot clean furniture.
* **Window Cleaning:** Clean windows and window treatments.
* **Surface Cleaning:** Wipe down all hard surfaces, including tables, shelves, and baseboards.
* **Lighting Fixtures:** Clean light fixtures and replace bulbs if needed.
* **Accessories:** Clean or polish accessories like mirrors, picture frames, and vases.
* **Organize:** Put everything back in its place, neatly and organized.
* **Air Freshening:** Add a fresh scent to the room.
Phase 1: Decluttering and Preparation
This is the most crucial step! A clean space starts with a clutter-free space.
1. **Gather Your Supplies:** Before you even think about decluttering, gather your weapons of cleanliness! You’ll need:
* Trash bags
* Boxes or baskets for items that belong elsewhere
* Cleaning cloths (microfiber are my favorite!)
* Dusting spray or furniture polish
* Vacuum cleaner with attachments
* Floor cleaner (appropriate for your floor type)
* Window cleaner
* All-purpose cleaner
* Sponges
* Rubber gloves (protect those hands!)
2. **The Great Purge:** Okay, time to be ruthless! Go through every item in the living room and ask yourself:
* Do I use this regularly?
* Do I love this item?
* Is it in good condition?
If the answer to any of these questions is “no,” it’s time to let it go! Place unwanted items in trash bags or boxes for donation.
3. **Relocate the Strays:** Anything that doesn’t belong in the living room needs to find its way home. Books, toys, paperwork – gather them up and put them where they belong. This step alone will make a huge difference!
4. **Prepare the Area:** Move furniture away from the walls to allow for thorough cleaning. Remove any rugs or mats that need to be cleaned separately. Open windows for ventilation.
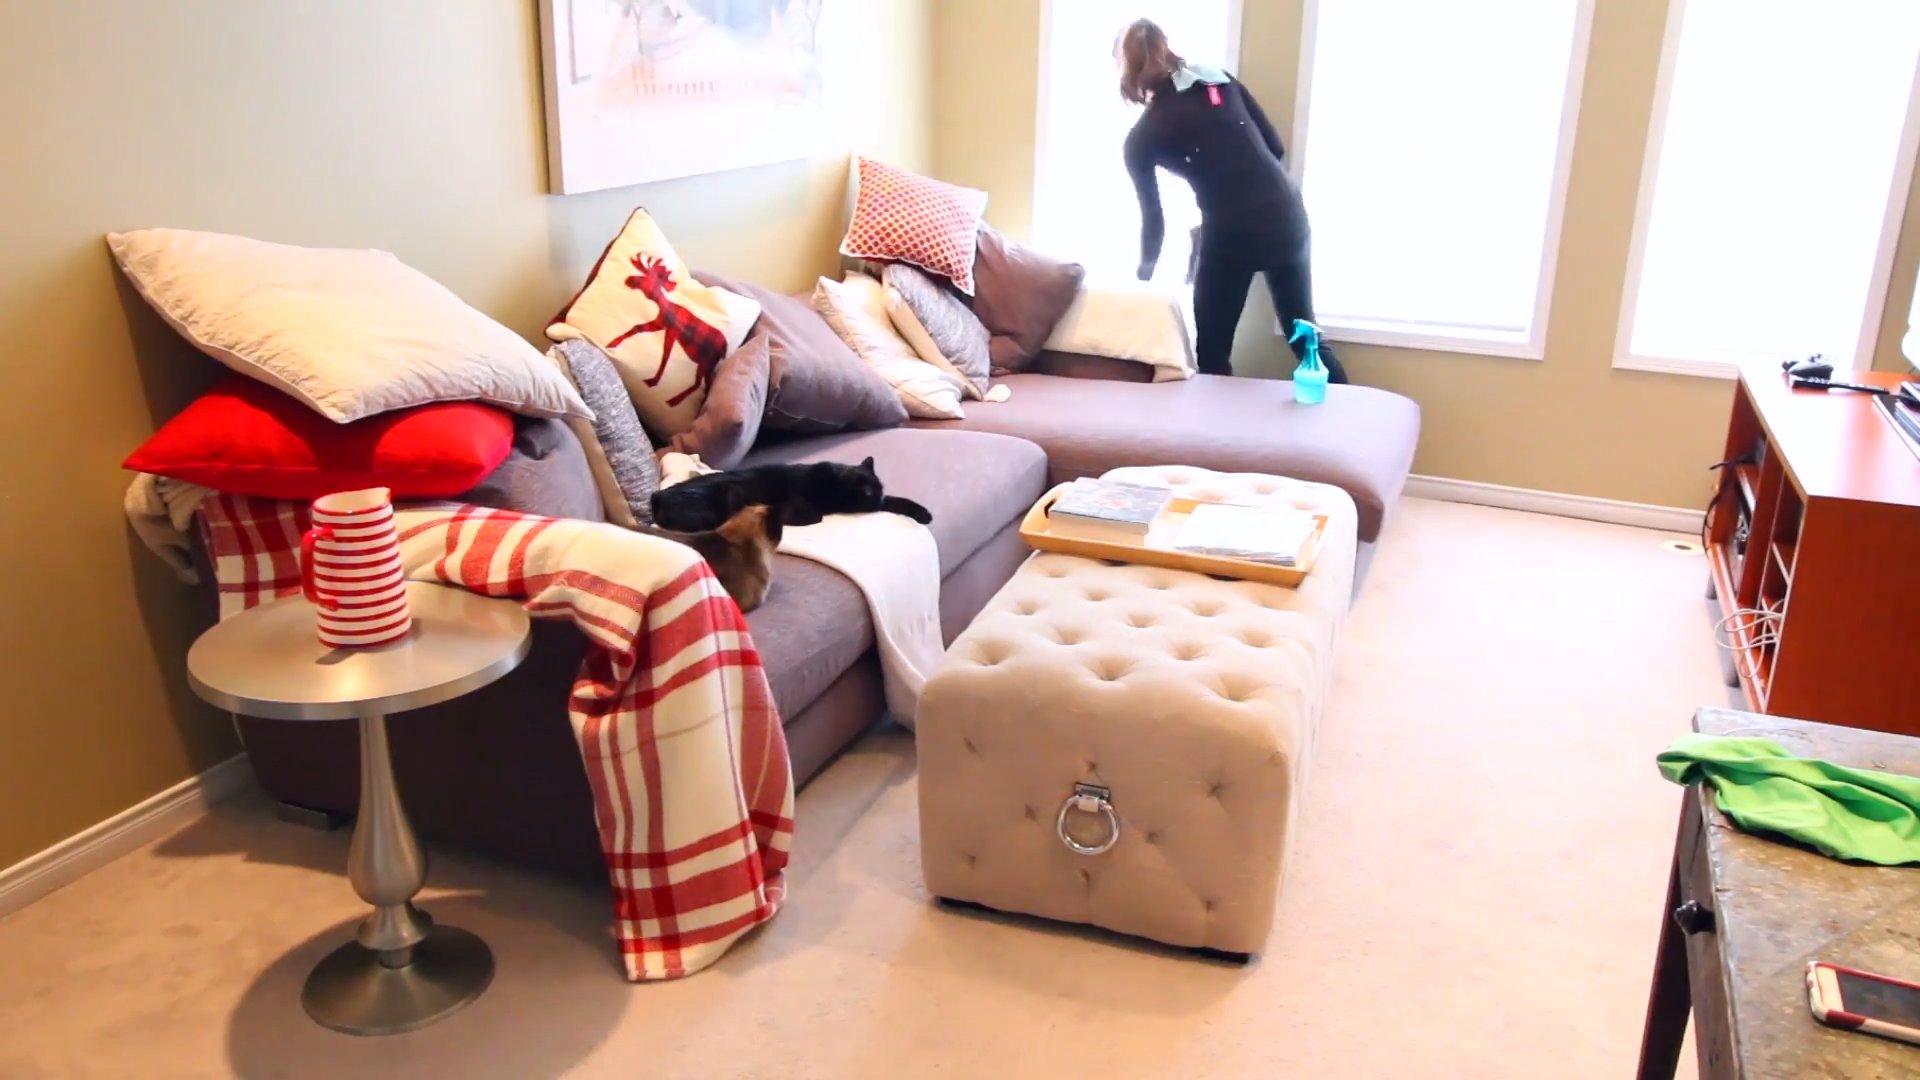
Phase 2: Dusting and Surface Cleaning
Now that we’ve decluttered, it’s time to tackle the dust bunnies!
1. **High to Low:** Always start dusting from the highest points in the room and work your way down. This prevents dust from falling onto already cleaned surfaces. Start with ceiling fans, light fixtures, and high shelves.
2. **Dusting Techniques:**
* **Ceiling Fans:** Use a long-handled duster or a damp cloth to wipe down the blades. Be careful not to let dust fall into your eyes!
* **Light Fixtures:** Turn off the power before cleaning light fixtures. Use a damp cloth to wipe down the exterior. For intricate fixtures, use a soft brush to remove dust.
* **Shelves:** Remove all items from the shelves and dust them individually. Wipe down the shelves with a damp cloth and all-purpose cleaner.
* **Furniture:** Dust all furniture surfaces, including tabletops, armrests, and legs. Use furniture polish for wood surfaces to protect and shine.
* **Electronics:** Use a dry microfiber cloth to dust electronics like TVs, stereos, and game consoles. Avoid using liquids on electronics.
3. **Window Cleaning:**
* **Prepare Your Solution:** Mix equal parts white vinegar and water in a spray bottle. You can also use a commercial window cleaner.
* **Spray and Wipe:** Spray the window with the cleaning solution and wipe it down with a clean microfiber cloth or paper towel.
* **Dry and Shine:** Use a dry cloth to buff the window and remove any streaks.
* **Window Treatments:** Dust or vacuum curtains and blinds. For fabric curtains, check the care label for washing instructions.
4. **Baseboards and Trim:** Wipe down baseboards and trim with a damp cloth and all-purpose cleaner. Pay attention to corners and crevices where dust tends to accumulate.
Phase 3: Floor Care
Time to get those floors sparkling!
1. **Vacuuming/Sweeping:**
* **Vacuuming:** Use a vacuum cleaner with attachments to clean carpets, rugs, and hard floors. Pay attention to edges and corners.
* **Sweeping:** If you have hard floors, sweep them thoroughly to remove dust and debris.
2. **Mopping (for Hard Floors):**
* **Choose the Right Cleaner:** Use a floor cleaner that is appropriate for your floor type (wood, tile, laminate, etc.).
* **Prepare Your Mop:** Dampen your mop with the cleaning solution. Avoid using too much water, as this can damage some floors.
* **Mop the Floor:** Mop the floor in sections, overlapping each stroke. Rinse the mop frequently to remove dirt and debris.
* **Dry the Floor:** Allow the floor to air dry or use a clean, dry mop to speed up the drying process.
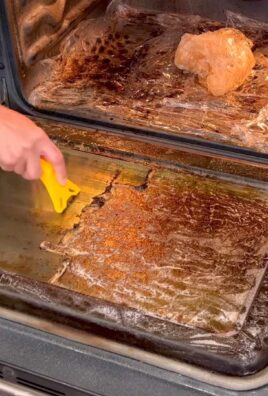
3. **Carpet and Rug Cleaning:**
* **Vacuum Thoroughly:** Vacuum carpets and rugs thoroughly to remove loose dirt and debris.
* **Spot Cleaning:** Treat any stains with a carpet stain remover. Follow the instructions on the product label.
* **Deep Cleaning (Optional):** If your carpets are heavily soiled, consider renting a carpet cleaner or hiring a professional carpet cleaning service.
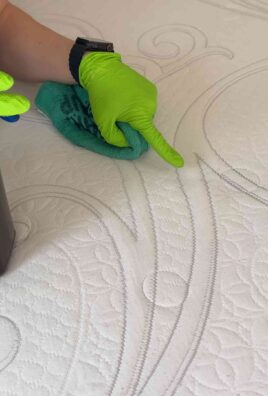
Phase 4: Upholstery Cleaning
Don’t forget the furniture!
1. **Vacuuming:** Use a vacuum cleaner with upholstery attachments to vacuum sofas, chairs, and other upholstered furniture. Pay attention to crevices and seams where dust and crumbs tend to accumulate.
2. **Spot Cleaning:**
* **Identify the Fabric:** Determine the type of fabric on your furniture (cotton, linen, microfiber, etc.).
* **Test the Cleaner:** Before applying any cleaning solution to the entire piece of furniture, test it on a small, inconspicuous area to ensure that it doesn’t damage the fabric.
* **Apply the Cleaner:** Apply the cleaning solution to a clean cloth and gently blot the stain. Avoid rubbing, as this can spread the stain.
* **Dry the Area:** Use a clean, dry cloth to blot the area and remove any excess moisture.
3. **Deep Cleaning (Optional):** For heavily soiled upholstery, consider hiring a professional upholstery cleaning service.
Phase 5: Finishing Touches and Organization
Almost there! Now for the final touches that will make your living room truly shine.
1. **Accessories:**
* **Mirrors and Picture Frames:** Clean mirrors and picture frames with window cleaner.
* **Vases and Decorations:** Dust or wash vases and other decorations.
* **Pillows and Throws:** Fluff pillows and fold throws neatly.
2. **Organize:** Put everything back in its place, neatly and organized. Arrange books on shelves, straighten picture frames, and fluff pillows.
3. **Lighting:** Check all light bulbs and replace any that are burned out.
4. **Air Freshening:** Add a fresh scent to the room with an air freshener, diffuser, or scented candle.
5. **Final Inspection:** Take a step back and admire your work! Make sure everything is clean, organized, and in its place.
And there you have it! A sparkling clean living room that you can be proud of. Remember, maintaining a clean living room is an ongoing process. Try to declutter and clean regularly to prevent dirt and grime from building up. Happy cleaning!
Conclusion
So, there you have it! Transforming your living room from a chaotic zone to a serene sanctuary doesn’t require expensive cleaning services or a whole weekend of scrubbing. This DIY Living Room Cleaning Checklist is your secret weapon for maintaining a consistently clean and inviting space. It’s not just about ticking boxes; it’s about creating a healthier, more relaxing environment for you and your loved ones.
Why is this checklist a must-try? Because it breaks down the overwhelming task of cleaning into manageable, bite-sized pieces. Instead of facing a mountain of mess, you’re tackling small, achievable goals. This approach makes cleaning less daunting and more likely to become a regular habit. Plus, the satisfaction of completing each task on the list provides a real sense of accomplishment.
But the beauty of this checklist lies in its adaptability. Feel free to customize it to fit your specific needs and lifestyle. For example, if you have pets, you might want to add “vacuum furniture twice a week” or “lint roll pet hair daily.” If you have young children, you could include “disinfect toys weekly” or “wipe down sticky surfaces after meals.”
Here are a few suggestions and variations to consider:
* Deep Cleaning Focus: Designate one day a month for a more thorough deep clean. This could involve washing curtains, cleaning carpets, or polishing furniture.
* Zone Cleaning: Divide your living room into zones (e.g., entertainment area, reading nook, play area) and focus on one zone each day.
* Family Involvement: Turn cleaning into a family activity! Assign age-appropriate tasks to each member and make it a fun, collaborative effort.
* Scent Sensations: Incorporate aromatherapy into your cleaning routine. Add a few drops of essential oil to your cleaning solutions or diffuse your favorite scent after you’re done. Lavender, lemon, and eucalyptus are all great choices for creating a fresh and inviting atmosphere.
* Decluttering Power: Before you even start cleaning, take a few minutes to declutter. Get rid of anything you don’t need or use. This will make the cleaning process much easier and more efficient.
Ultimately, the goal is to create a cleaning routine that works for you. Don’t be afraid to experiment and find what best suits your needs and preferences.
We strongly encourage you to try this DIY Living Room Cleaning Checklist and experience the difference it can make in your home and your well-being. A clean living room is more than just aesthetically pleasing; it’s a space where you can relax, unwind, and connect with the people you care about.
And now, we want to hear from you! Share your experiences with this checklist in the comments below. What tips and tricks have you discovered? What variations have you tried? We’re eager to learn from your insights and build a community of clean living enthusiasts. Let’s make our living rooms the best they can be, one checklist at a time!
Frequently Asked Questions (FAQs)
Q: How often should I use this Living Room Cleaning Checklist?
A: The frequency depends on your lifestyle and how quickly your living room gets messy. For most households, following the checklist once a week is a good starting point. However, if you have pets, young children, or frequently entertain guests, you might need to clean more often. Consider adjusting the frequency of specific tasks based on your needs. For example, you might vacuum daily if you have shedding pets, but only dust once a week. The key is to find a routine that prevents dirt and clutter from accumulating and becoming overwhelming.
Q: What if I don’t have time to complete the entire checklist in one go?
A: That’s perfectly fine! The beauty of this checklist is its flexibility. You can break it down into smaller tasks and spread them out throughout the week. For example, you could dust on Monday, vacuum on Tuesday, and clean the windows on Wednesday. Alternatively, you could focus on one zone of your living room each day. The goal is to make cleaning manageable and sustainable, so don’t feel pressured to do everything at once. Even dedicating just 15-20 minutes a day to cleaning can make a significant difference.
Q: What cleaning supplies do I need to use this checklist effectively?
A: The specific cleaning supplies you’ll need will depend on the surfaces and materials in your living room. However, here are some essential items to have on hand:
* Vacuum cleaner with attachments
* Dusting cloths (microfiber cloths are ideal)
* All-purpose cleaner
* Glass cleaner
* Furniture polish (if applicable)
* Floor cleaner (appropriate for your flooring type)
* Disinfectant wipes or spray
* Trash bags
* Cleaning caddy or bucket to organize your supplies
Consider using eco-friendly cleaning products whenever possible to reduce your environmental impact and protect your health.
Q: How can I get my family involved in using the Living Room Cleaning Checklist?
A: Involving your family in cleaning can make the task less daunting and more enjoyable. Start by assigning age-appropriate tasks to each member. Young children can help with simple tasks like picking up toys or dusting low surfaces. Older children and teenagers can handle more challenging tasks like vacuuming, cleaning windows, or emptying trash cans. Make it a fun, collaborative effort by playing music, setting a timer, or offering rewards for completing tasks. You can also create a chore chart or schedule to ensure that everyone knows their responsibilities. Remember to be patient and encouraging, and focus on teamwork rather than perfection.
Q: What are some tips for decluttering my living room before I start cleaning?
A: Decluttering is an essential step in the cleaning process. It makes cleaning easier and more efficient, and it helps to create a more organized and inviting space. Here are some tips for decluttering your living room:
* Start by removing any obvious trash or clutter.
* Gather all loose items and sort them into categories (e.g., books, toys, magazines).
* Go through each category and decide what to keep, donate, or discard.
* Be honest with yourself about what you actually use and need.
* Find a designated place for everything you keep.
* Invest in storage solutions like baskets, bins, or shelves to keep clutter out of sight.
* Make it a habit to declutter regularly to prevent clutter from accumulating.
Q: Can I adapt this Living Room Cleaning Checklist for other rooms in my house?
A: Absolutely! While this checklist is specifically designed for the living room, you can easily adapt it for other rooms in your house. Simply adjust the tasks and frequency to suit the specific needs of each room. For example, you might need to add tasks like cleaning the toilet or shower in the bathroom, or washing dishes in the kitchen. The basic principles of the checklist – breaking down cleaning into manageable tasks, creating a routine, and involving others – can be applied to any room in your home.
Q: What if I have allergies or sensitivities to certain cleaning products?
A: If you have allergies or sensitivities to certain cleaning products, it’s important to choose products that are safe and gentle for you. Look for hypoallergenic or fragrance-free cleaning products. You can also make your own natural cleaning solutions using ingredients like vinegar, baking soda, and lemon juice. Always test new cleaning products on a small, inconspicuous area before using them on a larger surface. And if you experience any adverse reactions, discontinue use immediately and consult with a doctor or allergist. Wearing gloves and a mask while cleaning can also help to protect your skin and respiratory system.

Leave a Comment