

Okra Farming Pro Tips: Ever dreamt of strolling through your backyard, plucking fresh, vibrant okra pods straight from the plant for your dinner? I know I have! There’s something incredibly satisfying about growing your own food, and okra, with its unique flavor and nutritional benefits, is a fantastic choice for any home garden. But let’s be honest, sometimes getting those perfect, plump okra pods can feel like a challenge. That’s where these DIY okra farming tricks come in handy!
Okra, also known as “lady’s fingers,” has a rich history, tracing back to ancient Ethiopia and Egypt. It’s been a staple in cuisines across the globe for centuries, from Southern gumbo to Indian curries. But beyond its culinary appeal, okra is packed with vitamins, minerals, and fiber, making it a healthy addition to your diet.
Many gardeners struggle with common okra growing problems like pest infestations, yellowing leaves, or simply a lack of pod production. That’s why I’ve compiled this guide of easy-to-implement Okra Farming Pro Tips. These DIY hacks will help you overcome those hurdles and enjoy a bountiful harvest of delicious okra. Whether you’re a seasoned gardener or just starting out, these tips will empower you to cultivate thriving okra plants and reap the rewards of your own homegrown goodness. Let’s get started and unlock the secrets to successful okra farming!
Okra Farming Pro Tips: From Seed to Supper!
Hey there, fellow gardeners! I’m so excited to share my tried-and-true okra farming tips with you. Okra, also known as lady’s fingers, is a warm-season vegetable that’s relatively easy to grow, but a few key tricks can make all the difference between a sparse harvest and a bounty of delicious pods. Let’s dive in!
Choosing the Right Okra Variety
First things first, selecting the right okra variety for your climate and garden space is crucial. I’ve experimented with a few, and here are my recommendations:
* Clemson Spineless: This is a classic for a reason! It’s reliable, produces well, and the pods are relatively spineless, making harvesting much easier.
* Emerald: If you’re looking for dark green, tender pods, Emerald is a great choice. It’s also known for its disease resistance.
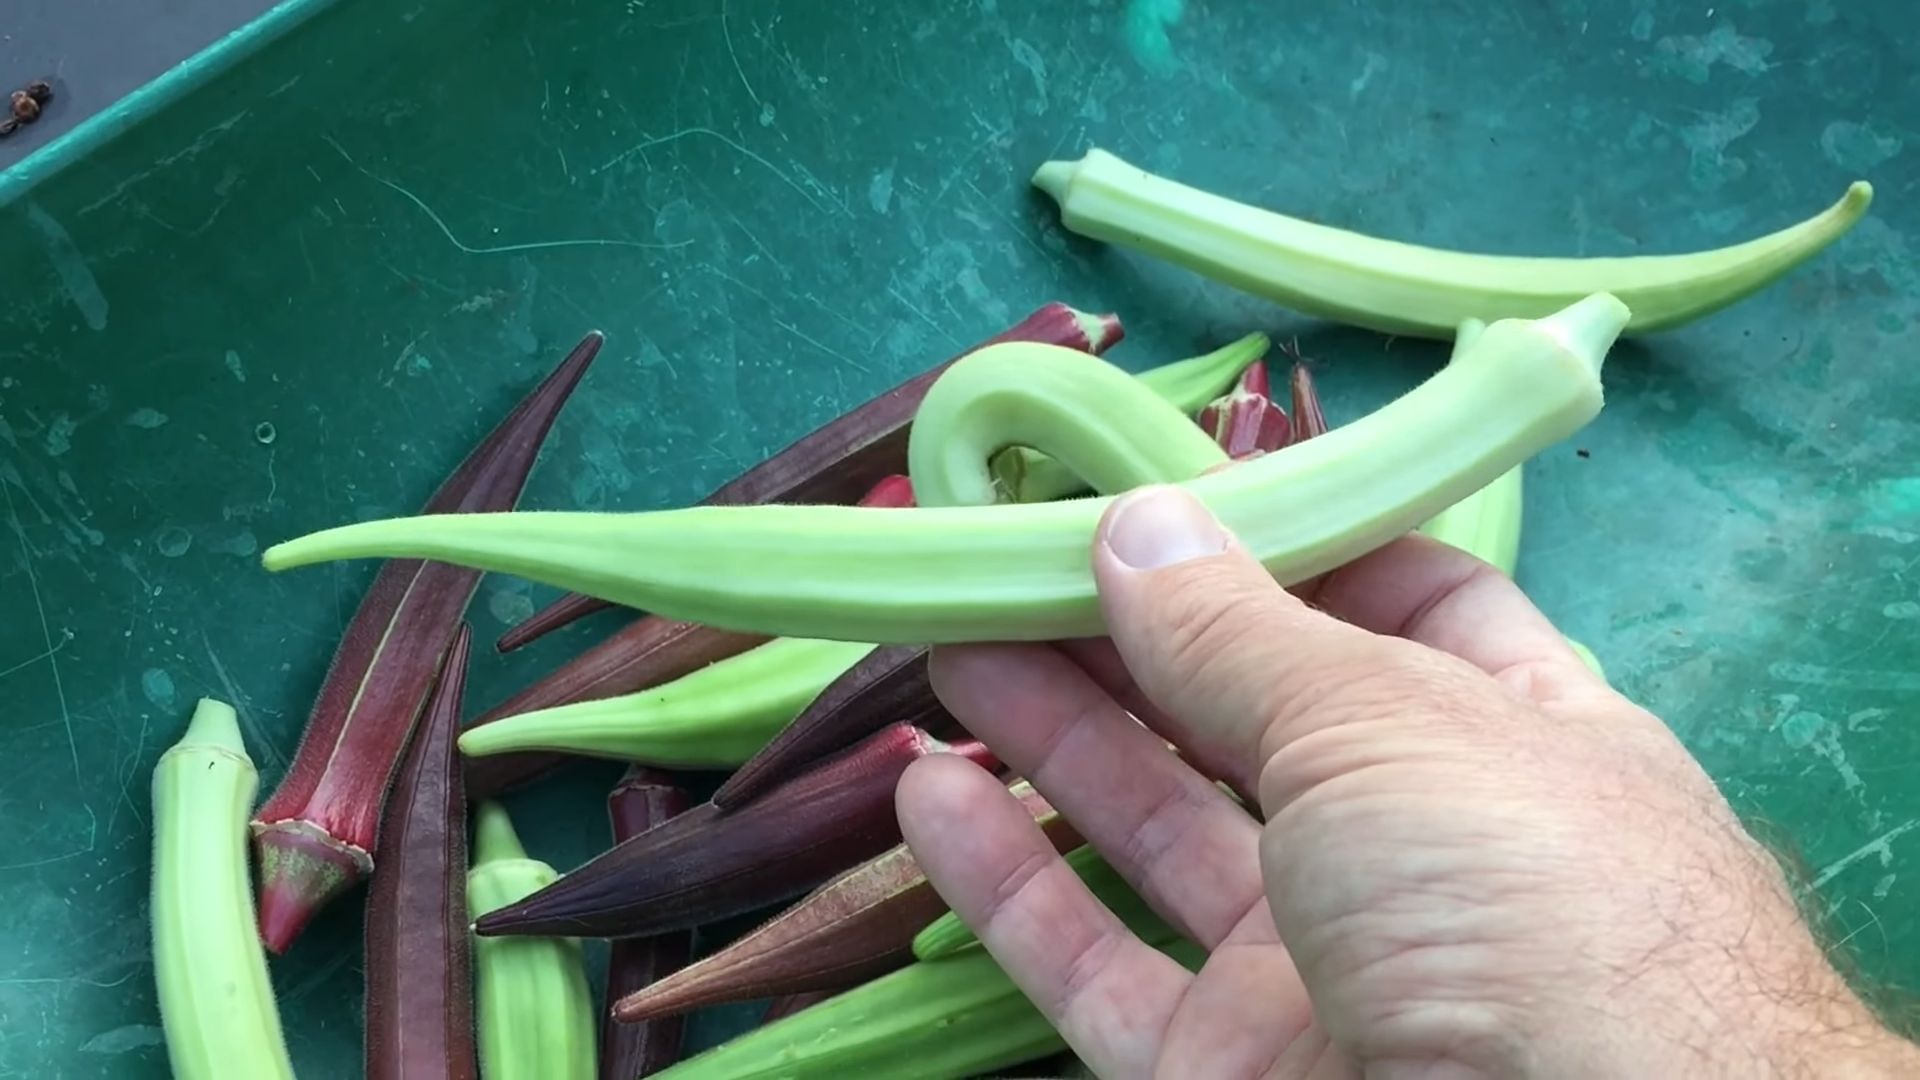
* Burgundy: Want to add some color to your garden? Burgundy okra boasts beautiful red pods that turn green when cooked. It’s also a conversation starter!
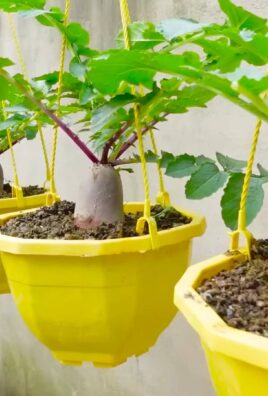
* Dwarf Green Long Pod: Perfect for smaller gardens or containers, this variety produces long, slender pods on compact plants.
Consider your local climate and growing season when making your choice. Check with your local nursery or extension office for recommendations specific to your area.
Preparing Your Okra Patch
Okra thrives in warm weather and well-drained soil. Here’s how I prepare my garden bed:
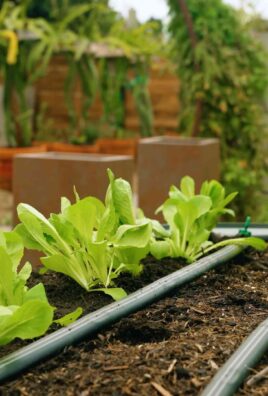
* Sunlight: Okra needs at least 6-8 hours of direct sunlight per day. Choose a location that gets plenty of sunshine.
* Soil: Okra prefers well-drained, fertile soil with a pH between 6.0 and 7.0. Amend your soil with compost or well-rotted manure to improve drainage and fertility. I usually add a generous layer of compost a few weeks before planting.
* Soil Testing: If you’re unsure about your soil’s pH or nutrient levels, consider getting a soil test. This will help you determine what amendments are needed.
* Tilling/Turning the Soil: Loosen the soil to a depth of at least 12 inches. This will allow the okra roots to penetrate deeply and establish themselves. I use a garden fork to turn the soil, breaking up any clumps and removing rocks or debris.
* Weed Control: Remove any weeds from the planting area. Weeds compete with okra for nutrients and water, so it’s important to start with a clean slate.
Planting Okra Seeds
Okra is typically grown from seed, and the timing is key. I always wait until the soil has warmed up to at least 65°F (18°C) before planting.
* Soaking Seeds: To speed up germination, I soak the okra seeds in warm water for 12-24 hours before planting. This softens the seed coat and helps them sprout more quickly.
* Direct Sowing: Okra doesn’t transplant well, so it’s best to direct sow the seeds into the garden.
* Planting Depth: Plant the seeds about 1/2 to 1 inch deep.
* Spacing: Space the seeds 6-12 inches apart in rows that are 3-4 feet apart. This gives the plants enough room to grow and allows for good air circulation.
* Watering: Water the seeds thoroughly after planting. Keep the soil consistently moist until the seedlings emerge.
* Thinning: Once the seedlings are a few inches tall, thin them to 12-18 inches apart. Choose the strongest, healthiest seedlings to keep.
Caring for Your Okra Plants
Once your okra plants are established, they’re relatively low-maintenance. Here’s what I do to keep them thriving:
* Watering: Okra needs consistent moisture, especially during hot, dry weather. Water deeply once or twice a week, providing about 1 inch of water per week. Avoid overhead watering, as this can promote fungal diseases. I prefer using a soaker hose or drip irrigation to water at the base of the plants.
* Fertilizing: Okra is a heavy feeder, so it benefits from regular fertilization. I side-dress my plants with a balanced fertilizer (e.g., 10-10-10) every 4-6 weeks. You can also use compost tea or fish emulsion as a natural fertilizer.
* Weed Control: Keep the area around your okra plants free of weeds. Mulching with straw, wood chips, or shredded leaves can help suppress weeds and retain moisture.
* Pest Control: Okra can be susceptible to pests such as aphids, flea beetles, and corn earworms. I regularly inspect my plants for pests and take action as needed.
* Aphids: A strong blast of water from the hose can often dislodge aphids. You can also use insecticidal soap or neem oil.
* Flea Beetles: These tiny beetles can chew holes in the leaves of okra plants. Row covers can help prevent flea beetle infestations. You can also use diatomaceous earth or pyrethrin-based insecticides.
* Corn Earworms: These caterpillars can bore into the okra pods. Handpicking them off the plants is often the most effective control method. You can also use Bacillus thuringiensis (Bt), a biological insecticide.
* Disease Control: Okra can be susceptible to fungal diseases such as powdery mildew and verticillium wilt.
* Powdery Mildew: This fungal disease appears as a white, powdery coating on the leaves. Improve air circulation by spacing plants properly and pruning away any crowded foliage. You can also use a fungicide specifically labeled for powdery mildew.
* Verticillium Wilt: This soilborne fungal disease can cause wilting and yellowing of the leaves. There is no cure for verticillium wilt, so prevention is key. Plant resistant varieties and avoid planting okra in areas where verticillium wilt has been a problem in the past.
* Pruning: While not essential, pruning can help improve air circulation and encourage more pod production. I remove any yellowing or damaged leaves, as well as any suckers (small shoots that grow from the base of the plant).
Harvesting Okra
Harvesting okra at the right time is crucial for getting tender, flavorful pods.
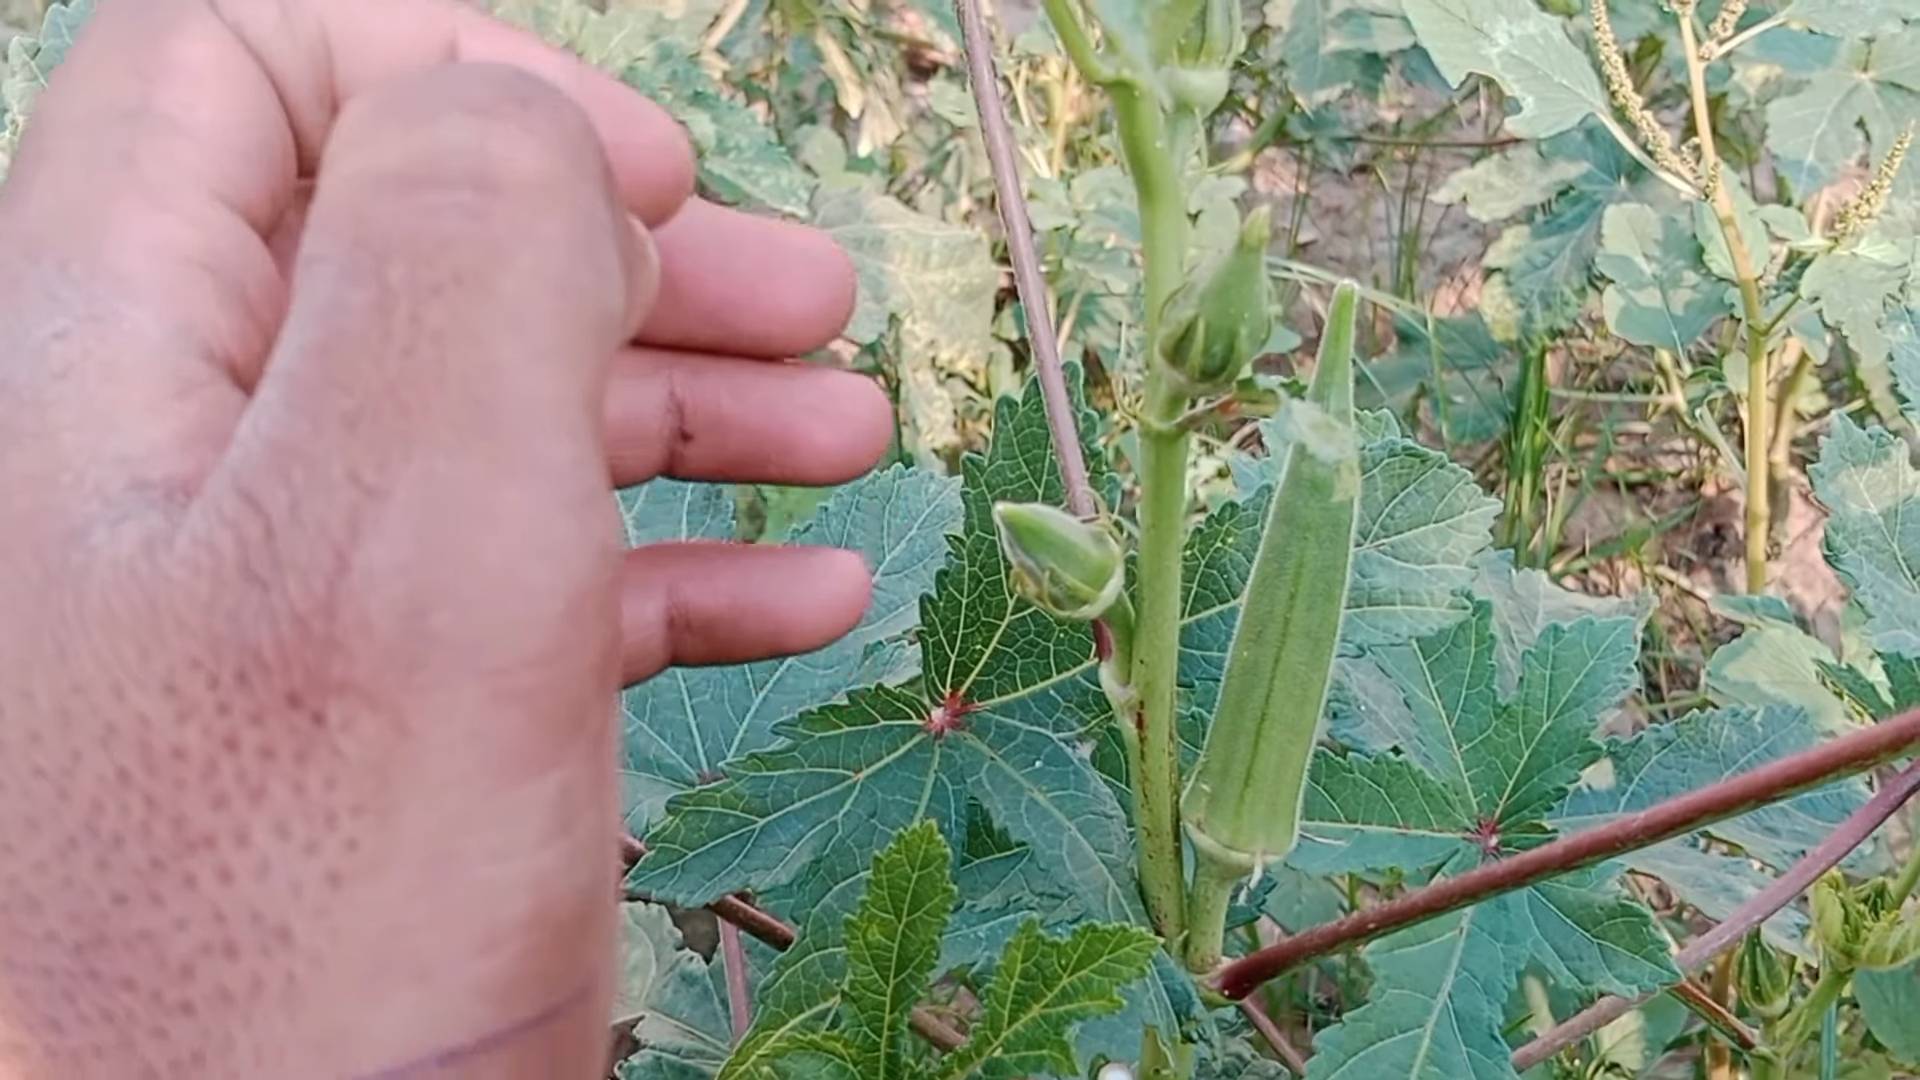
* Harvest Time: Okra pods are typically ready to harvest 50-65 days after planting.
* Pod Size: Harvest the pods when they are 2-4 inches long. Larger pods tend to be tough and fibrous.
* Harvesting Technique: Use a sharp knife or pruning shears to cut the pods from the plant. Wear gloves, as the pods can be prickly and irritating to the skin.
* Harvest Frequency: Harvest okra pods every 1-2 days. This encourages the plant to produce more pods.
* Post-Harvest Handling: Okra pods are best used fresh, but they can be stored in the refrigerator for up to a week. Wrap the pods in a paper towel and place them in a plastic bag.
Dealing with Common Okra Problems
Even with the best care, you might encounter some challenges when growing okra. Here are a few common problems and how I address them:
* Yellowing Leaves: Yellowing leaves can be caused by a variety of factors, including nutrient deficiencies, overwatering, and disease. Check your soil’s pH and nutrient levels, and adjust your watering schedule as needed.
* Lack of Pod Production: If your okra plants are not producing pods, it could be due to insufficient sunlight, poor soil fertility, or lack of pollination. Make sure your plants are getting enough sunlight, fertilize regularly, and consider hand-pollinating the flowers if you’re not seeing many bees or other pollinators.
* Tough Pods: Tough pods are usually a sign that you’re harvesting them too late. Harvest the pods when they are 2-4 inches long for the best flavor and texture.
* Stunted Growth: Stunted growth can be caused by a variety of factors, including poor soil, pests, and diseases. Check your soil’s pH and nutrient levels, inspect your plants for pests and diseases, and take action as needed.
Extending the Okra Season
If you live in a region with a short growing season, you can extend the okra season by starting seeds indoors a few weeks before the last expected frost. Transplant the seedlings into the garden once the soil has warmed up. You can also use row covers to protect your plants from frost and extend the harvest season.
Saving Okra Seeds
If you want to save seeds from your okra plants for next year, allow a few pods to mature fully on the plant. Let them dry completely on the plant, then harvest the pods and extract the seeds. Store the seeds in a cool, dry place until planting time.
Enjoying Your Okra Harvest
Now for the best part – enjoying the fruits (or rather, pods!) of your labor
Conclusion
So, there you have it – a comprehensive guide to unlocking the secrets of successful okra farming! We’ve explored everything from seed selection and soil preparation to pest control and harvesting techniques. But why is adopting these DIY okra farming pro tips so crucial? Simply put, it’s about maximizing your yield, minimizing your costs, and enjoying the satisfaction of growing your own delicious, healthy okra.
These aren’t just suggestions; they’re game-changers. By implementing these strategies, you’re not just planting okra; you’re cultivating a thriving ecosystem that supports robust growth and abundant harvests. Imagine the pride of serving up a dish made with okra you nurtured from seed to table, knowing you did it with sustainable, cost-effective methods.
Consider these variations to further personalize your okra farming experience:
* Companion Planting Power: Experiment with companion planting. Basil repels pests, while legumes like beans fix nitrogen in the soil, benefiting your okra plants.
* Vertical Growth: If space is limited, explore vertical gardening techniques. Okra can be trained to grow on trellises, maximizing your yield in a small area.
* Seed Saving: Save seeds from your best-performing okra plants each year. This allows you to develop a strain that is perfectly adapted to your local climate and soil conditions.
* Okra Varieties: Don’t be afraid to experiment with different okra varieties. Clemson Spineless is a classic choice, but there are also red okra varieties like Burgundy and dwarf varieties suitable for container gardening.
But the real magic happens when you put these tips into practice. Don’t just read about it – do it! Get your hands dirty, experiment with different techniques, and discover what works best for your unique growing environment.
We’re confident that these DIY okra farming pro tips will empower you to achieve remarkable results. But the journey doesn’t end here. We want to hear about your experiences! Share your successes, your challenges, and your own innovative techniques in the comments below. Let’s build a community of okra enthusiasts, learning from each other and celebrating the joys of homegrown goodness.
So, grab your seeds, prepare your soil, and get ready to embark on an okra farming adventure. With a little knowledge, a little effort, and a lot of passion, you’ll be amazed at what you can achieve. Happy farming!
Frequently Asked Questions (FAQ)
Q: What is the best time of year to plant okra?
A: Okra thrives in warm weather, so the best time to plant is typically in late spring or early summer, after the last frost. Soil temperatures should be consistently above 65°F (18°C) for optimal germination. In warmer climates, you can even plant a second crop in late summer for a fall harvest.
Q: How much sunlight does okra need?
A: Okra requires at least 6-8 hours of direct sunlight per day. Insufficient sunlight can lead to leggy growth, reduced flowering, and lower yields. Choose a planting location that receives ample sunlight throughout the day.
Q: What type of soil is best for growing okra?
A: Okra prefers well-drained, fertile soil with a slightly acidic to neutral pH (6.0-7.0). Amend heavy clay soils with compost or other organic matter to improve drainage and aeration. Sandy soils can be improved by adding compost or peat moss to increase water retention.
Q: How often should I water okra plants?
A: Okra needs consistent moisture, especially during hot weather and fruit development. Water deeply and regularly, aiming for about 1 inch of water per week. Avoid overwatering, which can lead to root rot. Mulching around the plants can help retain moisture and suppress weeds.
Q: What are some common pests and diseases that affect okra?
A: Common okra pests include aphids, flea beetles, corn earworms, and nematodes. Diseases include Fusarium wilt, powdery mildew, and leaf spot. Implement preventative measures such as crop rotation, companion planting, and using disease-resistant varieties. Organic pest control methods, such as neem oil or insecticidal soap, can be effective for managing infestations.
Q: How often should I fertilize okra plants?
A: Okra benefits from regular fertilization, especially during the growing season. Apply a balanced fertilizer (e.g., 10-10-10) at planting time and then side-dress with a nitrogen-rich fertilizer every 4-6 weeks. Avoid over-fertilizing, which can lead to excessive foliage growth at the expense of fruit production.
Q: When should I harvest okra pods?
A: Okra pods are typically ready for harvest 50-65 days after planting. Harvest pods when they are young and tender, typically 2-4 inches long. Overripe pods become tough and fibrous. Harvest frequently, every 1-2 days, to encourage continued production.
Q: How do I prevent okra pods from becoming tough?
A: The key to preventing tough okra pods is to harvest them frequently when they are young and tender. Overripe pods become tough and fibrous. Also, ensure that your plants are receiving adequate water and nutrients, as stress can also contribute to tough pods.
Q: Can I grow okra in containers?
A: Yes, okra can be successfully grown in containers, especially dwarf varieties. Choose a large container (at least 10-12 inches in diameter) with good drainage. Use a high-quality potting mix and provide regular watering and fertilization. Place the container in a sunny location that receives at least 6-8 hours of direct sunlight per day.
Q: How can I save okra seeds for next year?
A: To save okra seeds, allow some pods to mature fully on the plant. The pods will turn brown and dry out. Once the pods are completely dry, harvest them and extract the seeds. Spread the seeds out on a tray to dry completely before storing them in an airtight container in a cool, dark, and dry place.
Q: What are some good companion plants for okra?
A: Good companion plants for okra include basil, beans, cucumbers, eggplant, melons, peppers, and tomatoes. Basil repels pests, while legumes like beans fix nitrogen in the soil. Avoid planting okra near fennel, as it can inhibit growth.
Q: My okra plants are flowering, but not producing pods. What could be the problem?
A: Several factors can contribute to okra plants flowering but not producing pods. These include insufficient pollination, high temperatures, lack of water, and nutrient deficiencies. Ensure that your plants are receiving adequate water and nutrients, and consider hand-pollinating the flowers if necessary. High temperatures can also inhibit pod formation, so provide shade during the hottest part of the day.
Q: How do I deal with okra that is too slimy?
A: The sliminess of okra is due to mucilage, a natural substance found in the pods. To reduce sliminess, avoid overcooking the okra. Quick cooking methods like frying, grilling, or roasting can help minimize mucilage release. Soaking okra in vinegar or lemon juice before cooking can also help reduce sliminess.
Q: What are some creative ways to use my homegrown okra?
A: Homegrown okra can be used in a variety of dishes, including soups, stews, gumbos, stir-fries, and salads. It can also be fried, grilled, roasted, or pickled. Experiment with different recipes and flavor combinations to discover your favorite ways to enjoy this versatile vegetable. Consider adding it to your favorite curry or vegetable stew for added texture and nutrients.

Leave a Comment