

Olive Oil Water Ring Removal: Are you tired of unsightly water rings ruining the beauty of your cherished wooden furniture? Those stubborn white marks, often left by carelessly placed glasses or mugs, can seem impossible to erase. But don’t despair! Before you resign yourself to living with these blemishes or spending a fortune on professional furniture restoration, I’m here to share a simple, effective, and surprisingly affordable DIY trick that will banish those rings for good.
The quest to preserve and protect wooden surfaces is as old as woodworking itself. From ancient Egyptians using beeswax to polish their sarcophagi to Renaissance artisans perfecting their varnishes, people have always sought ways to enhance and safeguard the natural beauty of wood. While modern finishes offer some protection, water rings remain a common problem, a testament to water’s persistent power.
Why is this olive oil water ring removal trick so essential? Because it’s a game-changer! It saves you money, prevents further damage to your furniture, and allows you to restore your beloved pieces to their former glory with minimal effort. No harsh chemicals, no expensive equipment – just a common household ingredient and a little bit of elbow grease. I’m going to show you how to say goodbye to those frustrating water rings and hello to beautifully restored furniture you can be proud of. Let’s get started!
DIY Water Ring Removal with Olive Oil: A Guide to Restoring Your Wood Furniture
Hey there, fellow DIY enthusiasts! Have you ever cringed at the sight of those pesky white water rings marring the beautiful surface of your wood furniture? I know I have! It’s a common problem, especially in homes where coasters are mysteriously absent (or ignored!). But don’t despair, because I’m here to share a simple, effective, and surprisingly affordable solution: olive oil! Yes, that kitchen staple can work wonders on water rings. Let’s dive in!
Understanding the Enemy: Water Rings
Before we jump into the fix, let’s understand what we’re dealing with. Those white rings aren’t actually *in* the wood. They’re trapped moisture in the finish – the protective layer on top of your furniture. The heat from a mug or glass forces moisture into the finish, creating that cloudy, unsightly ring. Our goal is to draw that moisture back out.
What You’ll Need
* Olive Oil (Extra virgin or regular, it doesn’t matter too much!)
* White Vinegar (Optional, but helpful for stubborn rings)
* Clean, Soft Cloths (Microfiber cloths are ideal)
* Iron (Dry, no steam!)
* Towel or Thick Cloth (For ironing)
* Hair Dryer (Optional, for a quicker fix)
* Furniture Polish (Optional, for a final shine)
The Olive Oil Method: Step-by-Step
This method is my go-to for most water rings. It’s gentle and usually does the trick.
1. Prepare the Surface: Start by wiping the affected area with a clean, dry cloth. This removes any loose dust or debris that might interfere with the process. You want the olive oil to directly contact the finish.
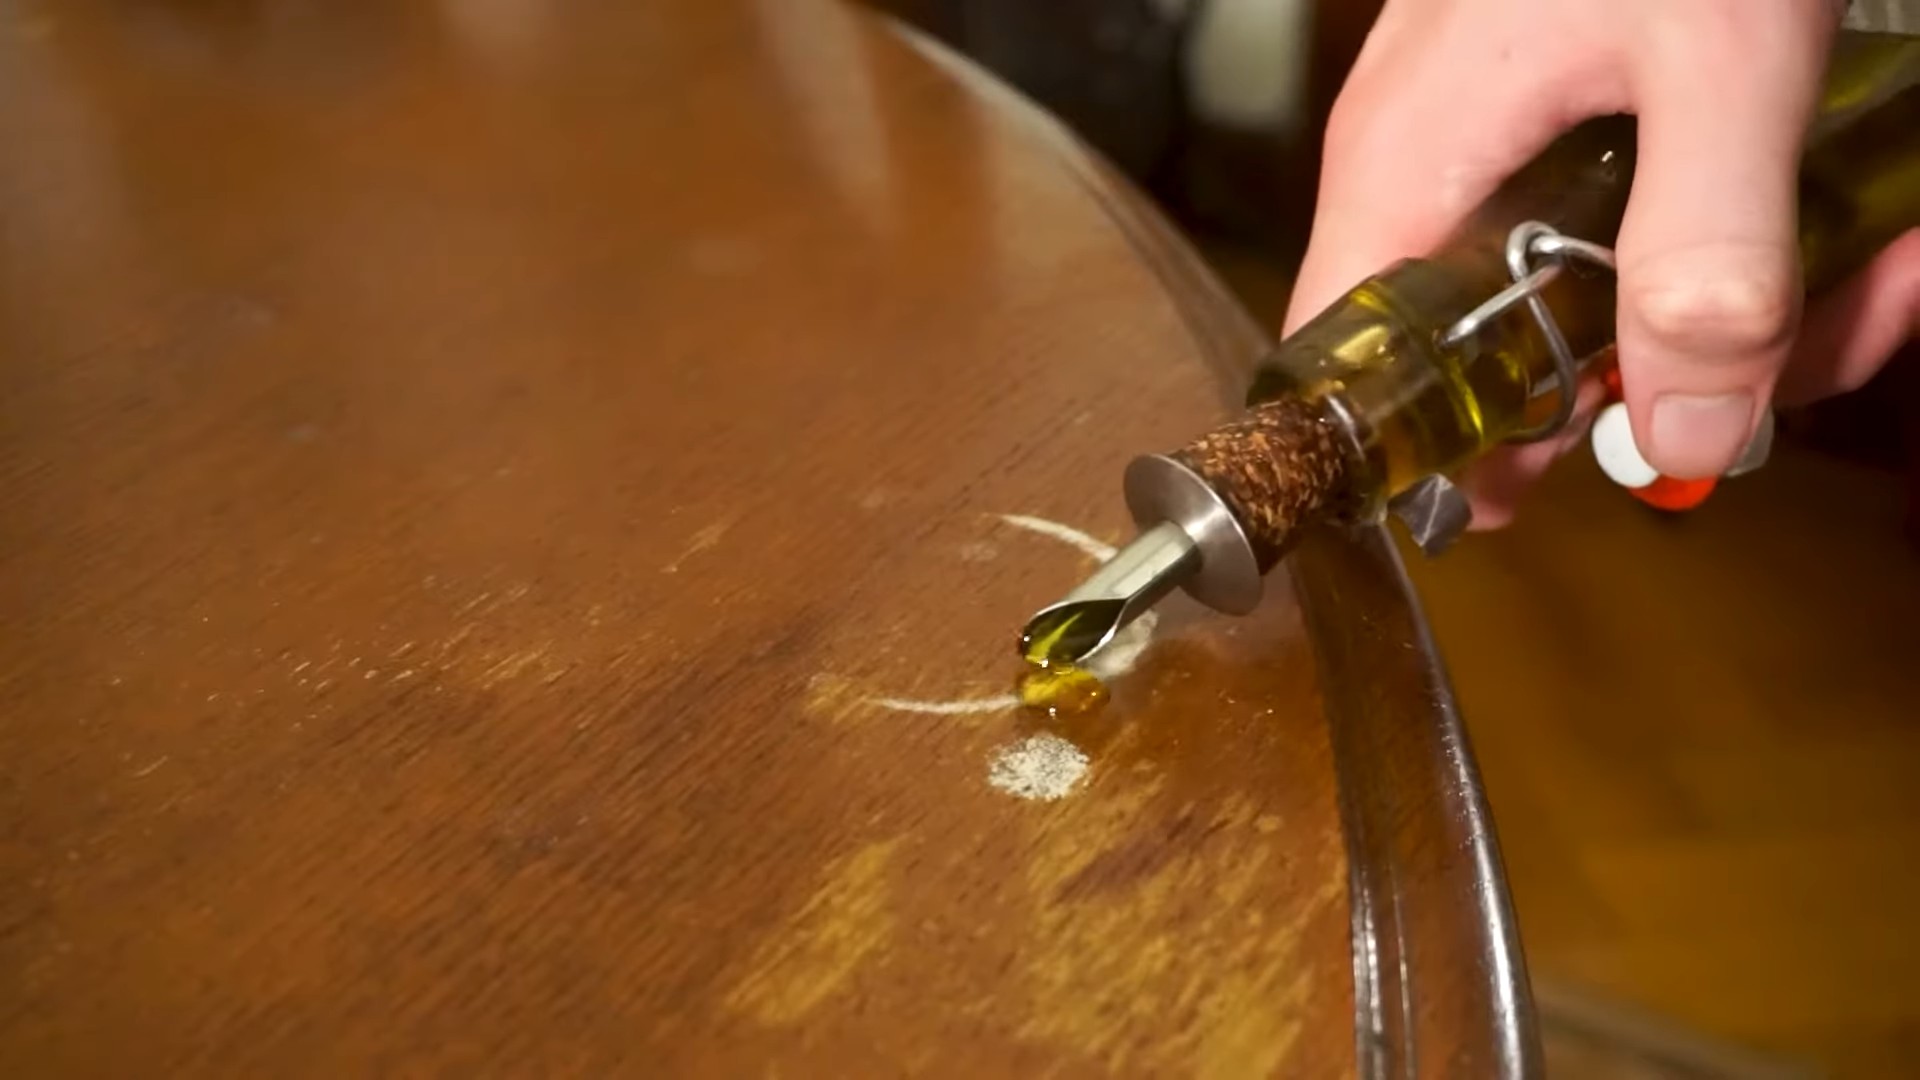
2. Apply the Olive Oil: Pour a small amount of olive oil onto a clean, soft cloth. You don’t need to saturate the cloth; just a teaspoon or two should be enough for a typical water ring.
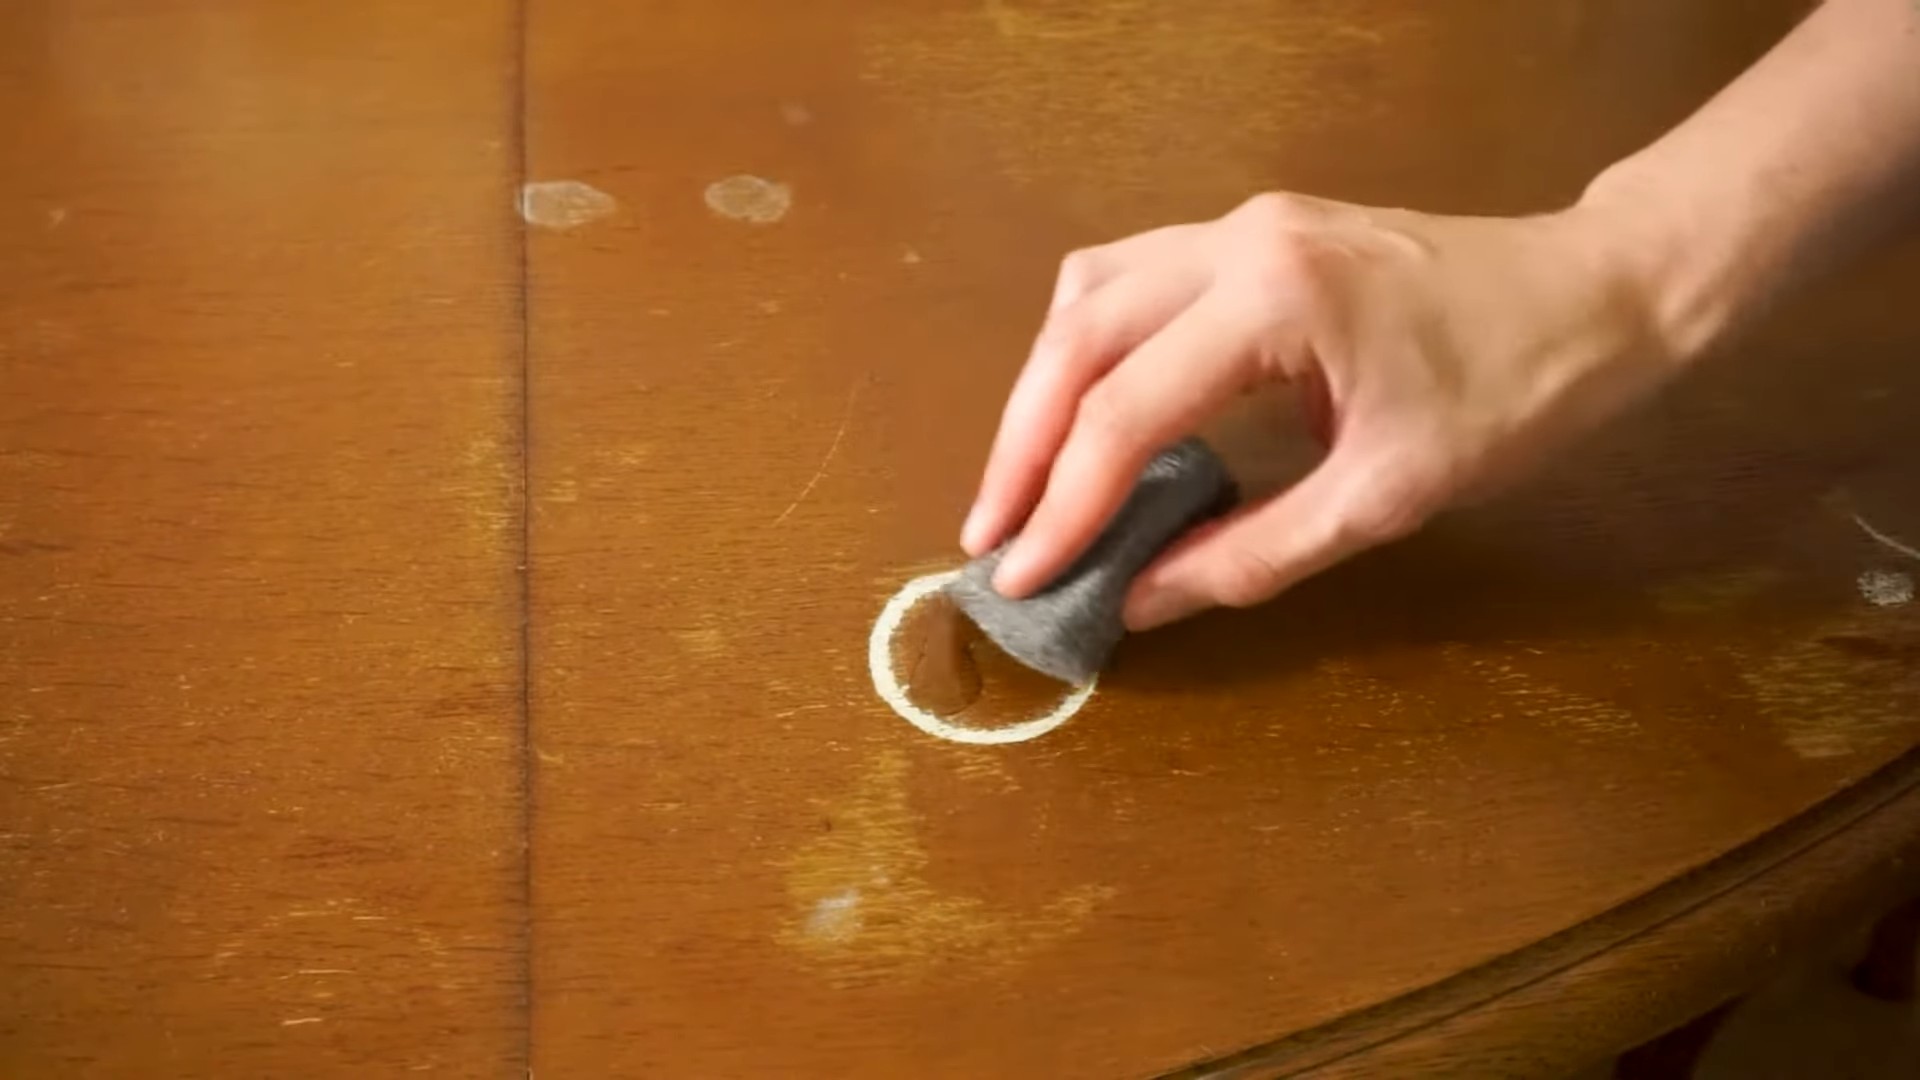
3. Gently Rub: Gently rub the olive oil onto the water ring in a circular motion. Apply light pressure and work the oil into the finish. Continue rubbing for a few minutes. The idea is to allow the oil to penetrate the finish and help displace the trapped moisture.
4. Let it Sit: Allow the olive oil to sit on the water ring for at least an hour, or even overnight for more stubborn rings. This gives the oil time to work its magic. I often apply it before bed and let it sit until morning.
5. Wipe Away the Excess: After the waiting period, use a clean, dry cloth to wipe away any excess olive oil. Rub in the direction of the wood grain.
6. Assess the Results: Check to see if the water ring has disappeared or faded significantly. If it’s gone, great! If not, proceed to the next step or try the vinegar method (explained later).
7. Repeat if Necessary: If the ring is still visible, repeat steps 2-6. Sometimes, it takes a couple of applications to completely remove the water ring.
8. Polish (Optional): Once the water ring is gone, you can apply a furniture polish to restore the shine and protect the finish. Follow the instructions on the polish label.
The Olive Oil and Vinegar Power Duo: For Stubborn Rings
Sometimes, olive oil alone isn’t enough to tackle those really stubborn water rings. That’s where vinegar comes in! Vinegar is a mild acid that can help break down the mineral deposits that contribute to the ring.
1. Mix the Solution: In a small bowl, mix equal parts olive oil and white vinegar. A tablespoon of each is usually sufficient.
2. Apply the Mixture: Dip a clean, soft cloth into the olive oil and vinegar mixture. Wring out any excess liquid.
3. Rub Gently: Gently rub the mixture onto the water ring in a circular motion. Again, apply light pressure and work the solution into the finish.
4. Let it Sit: Allow the mixture to sit on the water ring for about 30 minutes.
5. Wipe Away the Excess: Use a clean, dry cloth to wipe away any excess mixture. Rub in the direction of the wood grain.
6. Assess and Repeat: Check the results. If the ring is still visible, repeat steps 1-5.
7. Polish (Optional): Finish with a furniture polish to restore the shine.
The Ironing Method: A Heat-Based Approach
This method uses heat to draw the moisture out of the finish. It’s a bit more aggressive than the olive oil method, so use caution and test it in an inconspicuous area first.
1. Prepare the Surface: As always, start by cleaning the affected area with a clean, dry cloth.
2. Cover the Ring: Place a clean, thick cloth or towel over the water ring. This will protect the finish from direct heat.
3. Set the Iron: Set your iron to a low, dry setting (no steam!). Make sure the iron is clean and free of any residue.
4. Iron the Area: Gently iron over the cloth-covered water ring in a circular motion. Don’t leave the iron in one spot for too long, as this could damage the finish. Keep the iron moving.
5. Check Periodically: Lift the cloth periodically to check the progress. You should see the water ring gradually fading.
6. Repeat as Needed: Continue ironing until the water ring disappears.
7. Cool Down: Allow the area to cool down completely.
8. Polish (Optional): Apply furniture polish to restore the shine.
The Hair Dryer Method: A Gentler Heat Option
If you’re hesitant to use an iron, a hair dryer can be a gentler alternative.
1. Prepare the Surface: Clean the area with a dry cloth.
2. Apply Heat: Set your hair dryer to a low heat setting.
3. Direct the Heat: Direct the heat from the hair dryer onto the water ring, holding it a few inches away from the surface.
4. Move the Dryer: Keep the hair dryer moving in a circular motion. Don’t hold it in one spot for too long.
5. Check Progress: Check the progress periodically. The water ring should gradually fade.
6. Repeat as Needed: Continue applying heat until the water ring disappears.
7. Cool Down: Allow the area to cool down completely.
8. Polish (Optional): Finish with furniture polish.
Important Considerations and Tips
* Test First: Before trying any of these methods, test them in an inconspicuous area of your furniture to ensure they don’t damage the finish.
* Be Patient: Removing water rings can take time and patience. Don’t get discouraged if the ring doesn’t disappear immediately.
* Don’t Overheat: Avoid using excessive heat, as this can damage the finish.
* Use Soft Cloths: Always use clean, soft cloths to avoid scratching the surface.
* Prevention is Key: The best way to deal with water rings is to prevent them in the first place. Use coasters! I know, I know, it’s easier said than done, but it’s worth the effort.
* Identify the Finish: Knowing the type of finish on your furniture can help you choose the best removal method. For example, antique furniture with delicate finishes may require a more gentle approach. If you are unsure, consult a professional.
* Oil-Based Finishes: For furniture with oil-based finishes, the olive oil method is often the most effective.
* Lacquer Finishes: For lacquer finishes, the ironing method should be approached with extreme caution, as lacquer can be sensitive to heat.
* Polyurethane Finishes: Polyurethane finishes are generally more durable and can withstand the ironing method better, but still test first.
* Wax Finishes: For furniture with wax finishes, you may need to reapply wax after removing the water ring.
* Avoid Abrasives: Never use abrasive cleaners or scrub brushes, as these can scratch the finish.
* Professional Help: If you’ve tried these methods and the water ring persists, or if you’re dealing with valuable or antique furniture, it’s best to consult a professional furniture restorer.
Troubleshooting
* Ring is Still There: If the ring is still visible after trying these methods, it may be a deeper stain that has penetrated the wood itself. In this case, you may need to consider refinishing the furniture.
* Finish Looks Dull: If the finish looks dull after removing the water ring, apply a furniture polish to restore the shine.
* Finish is Damaged: If you accidentally damage the finish, consult a professional furniture restorer for repair options.
I hope these tips help you
Conclusion
So, there you have it! This simple yet incredibly effective DIY trick for removing water rings with olive oil is a game-changer for anyone who cares about preserving the beauty of their wooden furniture. We’ve all been there – the dreaded water ring staring back at us, a constant reminder of a careless moment. But now, armed with just olive oil and a soft cloth, you can banish those unsightly marks and restore your furniture to its former glory.
Why is this a must-try? Because it’s inexpensive, readily accessible (you probably already have olive oil in your pantry!), and avoids the harsh chemicals found in many commercial furniture cleaners. It’s a gentle, natural solution that works wonders. Think of the money you’ll save on expensive furniture repair services or specialized cleaning products. More importantly, think of the peace of mind knowing you can tackle these blemishes yourself, quickly and easily.
Beyond the basic method, there are a few variations you might want to experiment with. For particularly stubborn rings, try adding a small amount of white vinegar to the olive oil. The acidity of the vinegar can help break down the mineral deposits left by the water. Another option is to use a hairdryer on a low setting after applying the olive oil, gently warming the area to help the oil penetrate the wood. Just be sure to keep the hairdryer moving and avoid overheating the surface.
Remember, patience is key. Don’t expect instant results, especially with older or more deeply ingrained rings. You may need to repeat the process several times, gently buffing the area each time, to achieve the desired outcome. And always test the solution on an inconspicuous area of your furniture first to ensure it doesn’t damage the finish.
We are confident that this olive oil water ring removal method will become your go-to solution for keeping your wooden furniture looking its best. It’s a simple, effective, and environmentally friendly way to maintain the beauty and longevity of your cherished pieces.
Now, it’s your turn! We encourage you to give this DIY trick a try. Don’t let those water rings ruin your furniture any longer. Grab your olive oil, a soft cloth, and get ready to witness the magic. And most importantly, we want to hear about your experience! Share your before-and-after photos, tips, and any variations you tried in the comments below. Let’s build a community of furniture-saving experts! Your insights could help others discover the power of this simple solution. We can’t wait to see your results and learn from your experiences. Let us know if this method works for you!
Frequently Asked Questions (FAQ)
1. What kind of olive oil should I use?
You can use any type of olive oil you have on hand, whether it’s extra virgin, virgin, or light olive oil. Extra virgin olive oil is generally considered the best option due to its higher quality and natural properties, but any olive oil will work for this purpose. The key is to use a small amount and buff it in well.
2. Can I use this method on all types of wood furniture?
While this method is generally safe for most types of wood furniture, it’s always best to test it on an inconspicuous area first. This is especially important for antique or delicate pieces with unique finishes. Some finishes may react differently to olive oil, so testing beforehand will help prevent any unwanted damage or discoloration. If you are unsure about the type of finish on your furniture, consult a professional furniture restorer.
3. How often can I use this method to remove water rings?
You can use this method as often as needed to remove water rings. However, it’s important to avoid over-saturating the wood with olive oil. Apply the oil sparingly and buff it in well each time. If you find that the water rings are recurring frequently, consider using coasters or placemats to protect your furniture from future spills.
4. What if the water ring is very old and stubborn?
Older, more stubborn water rings may require multiple applications of olive oil and more vigorous buffing. You can also try adding a small amount of white vinegar to the olive oil to help break down the mineral deposits. Another technique is to use a hairdryer on a low setting to gently warm the area after applying the olive oil, which can help the oil penetrate the wood more effectively. Be patient and persistent, and you should eventually see improvement.
5. Can I use other types of oil instead of olive oil?
While olive oil is the recommended oil for this method due to its natural properties and availability, you can try using other types of oil, such as mineral oil or walnut oil. However, it’s important to test any new oil on an inconspicuous area first to ensure it doesn’t damage the finish. Avoid using vegetable oil or other cooking oils, as they can become rancid over time and leave a sticky residue.
6. What kind of cloth should I use for buffing?
Use a soft, lint-free cloth for buffing the olive oil into the wood. Microfiber cloths are an excellent choice, as they are gentle on the surface and effectively remove excess oil. Avoid using abrasive cloths or paper towels, as they can scratch the finish.
7. How long should I buff the area after applying the olive oil?
Buff the area for several minutes, using a circular motion, until the olive oil is fully absorbed into the wood and the water ring begins to fade. The amount of time required will vary depending on the severity of the water ring and the type of wood.
8. What if the olive oil leaves a greasy residue?
If the olive oil leaves a greasy residue, use a clean, dry cloth to buff the area again. You can also try using a small amount of mild dish soap diluted in water to gently clean the surface, followed by a thorough drying.
9. Can this method remove other types of stains besides water rings?
This method is primarily designed for removing water rings, but it may also help to lighten other types of stains, such as minor scratches or scuffs. However, for more severe stains, you may need to use a specialized furniture cleaner or consult a professional furniture restorer.
10. Is there anything else I can do to prevent water rings in the future?
The best way to prevent water rings is to use coasters or placemats under all drinks and other items that could potentially leave a mark on your furniture. You can also apply a protective coating of furniture polish or wax to help seal the wood and prevent moisture from penetrating the surface. Regularly dusting and cleaning your furniture will also help to maintain its beauty and prevent stains from setting in.

Leave a Comment