

Overwhelming house cleaning checklist? Don’t let it paralyze you! I know, I know, just looking at a massive list of chores can feel like climbing Mount Everest in flip-flops. But what if I told you there’s a way to break down that daunting task into manageable, even enjoyable, DIY projects that will leave your home sparkling and your sanity intact?
For generations, homemakers have passed down cleaning tips and tricks, often born out of necessity and a desire to create a comfortable and healthy living space. Think of your grandmother’s secret weapon for shining silverware or your great-aunt’s method for removing stubborn stains. These weren’t just chores; they were acts of love and care, woven into the fabric of family life.
In today’s busy world, who has time to tackle an overwhelming house cleaning checklist all at once? That’s where DIY hacks come in! This article is your guide to transforming that endless list into a series of achievable mini-projects. We’ll explore clever, cost-effective solutions using everyday items you probably already have in your pantry. From tackling stubborn grime to organizing cluttered spaces, I’m here to show you how to conquer your cleaning woes, one DIY project at a time. Get ready to reclaim your home and your weekends!
Taming the Beast: Conquering Your Overwhelming House Cleaning Checklist
Okay, let’s be honest. We’ve all been there. Staring down a cleaning checklist that looks more like a novel than a to-do list. It’s enough to make you want to curl up on the (dusty) couch and binge-watch something instead. But fear not, my friend! I’m here to share my tried-and-true method for breaking down that monster checklist into manageable, dare I say, even *enjoyable* tasks. Yes, you read that right. Enjoyable! (Okay, maybe “less painful” is more accurate, but you get the idea.)
This isn’t about becoming a cleaning robot. It’s about creating a system that works *for you*, your lifestyle, and your sanity. So, grab your favorite cleaning supplies (and maybe a motivational playlist), and let’s get started!
Phase 1: The Great Checklist Divide – Prioritizing and Categorizing
The first step is to take that overwhelming list and dissect it. We’re going to break it down into smaller, more digestible chunks.
* **Prioritize the Essentials:** What absolutely *needs* to be done? Think health and safety first. Dirty bathrooms, overflowing trash, and food spills should be at the top of your list. These are the things that can impact your well-being and need immediate attention.
* **Categorize by Room:** Group tasks by room. This makes it easier to focus your energy and avoid bouncing around the house like a pinball. For example, create a “Kitchen” category, a “Bathroom” category, a “Living Room” category, and so on.
* **Estimate Time:** Be realistic about how long each task will take. Don’t underestimate! It’s better to overestimate and be pleasantly surprised than to underestimate and feel defeated. Write down your estimated time next to each task.
* **Delegate (If Possible):** Do you have family members who can help? Don’t be afraid to delegate! Even small tasks, like emptying the dishwasher or wiping down counters, can make a big difference.
* **Identify “Quick Wins”:** These are tasks that take 5-10 minutes but have a big impact. Making your bed, wiping down the bathroom sink, or clearing clutter from a coffee table are all great examples. These quick wins give you a sense of accomplishment and motivate you to keep going.
Phase 2: Creating Your Cleaning Schedule – Small Bites, Big Impact
Now that we’ve broken down the checklist, it’s time to create a cleaning schedule that works for you. The key here is consistency, not perfection.
* **Daily Tasks (15-30 minutes):** These are the tasks you do every day to maintain a baseline level of cleanliness.
* Make your bed.
* Wipe down kitchen counters and sink after meals.
* Sweep or vacuum high-traffic areas.
* Empty the trash.
* Do a quick tidy-up of clutter.
* **Weekly Tasks (1-2 hours):** These are the tasks you do once a week to keep things in order.
* Clean bathrooms (toilets, showers, sinks).
* Vacuum or mop all floors.
* Dust furniture and surfaces.
* Change bed linens.
* Clean kitchen appliances (microwave, stovetop).
* **Monthly Tasks (2-4 hours):** These are the tasks you do once a month to tackle deeper cleaning.
* Wash windows and mirrors.
* Clean out the refrigerator.
* Dust light fixtures.
* Wash curtains or blinds.
* Clean out pantry.
* **Seasonal Tasks (4-8 hours):** These are the tasks you do a few times a year for a thorough cleaning.
* Deep clean carpets and rugs.
* Wash or dry clean comforters and blankets.
* Clean out closets and drawers.
* Wash walls and baseboards.
* Clean gutters.
Phase 3: The Actual Cleaning – Step-by-Step Instructions for Common Tasks
Alright, let’s get down to the nitty-gritty. Here are some step-by-step instructions for tackling some of the most common cleaning tasks:
Cleaning the Bathroom
1. **Gather Your Supplies:** You’ll need a toilet bowl cleaner, bathroom cleaner (spray), glass cleaner, scrub brush, sponge, microfiber cloths, and rubber gloves.
2. **Spray and Soak:** Spray the toilet bowl with toilet bowl cleaner and let it sit for a few minutes. Spray the shower/tub, sink, and countertops with bathroom cleaner. This gives the cleaner time to work its magic.
3. **Scrub the Toilet:** Scrub the toilet bowl with the scrub brush, paying attention to the rim and under the seat. Flush the toilet.
4. **Clean the Shower/Tub:** Scrub the shower/tub with a sponge or scrub brush. Rinse thoroughly with water. For stubborn soap scum, try using a paste of baking soda and water.
5. **Clean the Sink and Countertops:** Wipe down the sink and countertops with a sponge or microfiber cloth. Rinse thoroughly with water.
6. **Clean the Mirror:** Spray the mirror with glass cleaner and wipe it clean with a microfiber cloth.
7. **Clean the Floor:** Sweep or vacuum the floor to remove loose debris. Then, mop the floor with a bathroom cleaner.
8. **Replace Towels and Toiletries:** Replace towels and restock toiletries as needed.
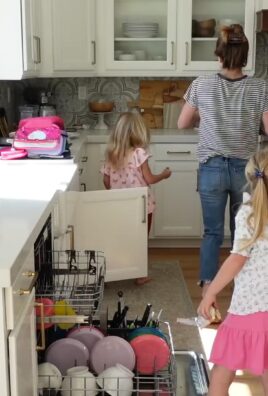
Cleaning the Kitchen
1. **Gather Your Supplies:** You’ll need dish soap, all-purpose cleaner, glass cleaner, sponge, microfiber cloths, paper towels, and a trash bag.
2. **Clear the Counters:** Remove everything from the countertops.
3. **Wash Dishes:** Wash all dishes, either by hand or in the dishwasher.
4. **Wipe Down Counters and Sink:** Wipe down the countertops and sink with all-purpose cleaner. Rinse thoroughly with water.
5. **Clean the Stovetop:** Remove any loose debris from the stovetop. Spray with all-purpose cleaner and let it sit for a few minutes. Then, scrub with a sponge or scrub brush. Rinse thoroughly with water.
6. **Clean the Microwave:** Heat a cup of water in the microwave for a few minutes until it steams up. Then, wipe down the inside of the microwave with a sponge or microfiber cloth.
7. **Clean the Refrigerator:** Remove any expired or spoiled food from the refrigerator. Wipe down the shelves and drawers with all-purpose cleaner.
8. **Sweep or Mop the Floor:** Sweep or vacuum the floor to remove loose debris. Then, mop the floor with a kitchen cleaner.
9. **Take Out the Trash:** Take out the trash and replace the trash bag.
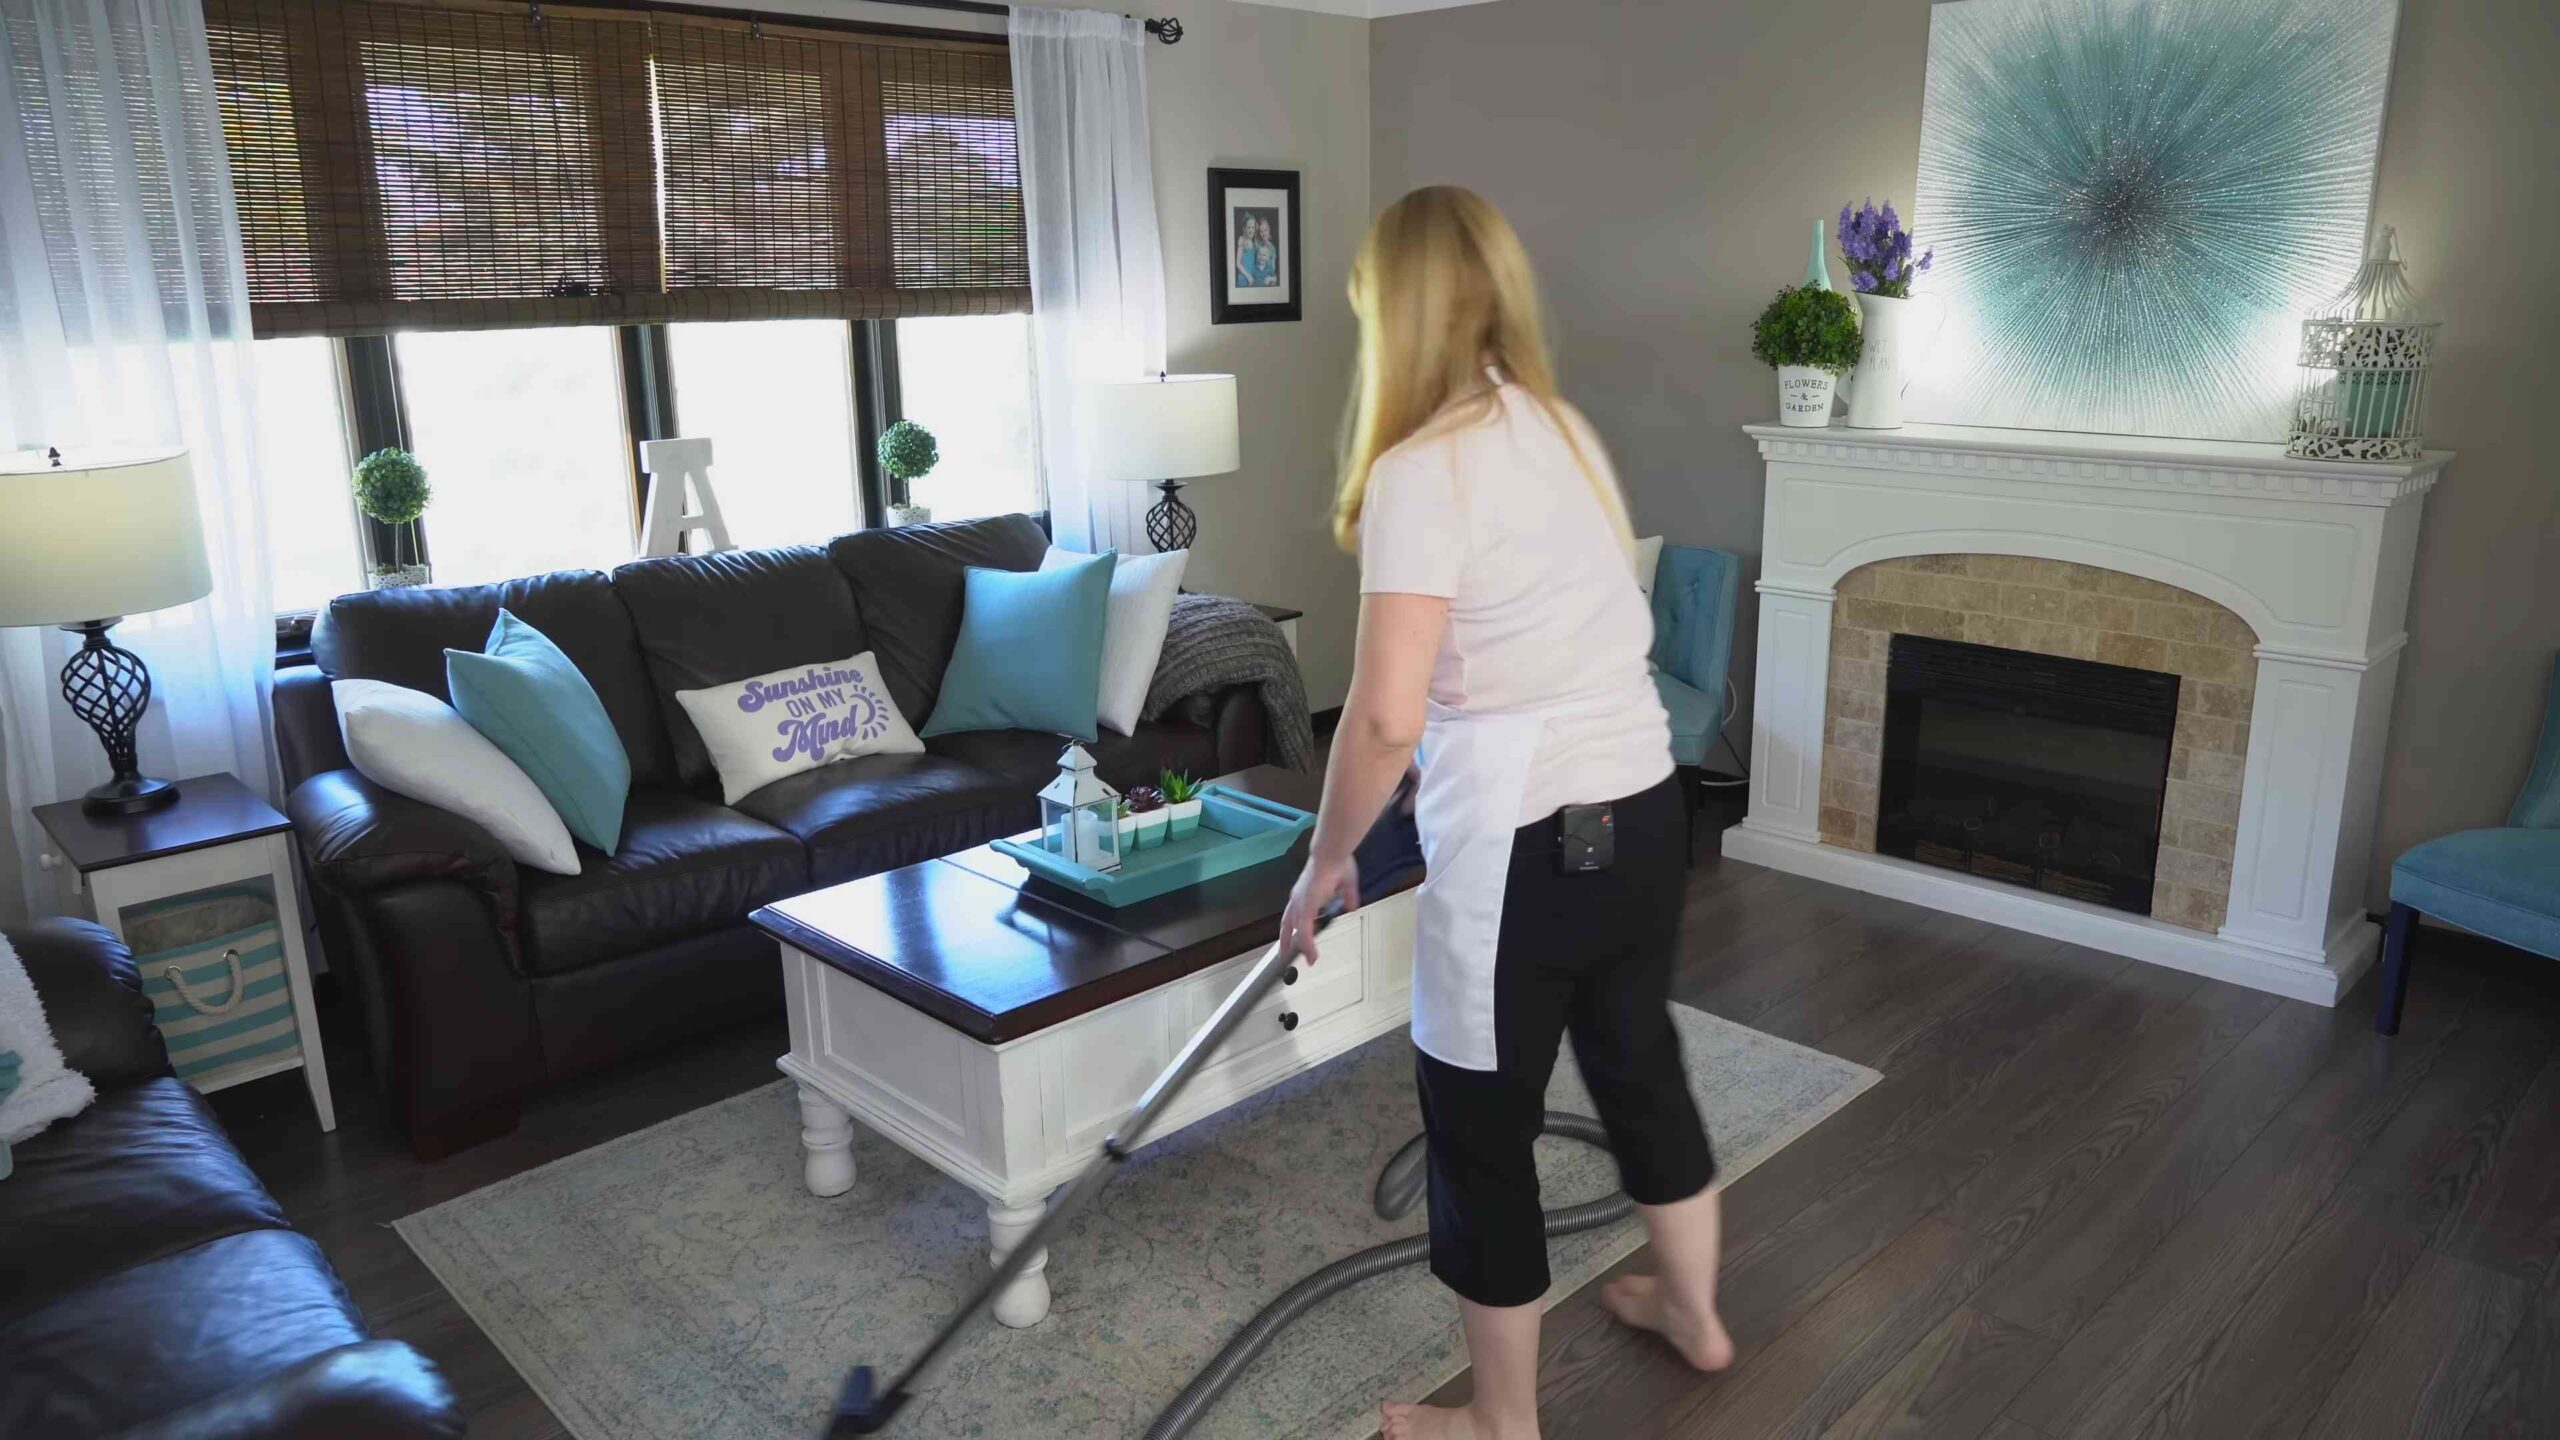
Cleaning the Living Room
1. **Gather Your Supplies:** You’ll need a vacuum cleaner, duster, microfiber cloths, furniture polish (optional), and a trash bag.
2. **Declutter:** Remove any clutter from the living room, such as magazines, books, and toys.
3. **Dust:** Dust all surfaces, including furniture, shelves, and picture frames.
4. **Vacuum:** Vacuum the carpets and rugs. Use the attachments to vacuum furniture and hard-to-reach areas.
5. **Polish Furniture (Optional):** Polish furniture with furniture polish, if desired.
6. **Clean Windows and Mirrors:** Clean windows and mirrors with glass cleaner and a microfiber cloth.
7. **Take Out the Trash:** Take out the trash and replace the trash bag.
Phase 4: Maintaining Your Clean Home – Staying on Top of Things
The key to keeping your home clean is to maintain it regularly. Here are some tips for staying on top of things:
* **Do a Little Each Day:** Don’t try to do everything at once. Focus on doing a little bit each day to prevent things from getting out of control.
* **Clean as You Go:** Clean up spills and messes as soon as they happen. This will prevent them from becoming bigger problems later on.
* **Put Things Away:** Put things away as soon as you’re finished using them. This will help to keep clutter at bay.
* **Make it a Habit:** Make cleaning a part of your daily routine. The more you do it, the easier it will become.
* Reward Yourself! After completing a cleaning task, reward yourself with something you enjoy. This will help you stay motivated.
Remember, cleaning doesn’t have to be a chore. By breaking down your checklist, creating a schedule, and maintaining your home regularly, you can conquer that overwhelming list and create a clean and comfortable living space. You got this!

Conclusion
Tackling an overwhelming house cleaning checklist can feel like climbing Mount Everest in flip-flops. But with this simple, yet incredibly effective DIY cleaning trick, you can transform that daunting task into a series of manageable, even enjoyable, mini-victories. We’ve shown you how to break down the seemingly insurmountable, conquer the clutter, and reclaim your space, all without breaking the bank or resorting to harsh chemicals.
This isn’t just about cleaning; it’s about creating a more peaceful, productive, and welcoming environment for yourself and your loved ones. Imagine coming home to a sparkling clean house, knowing you achieved it with your own two hands and a little bit of clever planning. The sense of accomplishment is truly rewarding.
But the beauty of this DIY approach lies in its adaptability. Feel free to experiment with different cleaning solutions based on your preferences and the specific needs of your home. For instance, if you’re dealing with stubborn grease in the kitchen, add a squirt of dish soap to your cleaning solution. If you prefer a more natural scent, infuse your water with lemon peels or a few drops of your favorite essential oil, like lavender or eucalyptus. The possibilities are endless!
Consider tailoring your cleaning schedule to fit your lifestyle. Are you a morning person? Tackle a few tasks before work. Prefer to unwind in the evening? Dedicate a short block of time after dinner. The key is consistency, not perfection. Even 15 minutes a day can make a significant difference over time.
Don’t be afraid to enlist the help of family members. Turn cleaning into a fun, collaborative activity. Put on some music, assign tasks, and reward yourselves with a treat afterward. Remember, teamwork makes the dream work!
We’re confident that this DIY cleaning trick will revolutionize your approach to house cleaning. It’s efficient, cost-effective, and customizable to your unique needs. So, ditch the overwhelm, embrace the simplicity, and get ready to experience the joy of a truly clean home.
Now it’s your turn! We encourage you to try this DIY cleaning trick and share your experience with us. What variations did you try? What challenges did you overcome? What tips do you have for other readers? Your feedback is invaluable and will help us continue to refine and improve this method. Share your stories in the comments below – we can’t wait to hear from you! Let’s conquer those overwhelming house cleaning checklists together!
Frequently Asked Questions (FAQ)
What if I don’t have all the supplies listed?
Don’t worry! The beauty of this DIY approach is its flexibility. If you don’t have a specific cleaner, you can often substitute it with something you already have on hand. For example, white vinegar is a fantastic all-purpose cleaner and disinfectant. Baking soda is great for scrubbing and deodorizing. A simple solution of water and dish soap can also work wonders for many surfaces. The key is to experiment and find what works best for you and your home. Just be sure to test any new cleaning solution in an inconspicuous area first to avoid damaging the surface.
How often should I follow this cleaning schedule?
The frequency depends on your lifestyle and the size of your home. For a smaller apartment or a single person, once a week might be sufficient. For a larger house with a family, you might need to clean more frequently, perhaps two or three times a week. The most important thing is to establish a routine that you can realistically maintain. Remember, even small, consistent efforts can make a big difference. You can also break down the tasks into smaller chunks and spread them out throughout the week. For example, you could focus on the kitchen one day, the bathrooms another day, and the bedrooms on another day.
Is this DIY cleaning trick safe for all surfaces?
While the cleaning solutions suggested are generally safe for most surfaces, it’s always a good idea to test them in an inconspicuous area first, especially on delicate materials like wood, marble, or granite. Avoid using abrasive cleaners on surfaces that scratch easily. Always read the labels of your cleaning products and follow the manufacturer’s instructions. If you’re unsure about a particular surface, consult a professional cleaner.
Can I use essential oils in my cleaning solution?
Absolutely! Essential oils can add a pleasant scent and even provide additional cleaning benefits. Lemon, tea tree, lavender, and eucalyptus oils are all popular choices for cleaning. However, it’s important to use essential oils safely. Always dilute them properly with water or another carrier oil. Avoid using essential oils on surfaces that may be damaged by them, such as polished wood or plastic. And be sure to research the specific properties of each essential oil before using it, as some may be harmful to pets or children.
What if I have pets or small children?
If you have pets or small children, it’s especially important to use safe and non-toxic cleaning products. Avoid using harsh chemicals or cleaners that could be harmful if ingested or inhaled. Opt for natural cleaning solutions like vinegar, baking soda, and lemon juice. Always store cleaning products out of reach of children and pets. And be sure to ventilate the area well when cleaning.
How can I make this cleaning routine more sustainable?
There are many ways to make your cleaning routine more sustainable. Use reusable cleaning cloths instead of paper towels. Invest in refillable spray bottles. Make your own cleaning solutions using natural ingredients. Compost food scraps and other organic waste. Recycle as much as possible. And choose cleaning products that are eco-friendly and biodegradable. Every little bit helps!
What’s the best way to deal with clutter before cleaning?
Decluttering is an essential first step before cleaning. Go through each room and get rid of anything you don’t need, use, or love. Donate unwanted items to charity or sell them online. Organize your belongings so that everything has a place. This will make cleaning much easier and more efficient. A good tip is to have three boxes: one for items to keep, one for items to donate, and one for items to throw away. Be ruthless in your decluttering efforts – the less clutter you have, the easier it will be to keep your home clean and organized.
How can I stay motivated to stick to this cleaning routine?
Staying motivated can be challenging, but there are a few things you can do to make it easier. Set realistic goals. Reward yourself for completing tasks. Make cleaning a fun activity by listening to music or podcasts. Enlist the help of family members or friends. And remember to focus on the benefits of a clean home, such as reduced stress, improved productivity, and a more welcoming environment. Visualizing the end result can be a powerful motivator.

Leave a Comment