

Shaving Cream Mirror Anti Fog: Ever stepped out of a hot shower, ready to admire your freshly cleansed face, only to be greeted by a foggy mirror? I know I have! It’s a daily annoyance that can ruin your morning routine. But what if I told you there’s a simple, inexpensive, and surprisingly effective solution hiding in your bathroom cabinet?
The quest for a fog-free mirror is as old as mirrors themselves! While modern solutions like heated mirrors exist, they can be costly and require professional installation. Our ancestors relied on natural remedies and clever tricks to combat condensation, and today, we’re bringing back a bit of that ingenuity with a modern twist.
This DIY shaving cream mirror anti fog trick isn’t just about convenience; it’s about saving time, money, and frustration. Think about it: no more wiping down the mirror every morning, no more waiting for the fog to dissipate, and no more streaks! Plus, it’s a fantastic way to use up that can of shaving cream you’ve had sitting around for ages. I’m going to show you how to achieve a crystal-clear reflection with just a few simple steps. Get ready to say goodbye to foggy mirrors forever!
DIY Shaving Cream Mirror Anti-Fog Hack
Okay, so you’re tired of stepping out of the shower and not being able to see yourself in the mirror, right? I totally get it! That foggy mirror is the bane of every shower-taker’s existence. But fear not, my friend! I’m going to show you a super simple, super cheap, and super effective way to keep your bathroom mirror fog-free using something you probably already have: shaving cream!
This isn’t some complicated science experiment. It’s a quick and easy hack that will make your mornings (and your mirror) much clearer. Let’s get started!
What You’ll Need
Before we dive in, let’s gather our supplies. The beauty of this hack is that you likely have everything you need already.
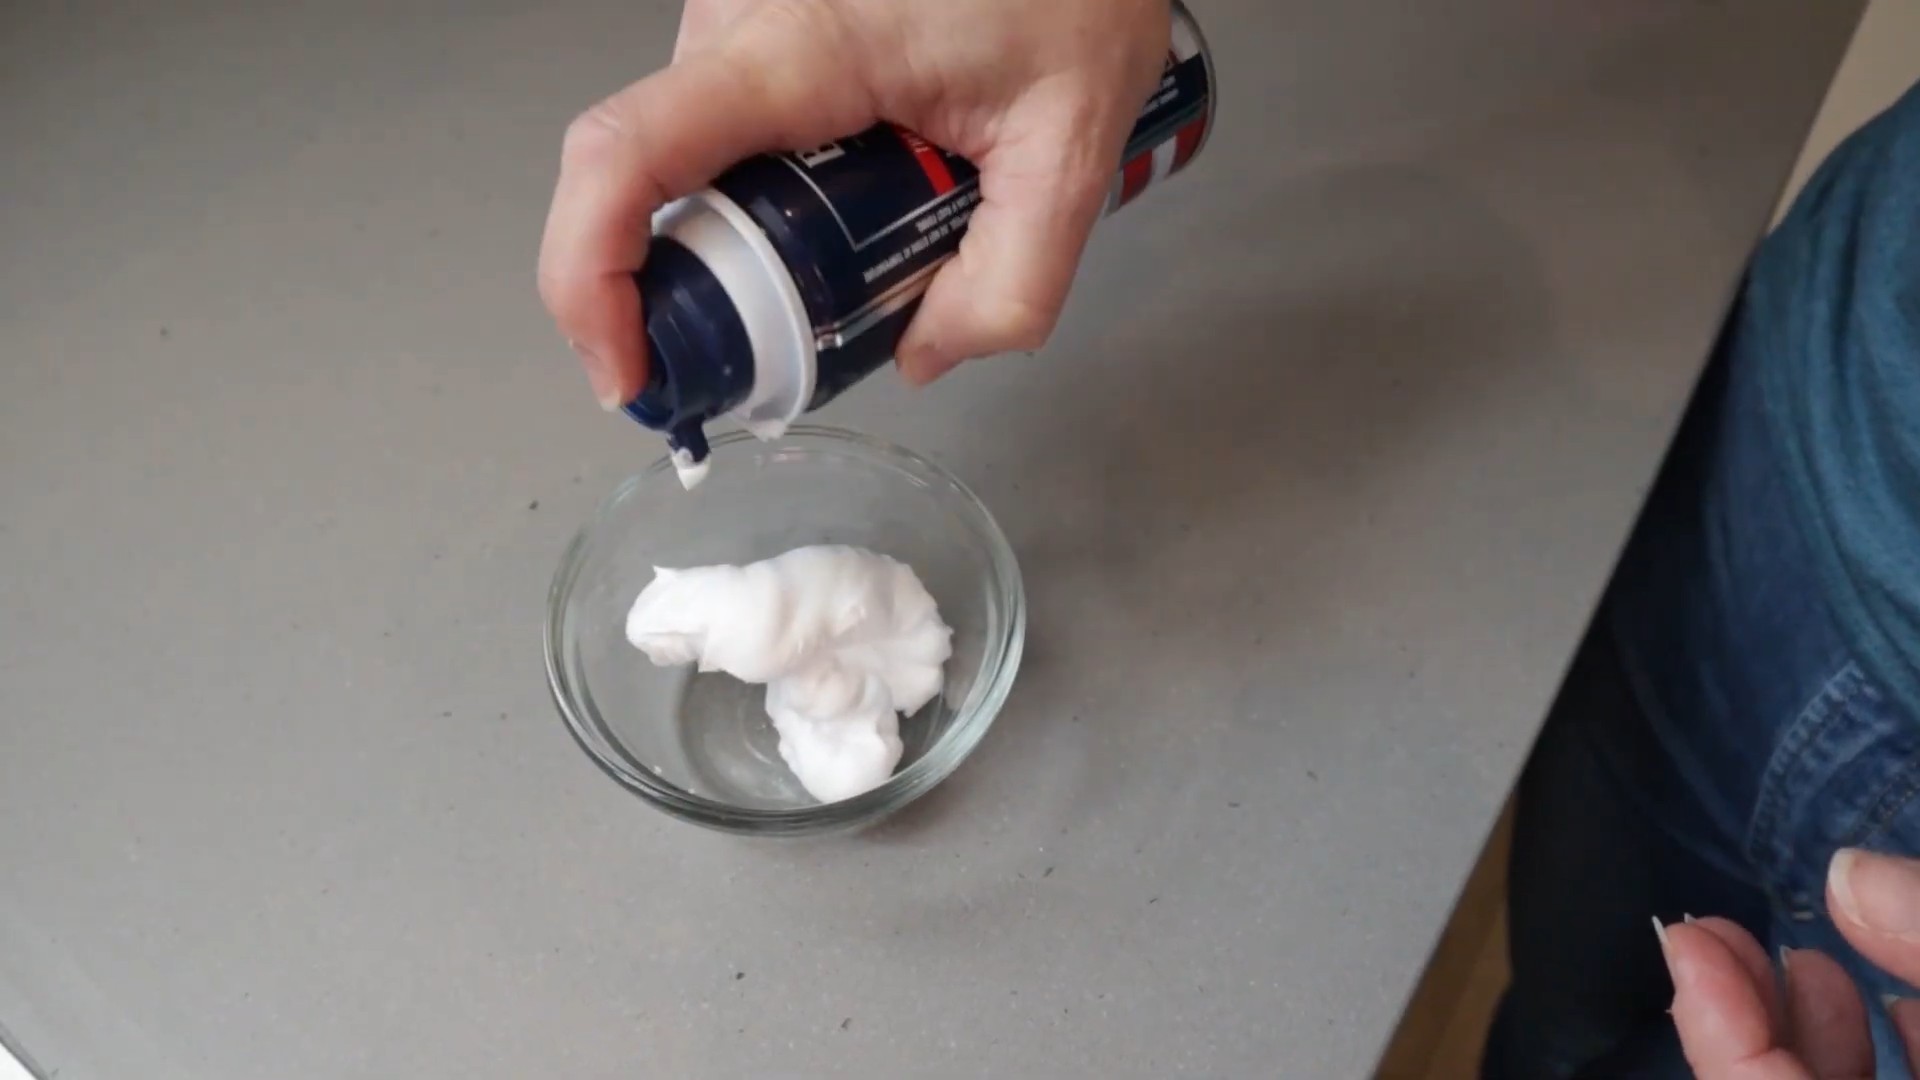
* **Shaving Cream:** Any kind will do, but I recommend using a plain, non-gel shaving cream. The foamy kind works best. Avoid the super fancy, heavily scented ones, as they might leave a residue.
* **Clean Cloth or Paper Towels:** You’ll need something to apply and buff the shaving cream. Microfiber cloths work great, but paper towels will do in a pinch.
* **Spray Bottle with Water (Optional):** This can be helpful for rinsing, but it’s not strictly necessary.
The Anti-Fog Application Process
Here’s the step-by-step guide to achieving a fog-free mirror. Trust me, it’s easier than making toast!
1. **Prep the Mirror:** Start with a clean, dry mirror. If there’s any grime or toothpaste splatters (we’ve all been there!), wipe it down with a glass cleaner and dry it thoroughly. A clean surface will ensure the shaving cream adheres properly and doesn’t trap any dirt.
2. **Apply the Shaving Cream:** Now for the fun part! Take your shaving cream and apply a thin layer to the entire surface of the mirror. You don’t need a ton – a little goes a long way. I usually squirt a small amount into my hand and then spread it evenly across the mirror. You can also apply it directly to the mirror, but be careful not to use too much.
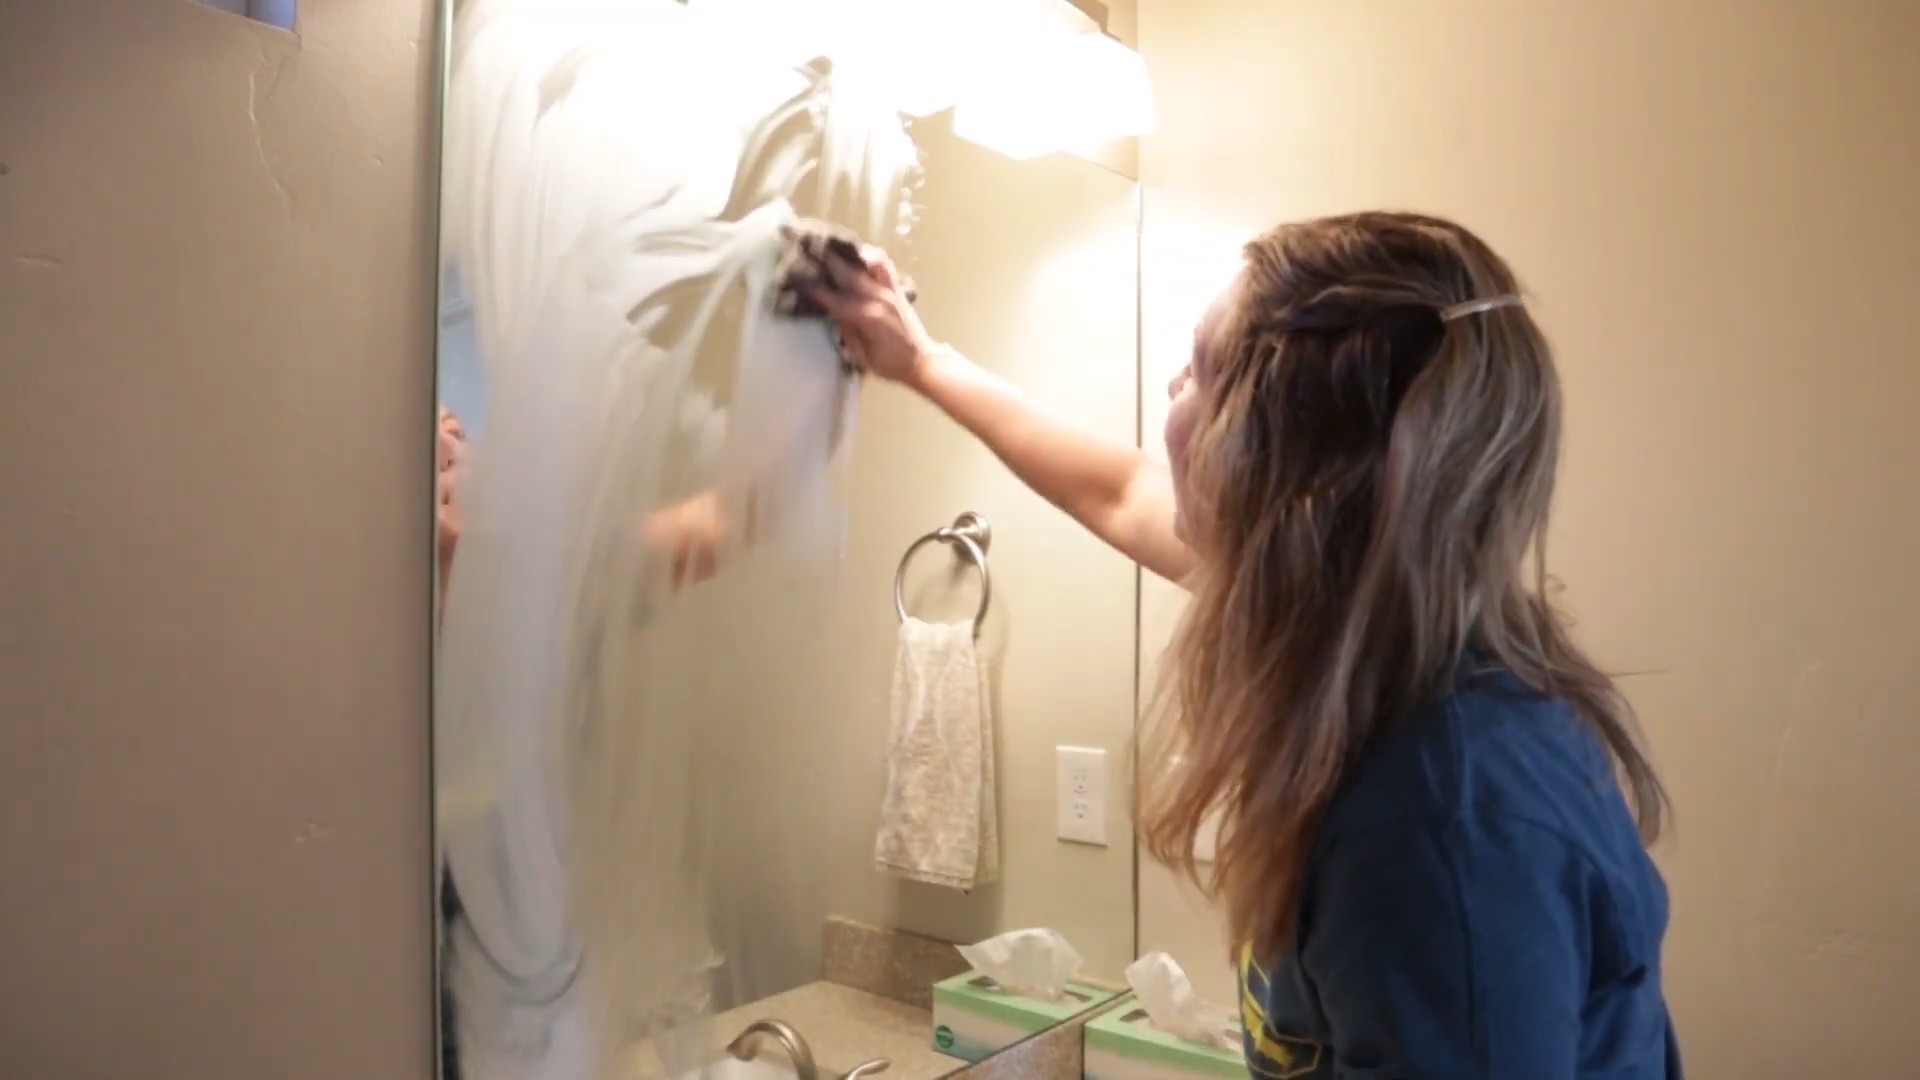
3. **Spread it Around:** Using your fingers or a clean cloth, spread the shaving cream into a thin, even layer. Make sure to cover the entire mirror surface, including the edges. Don’t worry about making it perfect; we’ll buff it out later.
4. **Let it Sit (Briefly):** Allow the shaving cream to sit on the mirror for a minute or two. This gives it time to work its magic and create a protective barrier.
5. **Wipe it Off (Mostly):** Now, take a clean, damp cloth or paper towel and gently wipe off the majority of the shaving cream. You don’t need to remove it all completely. The goal is to leave a very thin, almost invisible layer behind.
6. **Buff to a Shine:** This is the key step! Grab a clean, dry microfiber cloth and buff the mirror until it’s clear and shiny. You’ll want to buff away any remaining streaks or residue. The more you buff, the clearer your mirror will be. Keep buffing until you can see your reflection clearly.
7. **Admire Your Work!** Step back and admire your fog-free masterpiece! Now, take a hot shower and enjoy the satisfaction of seeing your reflection clearly when you step out.
Troubleshooting and Tips
Even with the simplest hacks, sometimes things don’t go exactly as planned. Here are a few tips and troubleshooting suggestions to help you achieve the best results:
* **Streaky Mirror:** If your mirror is still streaky after buffing, try using a slightly damp cloth to remove any remaining residue and then buff again with a dry cloth.
* **Too Much Shaving Cream:** If you applied too much shaving cream, it might be difficult to buff it all away. In this case, use a damp cloth to remove the excess and then start the buffing process again.
* **Residue Buildup:** Over time, you might notice a slight residue buildup on your mirror. This is normal. Simply reapply the shaving cream and repeat the process.
* **Type of Shaving Cream Matters:** As I mentioned earlier, plain, non-gel shaving cream works best. Gel shaving creams can sometimes leave a sticky residue that’s difficult to remove.
* **Frequency of Application:** How often you need to reapply the shaving cream depends on how often you shower and how steamy your bathroom gets. I usually reapply it every week or two.
* **Ventilation is Key:** While this hack works wonders, proper bathroom ventilation can also help reduce fog buildup. Make sure your bathroom fan is working properly and use it during and after showers.
* **Test in a Small Area First:** If you’re concerned about the shaving cream damaging your mirror (which is unlikely, but always good to be cautious), test it in a small, inconspicuous area first.
* Don’t use abrasive cleaners before or after applying the shaving cream. This could scratch the mirror or damage the protective layer.
* Consider the humidity levels in your bathroom. If you live in a very humid climate, you may need to reapply the shaving cream more frequently.
* Experiment with different brands of shaving cream. Some brands may work better than others, depending on their ingredients.
* If you have a framed mirror, be careful not to get shaving cream on the frame. It can be difficult to remove from certain materials.
Why This Works: The Science Behind the Magic
Okay, so you know *how* to do it, but maybe you’re wondering *why* it works. It’s actually pretty simple science!
The shaving cream creates a thin film on the surface of the mirror. This film acts as a surfactant, which means it reduces the surface tension of the water droplets that form when steam condenses on the mirror. Instead of forming tiny droplets that scatter light and create fog, the water spreads out into a thin, even layer that you can see through.
In other words, the shaving cream prevents the water from beading up and creating that annoying fog. Pretty cool, right?
Beyond the Bathroom: Other Uses for This Hack
While this hack is primarily used for bathroom mirrors, it can also be used on other surfaces that tend to fog up, such as:
* **Car Windows:** Apply a thin layer of shaving cream to the inside of your car windows to prevent fogging during cold or rainy weather.
* **Eyeglasses:** A tiny dab of shaving cream can prevent your eyeglasses from fogging up when you’re wearing a mask or exercising. Just be sure to buff it off completely to avoid any blurry vision.
* **Swimming Goggles:** Apply a thin layer of shaving cream to the inside of your swimming goggles to prevent them from fogging up during your swim.
* Camera Lenses: In humid conditions, camera lenses can fog up. A small amount of shaving cream can help prevent this.
Alternative Anti-Fog Solutions (If Shaving Cream Isn’t Your Thing)
While I’m a big fan of the shaving cream hack, I understand that it might not be for everyone. Here are a few alternative anti-fog solutions you can try:
* **Commercial Anti-Fog Sprays:** These sprays are specifically designed to prevent fogging and can be found at most drugstores or online retailers.
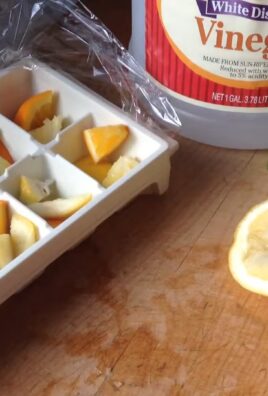
* **Vinegar and Water Solution:** Mix equal parts white vinegar and water in a spray bottle and apply it to the mirror. Wipe it off with a clean cloth.
* **Dish Soap:** A tiny amount of dish soap mixed with water can also prevent fogging. Apply it to the mirror and wipe it off with a clean cloth.
* **Anti-Fog Wipes:** These pre-moistened wipes are convenient and easy to use.
Final Thoughts
So there you have it! A simple, effective, and affordable way to keep your bathroom mirror fog-free using shaving cream. I hope you found this guide helpful. Now go forth and enjoy your clear, fog-free reflection! And remember, a little bit of shaving cream can go a long way in making your mornings a little bit brighter (and clearer!).
Conclusion
So, there you have it! This simple, yet incredibly effective, shaving cream mirror anti-fog trick is a game-changer for anyone tired of battling steamy bathroom mirrors. Forget expensive commercial anti-fog sprays filled with harsh chemicals. This DIY solution is not only budget-friendly but also uses a product you likely already have in your bathroom.
Why is this a must-try? Because it works! Imagine stepping out of a hot shower and being greeted by a clear, fog-free reflection. No more wiping, no more waiting, just instant visibility. This is especially beneficial during those rushed mornings when every second counts. Beyond the convenience, this trick also offers a gentler alternative to chemical-laden sprays, making it a great choice for those with sensitive skin or a preference for natural cleaning solutions.
But the beauty of this DIY method lies in its adaptability. While classic shaving cream works wonders, feel free to experiment with different types. Some users have reported success with shaving gels, although the results may vary depending on the consistency. You can also add a few drops of your favorite essential oil to the shaving cream before application for a subtle, refreshing scent in your bathroom. Lavender, eucalyptus, or tea tree oil are all excellent choices, offering aromatherapy benefits alongside the anti-fog properties. Just be sure to use essential oils safely and sparingly.
Another variation to consider is the application technique. While we recommend a thin layer buffed to near invisibility, you can adjust the amount of shaving cream based on the size of your mirror and the humidity levels in your bathroom. For larger mirrors or particularly steamy environments, a slightly thicker layer might provide longer-lasting results.
We are confident that once you try this shaving cream mirror anti-fog trick, you’ll wonder how you ever lived without it. It’s a simple, effective, and affordable solution to a common bathroom problem.
Now, it’s your turn! We highly encourage you to give this DIY method a try. See for yourself how easy it is to achieve a fog-free mirror and enjoy the convenience it brings to your daily routine. And most importantly, we want to hear about your experience! Share your results, variations, and any tips you discover in the comments below. Let’s build a community of fog-free mirror enthusiasts! Your feedback will not only help other readers but also contribute to refining this already fantastic DIY trick. So go ahead, banish the fog and share your success story!
Frequently Asked Questions (FAQ)
1. What kind of shaving cream works best for this anti-fog trick?
The best type of shaving cream to use is a classic, aerosol-based shaving cream. These tend to have a good consistency for spreading thinly and evenly across the mirror surface. Gel-based shaving creams can also work, but you might need to experiment with the amount you use to achieve the desired results. Avoid using shaving creams that are heavily scented or contain a lot of added oils, as these can leave a residue on the mirror.
2. How long does the anti-fog effect last?
The duration of the anti-fog effect depends on several factors, including the humidity levels in your bathroom, the frequency of showers, and the thickness of the shaving cream layer you apply. Generally, you can expect the anti-fog effect to last for several days to a week. You’ll know it’s time to reapply when you start to notice fog forming on the mirror again.
3. Will the shaving cream damage my mirror?
No, shaving cream will not damage your mirror as long as you apply it correctly and buff it out thoroughly. The key is to use a small amount of shaving cream and spread it in a thin, even layer. Then, use a clean, dry microfiber cloth to buff the mirror until it’s almost completely clear. If you leave a thick layer of shaving cream on the mirror, it can leave a residue that’s difficult to remove.
4. Can I use this trick on other surfaces besides mirrors?
While this trick is primarily designed for mirrors, it can also work on other glass surfaces, such as shower doors or bathroom windows. However, it’s important to test a small, inconspicuous area first to ensure that the shaving cream doesn’t damage the surface. Avoid using this trick on delicate surfaces like antique mirrors or coated glass.
5. Is this trick safe for children and pets?
Yes, this trick is generally safe for children and pets, as long as you use a shaving cream that doesn’t contain any harsh chemicals or irritants. However, it’s always a good idea to keep shaving cream out of reach of children and pets to prevent accidental ingestion. If you’re concerned about potential allergies or sensitivities, choose a hypoallergenic shaving cream.
6. What if I accidentally leave too much shaving cream on the mirror?
If you accidentally apply too much shaving cream to the mirror, don’t worry! Simply use a clean, damp microfiber cloth to wipe away the excess shaving cream. Then, use a dry microfiber cloth to buff the mirror until it’s clear and streak-free. You may need to repeat this process a few times to remove all of the residue.
7. Can I use this trick on my car windows?
While some people have reported success using shaving cream as an anti-fog treatment for car windows, it’s generally not recommended. Shaving cream can leave a greasy residue on car windows that can be difficult to remove and can impair visibility. There are dedicated anti-fog products specifically designed for car windows that are a better option.
8. What are some alternative anti-fog solutions if I don’t have shaving cream?
If you don’t have shaving cream on hand, there are a few other DIY anti-fog solutions you can try. One option is to mix equal parts white vinegar and water in a spray bottle and spray it onto the mirror. Wipe the mirror clean with a microfiber cloth. Another option is to use a bar of soap. Rub the soap onto the mirror and then wipe it clean with a damp cloth.
9. How often should I reapply the shaving cream to maintain the anti-fog effect?
The frequency of reapplication depends on the humidity levels in your bathroom and how often you shower. As a general rule, you should reapply the shaving cream every few days to a week. You’ll know it’s time to reapply when you start to notice fog forming on the mirror again.
10. Can I add essential oils to the shaving cream for a pleasant scent?
Yes, you can add a few drops of your favorite essential oil to the shaving cream before applying it to the mirror. This will add a subtle, refreshing scent to your bathroom. Lavender, eucalyptus, and tea tree oil are all excellent choices. However, be sure to use essential oils safely and sparingly. Too much essential oil can leave a residue on the mirror or irritate your skin. Always test a small area first to ensure you don’t have an adverse reaction.


Leave a Comment