

Stop doors squeaking forever? Is that even possible? Absolutely! I know how incredibly annoying that high-pitched screech can be, especially when you’re trying to sneak around or have a sleeping baby. It’s like nails on a chalkboard, right? Well, fear not, because this DIY guide is your ultimate weapon against those noisy hinges.
The humble door hinge, often overlooked, has a rich history. From the earliest pivoting stones in ancient civilizations to the intricate ironwork of medieval castles, hinges have been essential for security and privacy. But even the most beautifully crafted hinge can fall victim to the dreaded squeak.
Why do you need this DIY trick? Because a squeaky door isn’t just irritating; it can also be a sign of a bigger problem. Neglecting those squeaks can lead to increased wear and tear on your hinges, eventually requiring costly replacements. Plus, let’s be honest, a quiet home is a happy home! I’m going to show you simple, effective, and long-lasting solutions to stop doors squeaking forever, using common household items. Get ready to say goodbye to those ear-splitting noises and hello to peaceful, quiet doorways!
Stop Doors Squeaking Forever: A DIY Guide
Okay, let’s face it, that squeaky door is driving you nuts, right? It’s like a tiny, high-pitched gremlin living in your hinges, mocking your every move. Well, fear not! I’m here to guide you through a few simple DIY methods to silence that squeak forever (or at least for a very long time!). We’ll cover everything from quick fixes to more in-depth solutions, so you can choose the method that best suits your needs and skill level.
Understanding the Squeak
Before we dive in, let’s understand why doors squeak in the first place. Usually, it’s friction. The metal parts of the hinges are rubbing against each other without proper lubrication. Dust, dirt, and even rust can exacerbate the problem. Sometimes, it’s not even the hinges! It could be the door rubbing against the frame. We’ll address all these possibilities.
Method 1: The Quick Fix – Lubrication is Key
This is the first thing I always try because it’s the easiest and often works wonders.
What you’ll need:
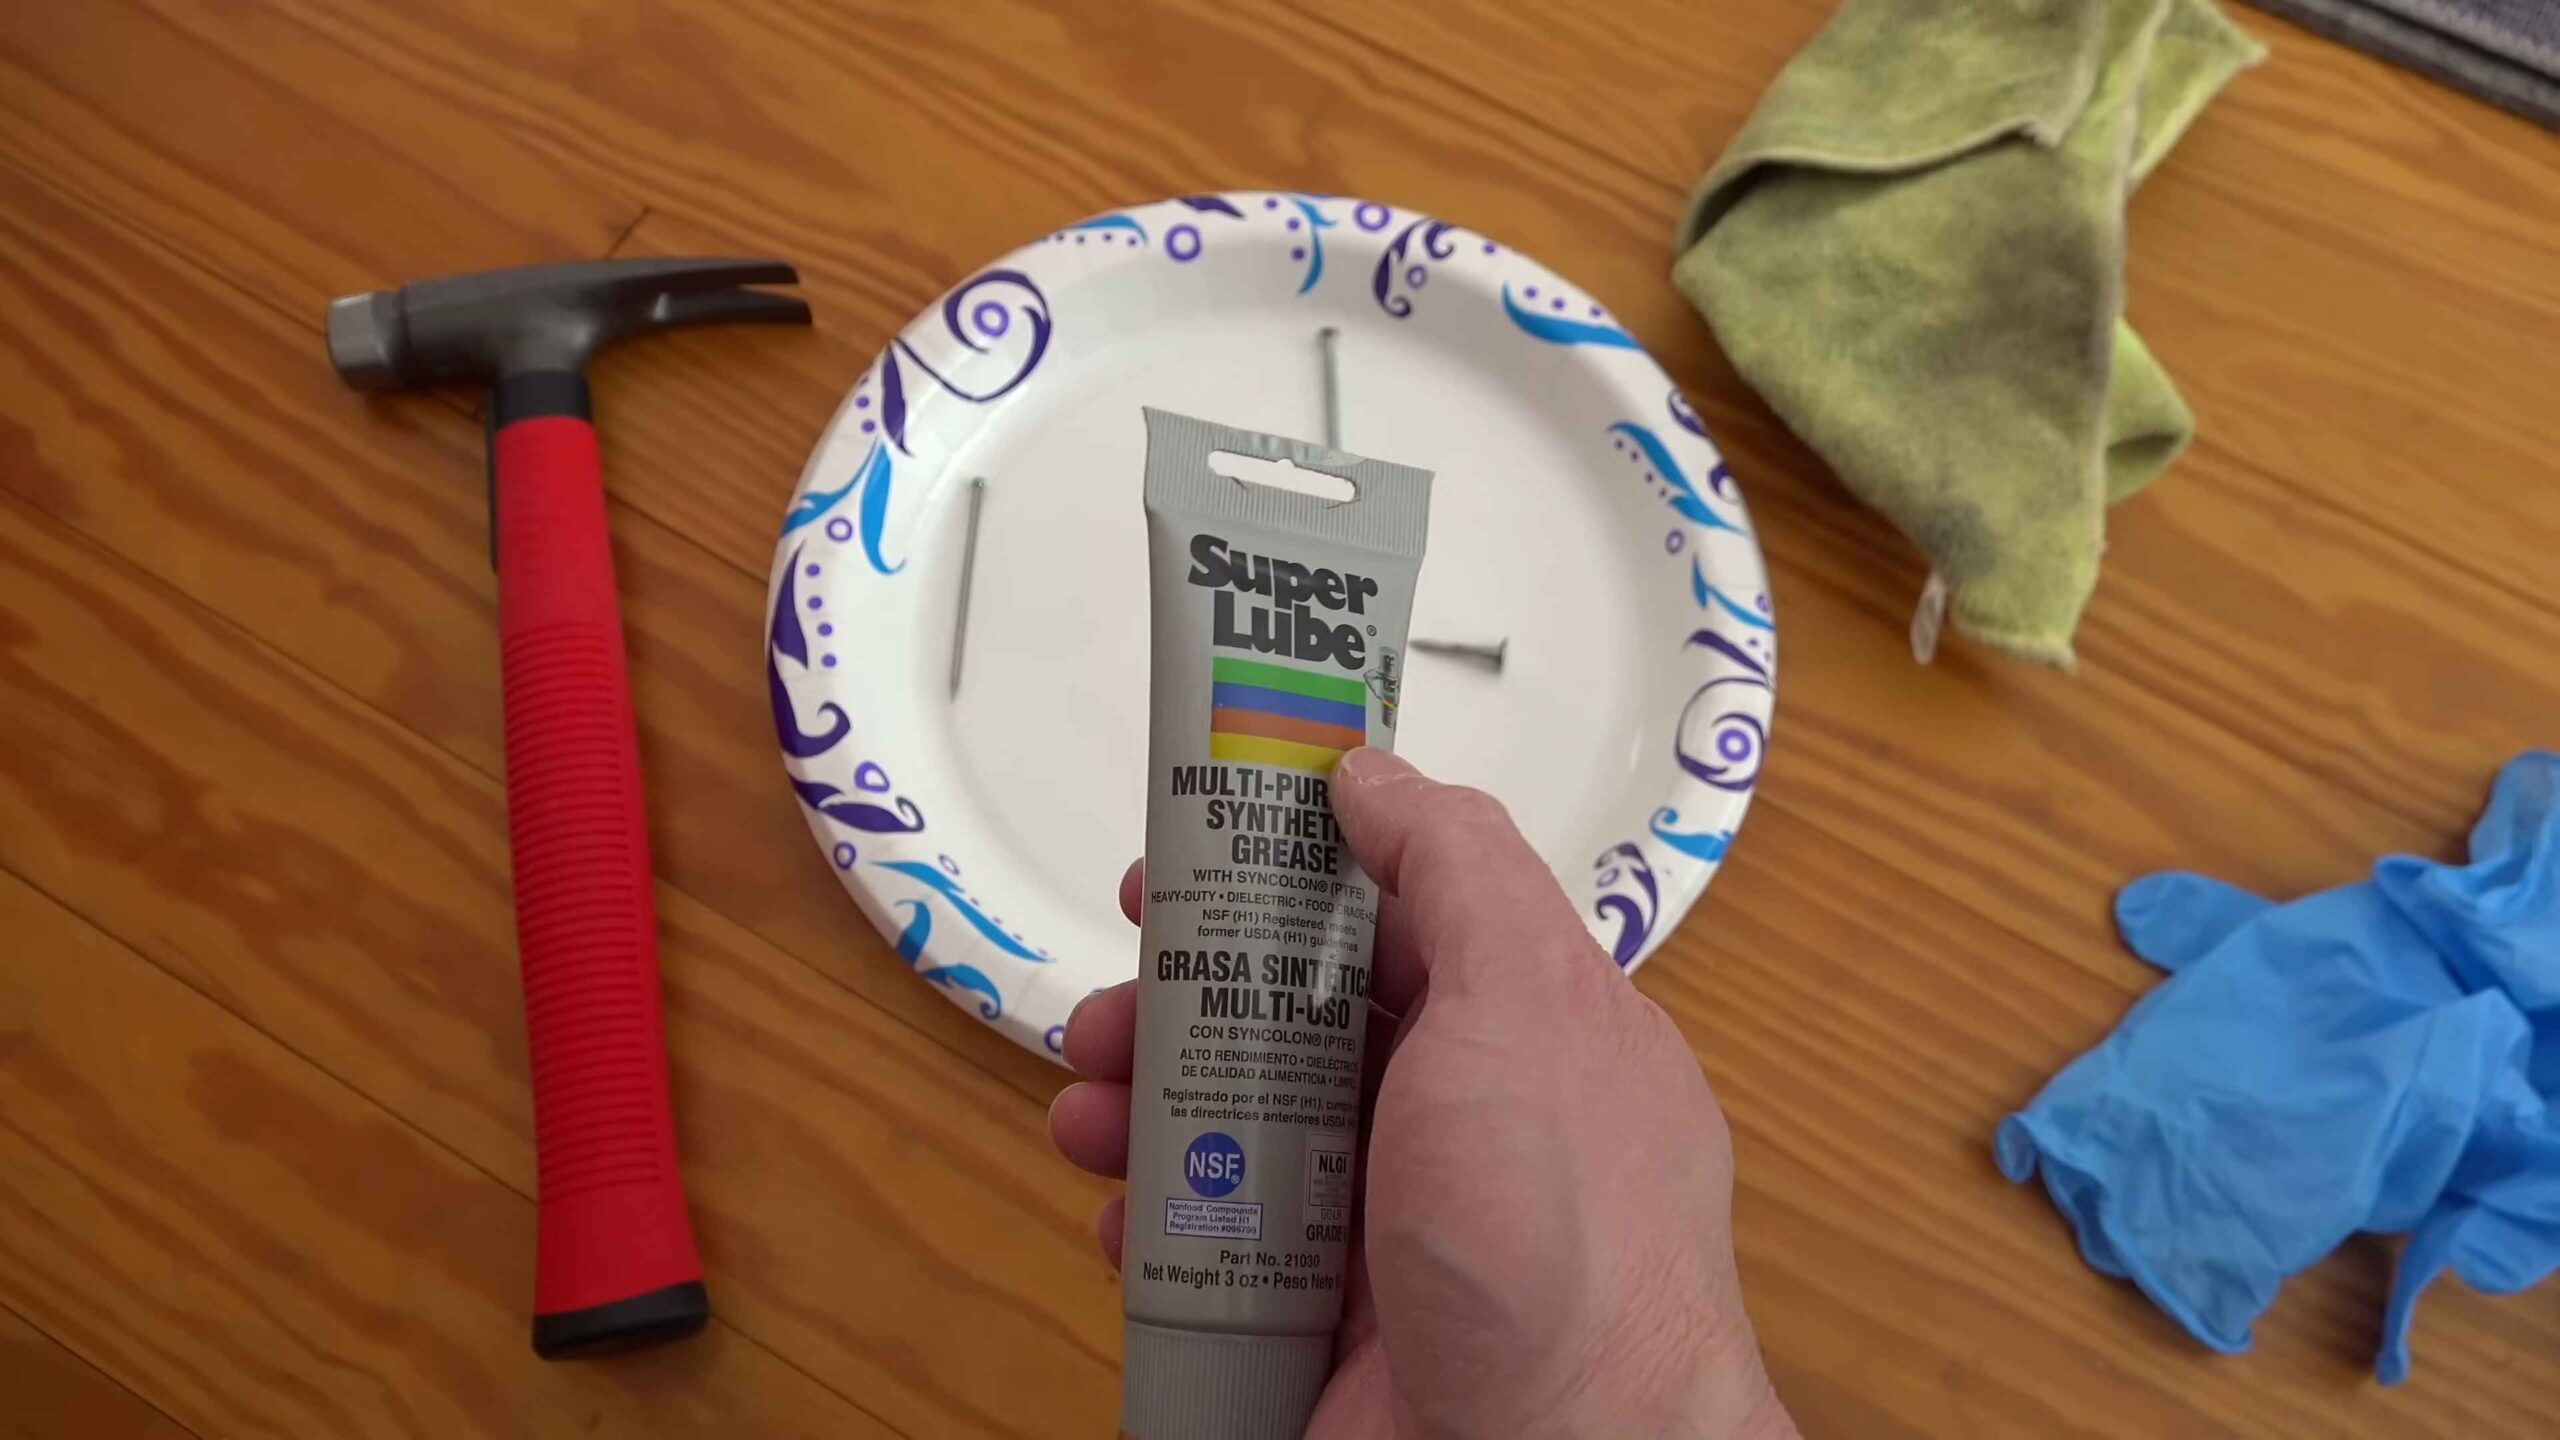
* Lubricant (WD-40, silicone spray, white lithium grease, or even cooking oil in a pinch)
* Paper towels or a rag
* Optional: A small brush or cotton swab for precise application
Step-by-step instructions:
1. Identify the Squeaky Hinge(s): Open and close the door slowly, paying close attention to each hinge. Pinpoint exactly which hinge(s) are making the noise. Sometimes it’s just one, sometimes it’s all of them!
2. Prepare the Area: Place a paper towel or rag underneath the hinge you’re working on to catch any drips. This will save you from having oily spots on your floor.
3. Apply the Lubricant: This is the crucial step.
* WD-40 or Silicone Spray: Insert the nozzle of the spray can into the hinge joint (where the two metal parts meet). Give it a good, short burst. Don’t overdo it!
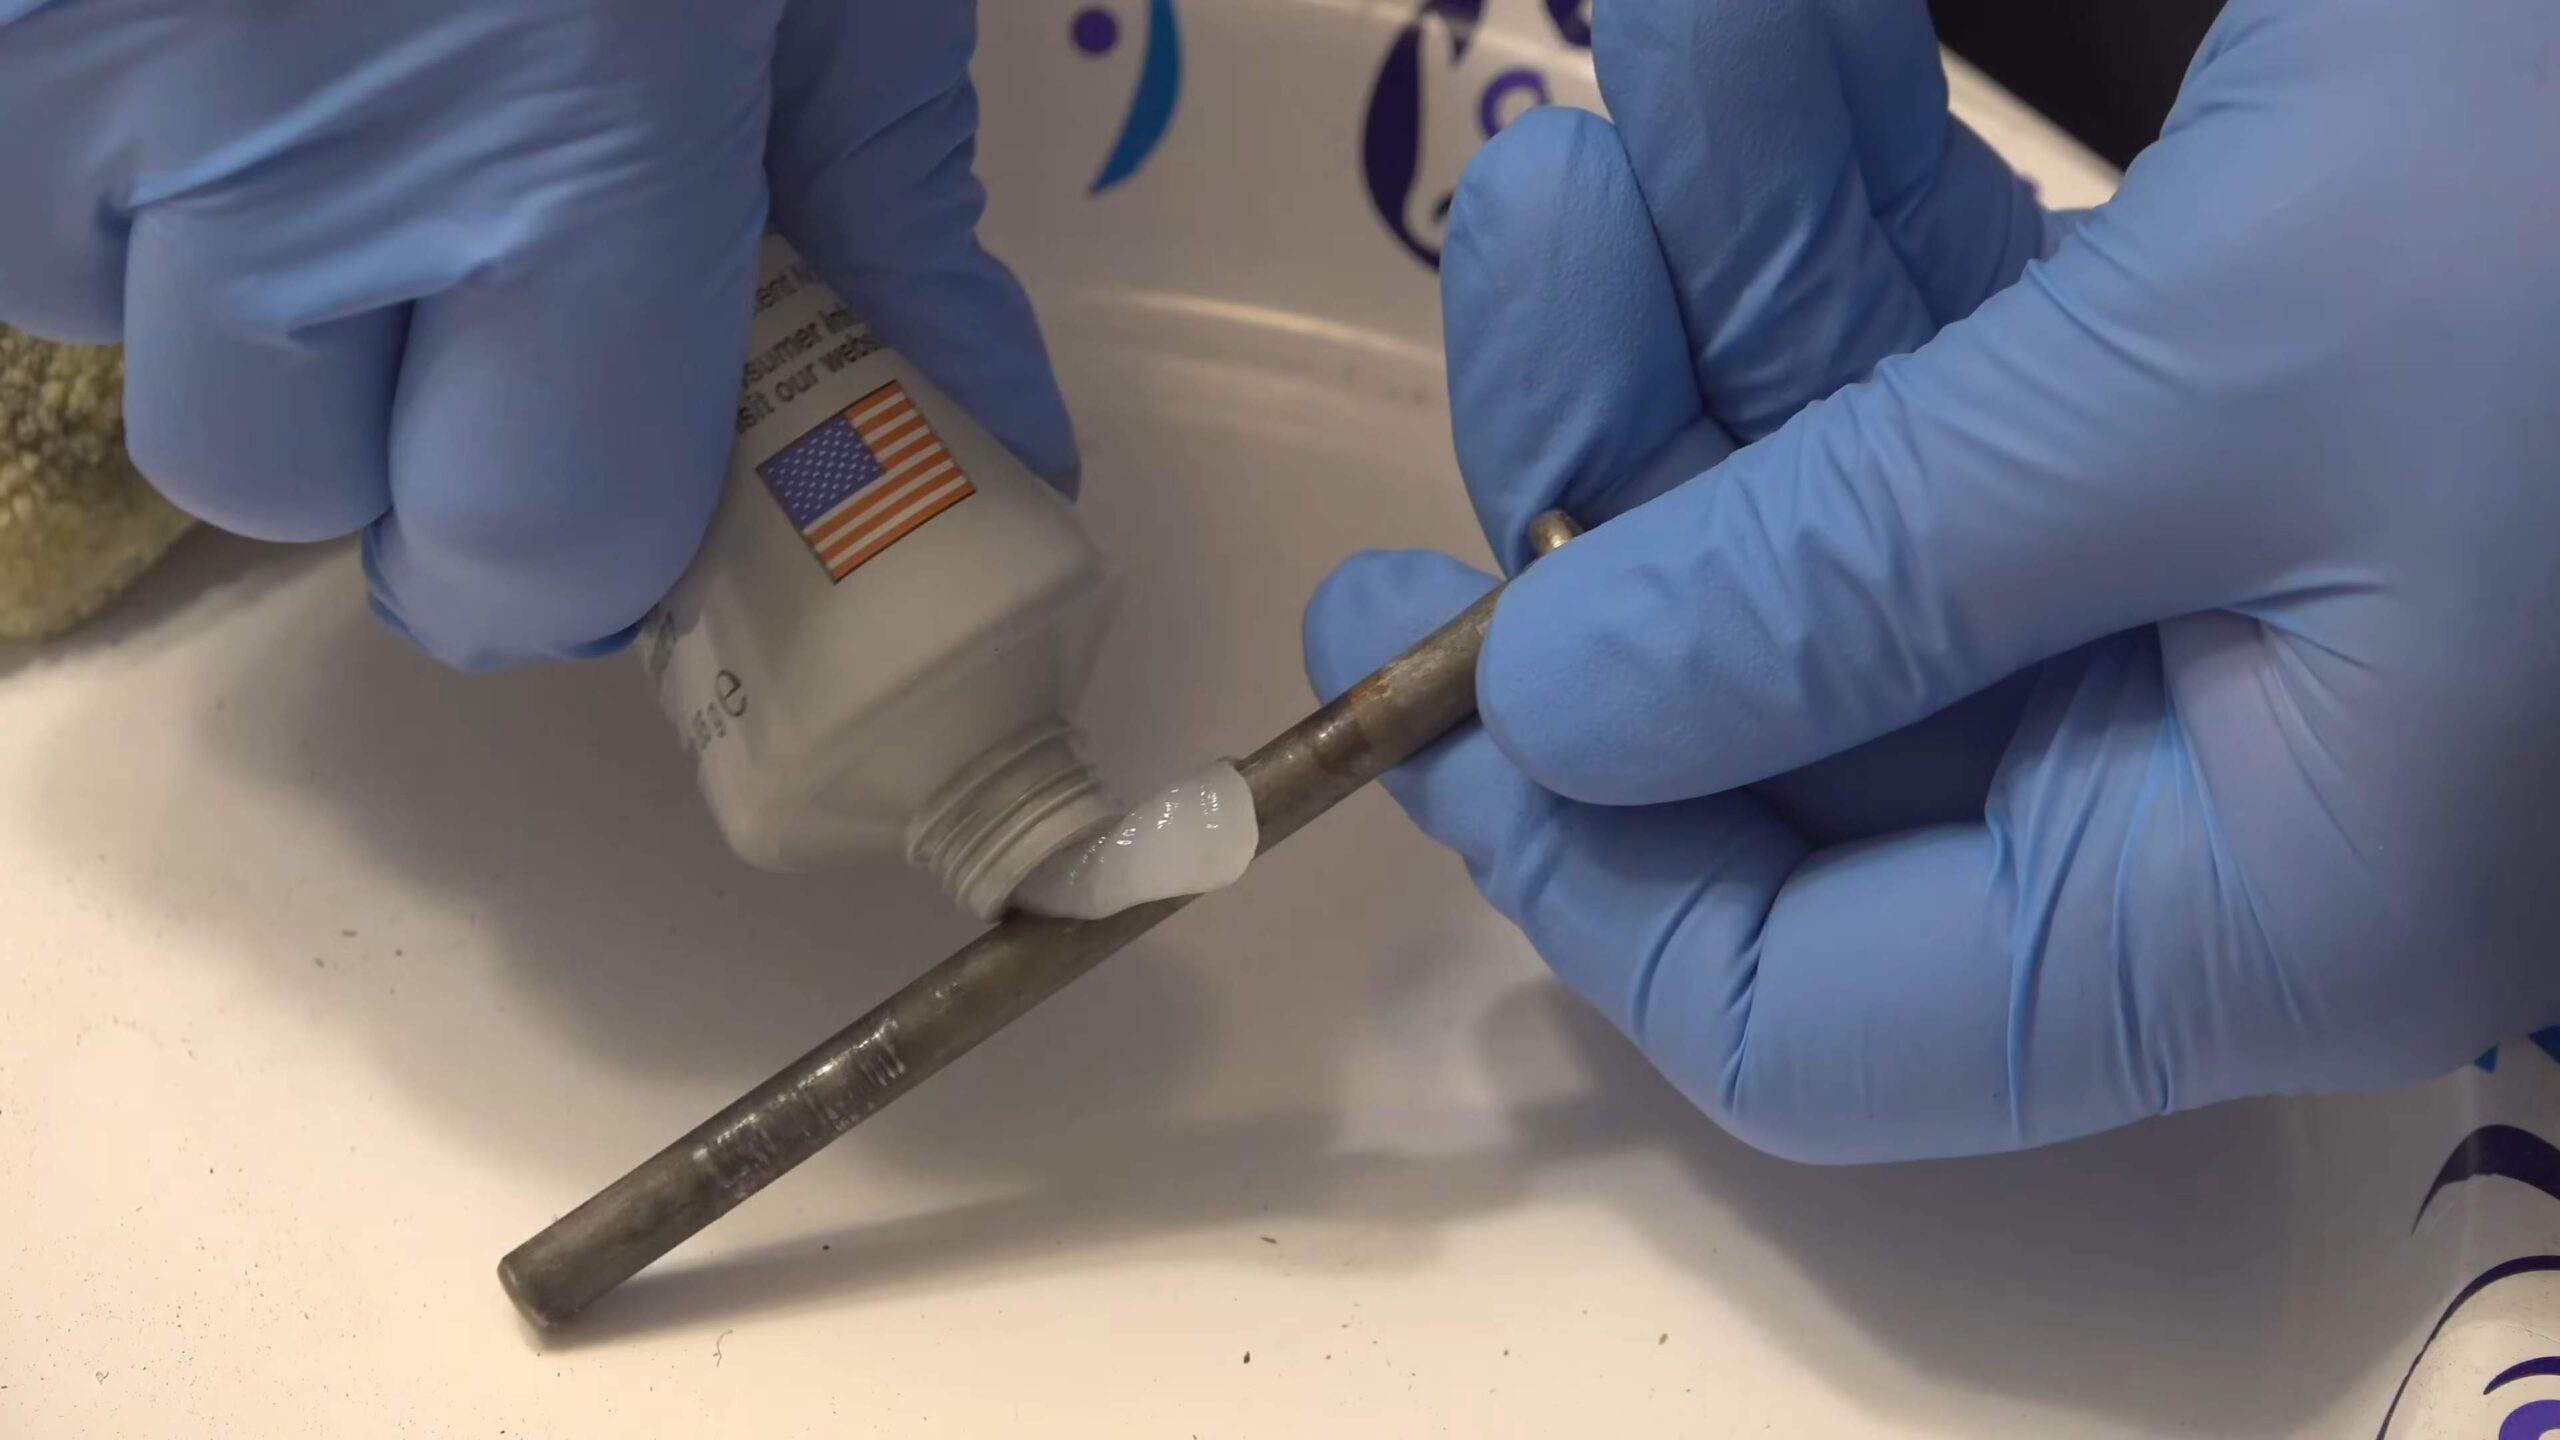
* White Lithium Grease: This is a thicker lubricant, so it’s great for hinges that are really worn. Apply a small amount directly to the hinge joint. You can use your finger (wear gloves!) or a small brush to work it in.
* Cooking Oil (Emergency Only!): If you’re desperate and have nothing else, a little cooking oil can work temporarily. Use a cotton swab to apply it sparingly to the hinge joint. Be aware that it can attract dust and might not last as long as other lubricants.
4. Work the Lubricant In: Open and close the door several times to distribute the lubricant throughout the hinge. Listen to see if the squeak is diminishing.
5. Wipe Away Excess: Use a clean paper towel or rag to wipe away any excess lubricant that has dripped or oozed out. This prevents it from attracting dust and grime.
6. Repeat if Necessary: If the squeak persists, repeat steps 3-5. Sometimes it takes a couple of applications to fully penetrate the hinge.
7. Check Other Hinges: Even if you only identified one squeaky hinge, it’s a good idea to lubricate the other hinges as well. This will help prevent them from squeaking in the future.
Method 2: The Shimmy Shake – Tightening Loose Hinges
Sometimes the squeak isn’t just about lubrication; it’s about loose screws! Over time, the screws holding the hinges to the door frame or door can loosen, causing the door to shift and rub.
What you’ll need:
* Screwdriver (matching the screw heads on your hinges)
* Toothpicks or small wooden shims
* Wood glue (optional, but recommended)
Step-by-step instructions:
1. Inspect the Hinges: Carefully examine each hinge to see if any of the screws are loose. You can usually tell by trying to turn them with your screwdriver. If they turn easily without gripping, they’re loose.
2. Tighten the Screws: Try tightening the loose screws first. Sometimes that’s all it takes! If the screw spins freely and doesn’t tighten, move on to the next step.
3. Prepare the Toothpicks/Shims: If the screw holes are stripped (meaning the screws can’t grip the wood), you’ll need to fill the holes. Break off a few toothpicks or cut small pieces of wooden shim so they’re slightly longer than the depth of the screw hole.
4. Apply Glue (Optional): Dip the toothpicks or shims into wood glue. This will help them adhere to the inside of the screw hole and provide a stronger grip for the screw.
5. Insert the Toothpicks/Shims: Gently push the glued toothpicks or shims into the stripped screw hole. You might need to use a small hammer to tap them in. Fill the hole completely.
6. Break Off Excess: Once the glue is dry (usually after a few hours), use a utility knife or pliers to break off any excess toothpick or shim material that’s sticking out of the hole. Make sure the surface is flush with the hinge.
7. Re-insert the Screw: Now, try tightening the screw again. It should grip the filled hole and tighten securely.
8. Test the Door: Open and close the door to see if the squeak is gone. If it persists, check the other hinges and repeat the process.
Method 3: The Deep Clean – Removing Rust and Grime
If lubrication and tightening screws don’t do the trick, the hinges might be heavily corroded or caked with grime. A good cleaning can make a big difference.
What you’ll need:
* Screwdriver
* Penetrating oil (like WD-40 or Liquid Wrench)
* Wire brush or steel wool
* Clean rags
* Lubricant (as mentioned in Method 1)
Step-by-step instructions:
1. Remove the Hinges (Optional, but Recommended): For a thorough cleaning, it’s best to remove the hinges from the door and frame. This will give you better access to all the surfaces. If you’re not comfortable removing the hinges, you can try cleaning them while they’re still attached, but it will be more difficult.
* Important: If you remove the hinges, be sure to support the door to prevent it from falling! You might need a helper for this.
2. Apply Penetrating Oil: Spray the hinges liberally with penetrating oil. This will help loosen any rust or grime that’s stuck to the metal. Let the oil soak in for at least 15-20 minutes.
3. Scrub the Hinges: Use a wire brush or steel wool to scrub away any rust, dirt, or grime from the hinges. Pay close attention to the hinge joint and any other areas where debris has accumulated.
4. Wipe Clean: Use a clean rag to wipe away the loosened debris and excess oil.
5. Re-lubricate: Once the hinges are clean and dry, apply a generous amount of lubricant to the hinge joint.
6. Reinstall the Hinges: If you removed the hinges, carefully reinstall them, making sure they’re aligned properly. Tighten the screws securely.
7. Test the Door: Open and close the door to see if the squeak is gone.
Method 4: The Door Frame Adjustment – When the Door Rubs
Sometimes the squeak isn’t coming from the hinges at all! It’s the door rubbing against the frame. This can happen if the door frame is warped or if the door has shifted over time.
What you’ll need:
* Pencil
* Sandpaper or a sanding block
* Wood chisel (optional, for larger adjustments)
* Hammer (optional, for using the chisel)
* Paint or stain (to match the door and frame)
Step-by-step instructions:
1. Identify the Rubbing Point: Open and close the door slowly, paying close attention to where it’s rubbing against the frame. You might see paint wearing away or hear a scraping sound. Use a pencil to mark the area on the door or frame that’s rubbing.
2. Sand the Rubbing Point: Use sandpaper or a sanding block to sand down the area that’s rubbing. Start with a medium-grit sandpaper and then switch to a finer grit for a smoother finish.
3. For Larger Adjustments (Optional): If the door is rubbing significantly, you might need to use a wood chisel to remove more material. Carefully position the chisel on the marked area and tap it with a hammer to remove thin layers of wood.
4. Test the Door: Open and close it to see if it’s working.
Conclusion
So, there you have it! No more wincing every time someone opens or closes a door. This simple, yet incredibly effective, DIY trick to stop doors squeaking forever is a game-changer for any home. It’s quick, it’s cheap, and it delivers lasting results. Forget expensive lubricants or calling in a handyman; with just a few household items, you can silence those annoying squeaks and restore peace and quiet to your living space.
But don’t just take our word for it. The beauty of this method lies in its adaptability. While we’ve outlined a straightforward approach using common materials, feel free to experiment and find what works best for your specific door and hinge situation. For instance, if you’re dealing with particularly stubborn squeaks, you might try combining the graphite pencil trick with a tiny amount of petroleum jelly for added lubrication. Alternatively, for a more natural approach, consider using a small amount of beeswax. Just be sure to apply it sparingly to avoid any sticky residue.
Another variation to consider is the type of applicator you use. While a cotton swab works well for precise application, a small paintbrush can be helpful for reaching tight corners or applying the lubricant more evenly across the entire hinge pin.
The key is to be patient and persistent. Sometimes, it takes a few applications and adjustments to completely eliminate the squeak. Don’t be discouraged if the first attempt doesn’t yield immediate results. Keep at it, and you’ll eventually find the perfect solution for your squeaky doors.
We’re confident that this DIY trick will become your go-to solution for silencing squeaky doors. It’s a simple, effective, and affordable way to maintain your home and enjoy a more peaceful living environment.
Now, it’s your turn! We encourage you to give this DIY trick a try and experience the satisfaction of silencing those annoying squeaks once and for all. And most importantly, we want to hear about your experience! Share your tips, variations, and success stories in the comments below. Let’s create a community of squeak-free homes! What worked best for you? Did you discover any alternative materials or techniques? Your feedback will help others find the perfect solution for their squeaky doors and contribute to a wealth of knowledge on this simple yet impactful DIY project. Let’s banish squeaky doors forever, one hinge at a time!
Frequently Asked Questions (FAQs)
Why is my door squeaking in the first place?
Door squeaks are typically caused by friction between the metal parts of the hinges. Over time, the lubricant in the hinges dries out or gets displaced, leading to metal-on-metal contact. This friction generates the annoying squeaking sound. Other factors can contribute to squeaking, such as loose screws in the hinges, misaligned doors, or even changes in humidity that cause the wood to expand or contract. Identifying the root cause of the squeak can help you choose the most effective solution. Sometimes, it’s as simple as tightening the screws, while other times, lubrication is the key.
What kind of lubricant should I use to stop doors squeaking forever?
While commercially available lubricants like WD-40 are often used, they are not always the best long-term solution. WD-40, for example, is more of a solvent than a lubricant and can actually dry out the hinges over time, leading to even more squeaking. Better options include graphite powder, petroleum jelly, silicone-based lubricants, or even beeswax. Graphite powder is a dry lubricant that won’t attract dust or dirt, making it a good choice for hinges that are exposed to the elements. Petroleum jelly provides a thicker, longer-lasting lubrication. Silicone-based lubricants are also effective and won’t damage the metal. Beeswax is a natural option that can provide a good level of lubrication. The best choice depends on the severity of the squeak and your personal preferences.
How often should I lubricate my door hinges?
The frequency of lubrication depends on several factors, including the type of lubricant you use, the frequency of door use, and the environmental conditions. As a general rule, it’s a good idea to lubricate your door hinges every six months to a year. However, if you notice the squeaking returning sooner, you may need to lubricate them more frequently. Regularly inspecting your door hinges for signs of dryness or corrosion can also help you determine when lubrication is needed.
Can I use cooking oil to lubricate my door hinges?
While cooking oil might seem like a convenient option, it’s generally not recommended for lubricating door hinges. Cooking oil can attract dust and dirt, which can actually worsen the squeaking over time. Additionally, cooking oil can become sticky and gummy as it ages, making it even more difficult to open and close the door. It’s best to stick to lubricants specifically designed for metal surfaces, such as graphite powder, petroleum jelly, or silicone-based lubricants.
What if lubricating the hinges doesn’t stop the squeaking?
If lubricating the hinges doesn’t solve the problem, there may be other issues contributing to the squeaking. Check the hinges for loose screws and tighten them as needed. If the screws are stripped, you may need to replace them with longer screws or use wood glue to fill the holes before re-screwing. Also, inspect the door frame to ensure that the door is properly aligned. If the door is rubbing against the frame, you may need to adjust the hinges or plane down the edge of the door. In some cases, the squeaking may be caused by the door rubbing against the floor. If this is the case, you may need to raise the door slightly by adding shims under the hinges.
Is it safe to use WD-40 on door hinges?
While WD-40 can temporarily silence a squeaky door, it’s not a long-term solution and can actually cause more problems in the long run. WD-40 is primarily a solvent, not a lubricant. It can dissolve existing grease and grime, but it doesn’t provide lasting lubrication. In fact, WD-40 can dry out the hinges over time, leading to even more squeaking. If you do use WD-40, be sure to follow it up with a proper lubricant, such as graphite powder or petroleum jelly.
How do I apply the lubricant to the door hinges effectively?
The key to effective lubrication is to apply the lubricant directly to the friction points within the hinges. Start by opening and closing the door several times to identify the exact location of the squeak. Then, use a small applicator, such as a cotton swab or a small paintbrush, to apply the lubricant to the hinge pin and the areas where the hinge leaves rub together. Work the lubricant into the hinges by opening and closing the door several times. Wipe away any excess lubricant with a clean cloth. For stubborn squeaks, you may need to remove the hinge pin and apply the lubricant directly to the pin and the inside of the hinge barrel.
Can I use this trick on other squeaky things besides doors?
Absolutely! The principles behind this DIY trick can be applied to other squeaky objects as well. Anything with moving metal parts that are rubbing together can benefit from lubrication. This includes squeaky gates, drawers, chairs, and even some types of machinery. Just be sure to choose a lubricant that is appropriate for the specific application and follow the same steps of identifying the friction points and applying the lubricant directly to those areas.
What if my door is still squeaking after trying all of these tips?
If you’ve tried all of these tips and your door is still squeaking, it may be time to consult a professional. A handyman or carpenter can assess the situation and identify any underlying structural issues that may be contributing to the squeaking. They may also be able to provide more advanced solutions, such as replacing the hinges or adjusting the door frame. While DIY solutions can be effective for many squeaky door problems, sometimes professional help is needed to address more complex issues.


Leave a Comment