

Time for cleaning busy days doesn’t have to be a daunting chore! Let’s face it, between work, family, and everything else life throws our way, finding the time and energy to keep our homes sparkling can feel impossible. I get it! I’ve been there, staring at a mountain of laundry and a sink full of dishes, wondering where to even begin.
But what if I told you there are simple, effective DIY tricks and hacks that can dramatically cut down on your cleaning time and effort? Think of it as reclaiming your weekends and evenings, freeing you up to actually enjoy your downtime. Historically, efficient cleaning methods have been passed down through generations, often born out of necessity and a desire to maintain a healthy and comfortable living space. From ancient herbal remedies to clever organizational strategies, people have always sought ways to streamline their cleaning routines.
In today’s fast-paced world, these time-saving techniques are more valuable than ever. We all crave a clean and organized home, but we don’t want to spend all our precious free time scrubbing and dusting. That’s why I’m so excited to share these DIY cleaning secrets with you. They’re designed to be quick, easy, and budget-friendly, so you can achieve a sparkling clean home without sacrificing your sanity. So, if you’re ready to say goodbye to endless cleaning and hello to more free time, let’s dive into these amazing time for cleaning busy days hacks!
DIY Time-Saving Cleaning Hacks for Busy Days
Okay, let’s be honest, who actually *enjoys* cleaning? Probably not many of us! But it’s a necessary evil, especially when life gets hectic. So, I’ve compiled some of my favorite DIY cleaning hacks that will save you time and keep your home looking presentable, even on the busiest of days. These are tried and tested, and I promise they’ll make your life a little easier.
Hack 1: The “Speed Clean” Shower Spray
This is a game-changer. No more scrubbing shower scum! This homemade spray will keep your shower sparkling with minimal effort.
What you’ll need:
* Spray bottle (a recycled one is perfect!)
* 1 cup white vinegar
* 1 cup dish soap (Dawn works wonders)
* Optional: 10-20 drops of your favorite essential oil (tea tree, eucalyptus, or lavender are great for their antibacterial properties and fresh scent)
Step-by-step instructions:
1. Combine the ingredients: In your spray bottle, carefully pour in the white vinegar and dish soap. If you’re using essential oils, add them now.
2. Gently mix: Close the spray bottle tightly and gently swirl the mixture to combine. Avoid shaking vigorously, as this can create excessive suds.
3. Spray after each shower: After each shower, while the shower walls are still wet, spray the entire shower area with your homemade cleaner.
4. Let it work its magic: There’s no need to rinse! The solution will naturally break down soap scum and mildew.
5. Ventilate: Make sure your bathroom is well-ventilated to prevent any lingering vinegar smell.
Why this works: The vinegar’s acidity helps dissolve mineral deposits and soap scum, while the dish soap cuts through grease and grime. The essential oils add a pleasant scent and can provide additional cleaning benefits.
Hack 2: Microwave Cleaning Made Easy
Microwaves can get disgusting quickly. Splatters, spills, and dried-on food – yuck! This hack makes cleaning your microwave a breeze.
What you’ll need:
* Microwave-safe bowl
* 1 cup water
* 1 tablespoon white vinegar
* Lemon or lime slices (optional, for a fresh scent)
* Sponge or cloth
Step-by-step instructions:
1. Prepare the cleaning solution: Fill the microwave-safe bowl with 1 cup of water and add 1 tablespoon of white vinegar. If you’re using lemon or lime slices, add them to the bowl as well.
2. Microwave the solution: Place the bowl in the microwave and heat it on high for 5-7 minutes, or until the water boils and the microwave is filled with steam.
3. Let it sit: Leave the bowl in the microwave for another 3-5 minutes. This allows the steam to loosen any stuck-on food particles.
4. Wipe it clean: Carefully remove the bowl (it will be hot!). Use a sponge or cloth to wipe down the inside of the microwave. The grime should come off easily.
5. Dry and enjoy: Dry the inside of the microwave with a clean cloth. Your microwave should now be sparkling clean and smell fresh!
Why this works: The steam created by the boiling water loosens the food particles, making them easy to wipe away. The vinegar helps to dissolve grease and grime, and the lemon or lime adds a pleasant scent.
Hack 3: Dusting Like a Pro (and Faster!)
Dusting can feel like a never-ending chore. But with this simple hack, you can dust more effectively and less frequently.
What you’ll need:
* Microfiber cloths (these are essential!)
* Spray bottle
* Water
* Optional: A few drops of furniture polish (use sparingly)
Step-by-step instructions:
1. Prepare your dusting cloth: Lightly dampen a microfiber cloth with water. If you’re using furniture polish, add a few drops to the cloth.
2. Dust from top to bottom: Start dusting at the highest point in the room (e.g., ceiling fans, shelves) and work your way down. This prevents dust from falling onto already cleaned surfaces.
3. Use the right technique: Fold the microfiber cloth into quarters to create multiple clean surfaces. As one surface gets dirty, simply unfold the cloth to a clean section.
4. Clean hard-to-reach areas: Use a long-handled duster or a vacuum cleaner attachment to reach high ceilings, corners, and other difficult areas.
5. Wash your cloths: After dusting, wash your microfiber cloths in the washing machine. Avoid using fabric softener, as it can reduce their effectiveness.
Why this works: Microfiber cloths are incredibly effective at trapping dust and dirt. Dampening the cloth helps to prevent dust from scattering into the air. Dusting from top to bottom ensures that you don’t have to re-dust areas that have already been cleaned.
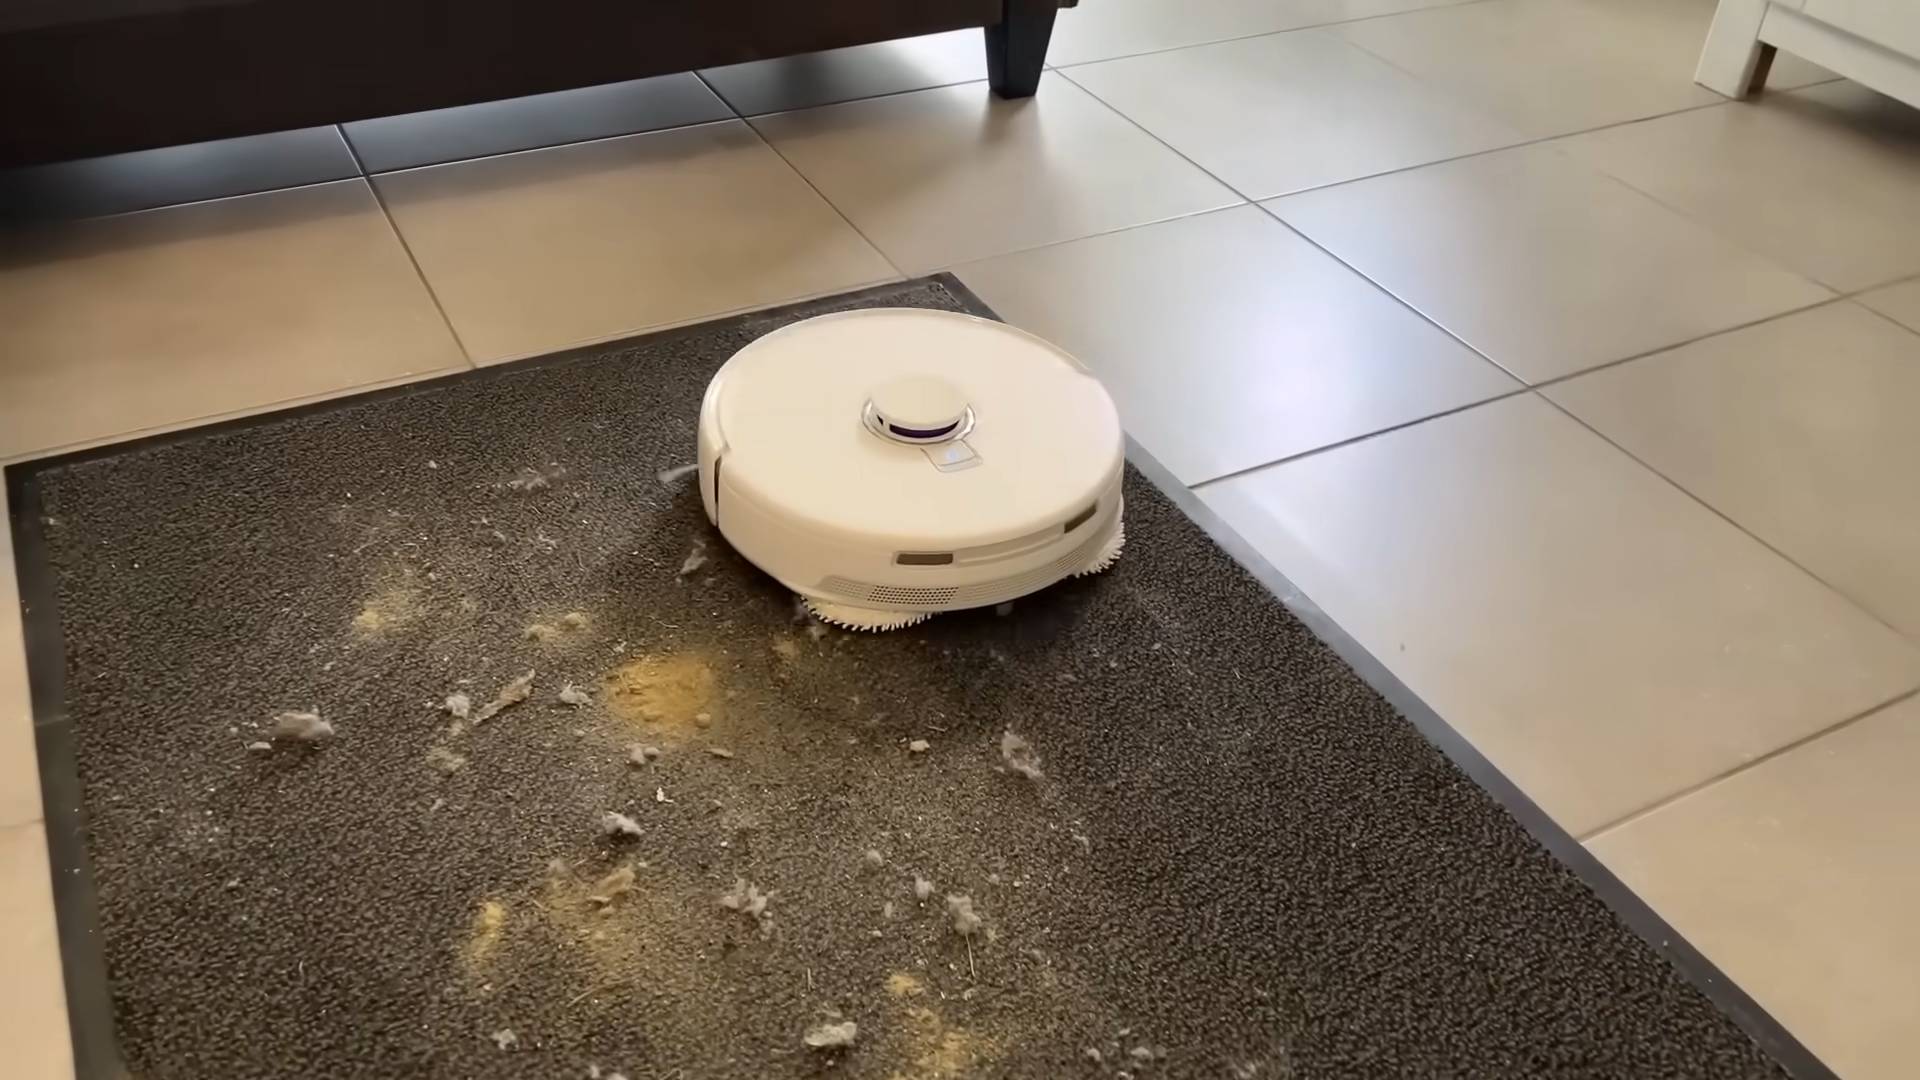
Hack 4: Quick and Easy Floor Cleaning
Keeping your floors clean can be a challenge, especially with kids or pets. This quick and easy floor cleaning method will help you maintain clean floors without spending hours scrubbing.
What you’ll need:
* Spray bottle
* Water
* A few drops of dish soap (again, Dawn is great)
* Optional: White vinegar (for extra cleaning power)
* Microfiber mop or cloth
Step-by-step instructions:
1. Prepare the cleaning solution: Fill the spray bottle with water and add a few drops of dish soap. If you’re using vinegar, add about 1/4 cup.
2. Spray and mop: Lightly spray the floor with the cleaning solution.
3. Mop or wipe: Use a microfiber mop or cloth to clean the floor. Work in small sections, and rinse the mop or cloth frequently.
4. Dry the floor: If necessary, dry the floor with a clean, dry cloth.
Why this works: The dish soap helps to cut through grease and grime, while the vinegar provides extra cleaning power. Microfiber mops and cloths are excellent at trapping dirt and leaving floors clean and streak-free.
Hack 5: Decluttering as You Go
This isn’t exactly a cleaning hack, but it’s a *huge* time-saver in the long run. The key is to declutter a little bit every day, rather than waiting for a massive decluttering session.
What you’ll need:
* Boxes or bags for donations, trash, and items to relocate.
Step-by-step instructions:
1. Designate a few minutes each day: Set aside just 10-15 minutes each day for decluttering.
2. Focus on one area: Choose a small area to focus on, such as a drawer, a shelf, or a countertop.
3. Be ruthless: Ask yourself if you truly need or use each item. If not, get rid of it!
4. Have a system: Immediately put items in the appropriate box or bag (donations, trash, or items to relocate).
5. Take action: As soon as the box or bag is full, take it to the donation center or throw it away.
Why this works: Decluttering regularly prevents clutter from building up in the first place. It also makes cleaning easier and faster, as you have less stuff to move around.
Hack 6: The “One-Minute Tidy”
This is my secret weapon for keeping my house looking presentable, even when I’m short on time.
What you’ll need:
* Just one minute!
Step-by-step instructions:
1. Scan the room: Quickly scan the room and identify the biggest sources of clutter.
2. Focus on the essentials: Prioritize tasks that will make the biggest impact, such as putting away stray items, fluffing pillows, and straightening rugs.
3. Set a timer: Set a timer for one minute and work as quickly as possible.
4. Stop when the timer goes off: Don’t try to do everything at once. Just focus on making a quick improvement.
Why this works: Even a small amount of tidying can make a big difference in the overall appearance of a room. The “one-minute tidy” is a great way to maintain a sense of order without spending a lot of time.
Hack 7: Baking Soda for Stubborn Stains
Baking soda is a natural and effective cleaner that can tackle a variety of stubborn stains.
What you’ll need:
* Baking soda
* Water
* Sponge or cloth
Step-by-step instructions:
1. Make a paste:
Conclusion
So, there you have it! Mastering this simple yet incredibly effective DIY cleaning trick is a game-changer, especially when time is of the essence during those perpetually busy days. It’s not just about saving money (though that’s a definite perk!); it’s about reclaiming your time and creating a healthier, more pleasant living space with minimal effort.
Why is this a must-try? Because it’s efficient, eco-friendly, and customizable. You’re using ingredients you likely already have in your pantry, avoiding harsh chemicals, and tailoring the solution to your specific needs. Think about it: no more rushing to the store for expensive cleaning products, no more worrying about lingering chemical smells, and no more spending hours scrubbing. This DIY approach streamlines your cleaning routine, freeing you up to focus on what truly matters.
But the beauty of this DIY cleaning trick lies in its versatility. Feel free to experiment with different essential oils to create your signature scent. Lavender for relaxation, lemon for a burst of freshness, or tea tree for its antibacterial properties – the possibilities are endless! You can also adjust the ratios of ingredients to suit the level of cleaning power you require. For tougher stains, add a bit more vinegar or baking soda. For delicate surfaces, dilute the solution further.
Consider these variations:
* For a streak-free window cleaner: Combine equal parts white vinegar and water in a spray bottle. Add a few drops of your favorite essential oil for a pleasant scent.
* For a natural all-purpose cleaner: Mix 1/4 cup white vinegar, 2 tablespoons baking soda, and a few drops of dish soap in a bucket of warm water.
* For a disinfecting cleaner: Combine 1 cup white vinegar, 1 cup water, and 10-15 drops of tea tree oil in a spray bottle.
We understand that switching to DIY cleaning might seem daunting at first, but trust us, it’s easier than you think. The initial investment of a few minutes to gather your ingredients and mix the solution will pay off tenfold in the long run. You’ll be amazed at how effective and satisfying it is to clean your home with natural, homemade products.
We wholeheartedly encourage you to give this DIY cleaning trick a try. Embrace the simplicity, the cost-effectiveness, and the peace of mind that comes with knowing exactly what you’re using to clean your home. And most importantly, we want to hear about your experience! Share your tips, variations, and before-and-after photos with us. Let’s build a community of DIY cleaning enthusiasts who are passionate about creating clean, healthy, and happy homes. So, ditch the store-bought cleaners and embrace the power of DIY – you won’t regret it! This simple trick will make your time for cleaning busy days much more manageable.
Frequently Asked Questions (FAQ)
Is this DIY cleaning solution safe for all surfaces?
While this DIY cleaning solution is generally safe for most surfaces, it’s always a good idea to test it in an inconspicuous area first, especially on delicate materials like marble, granite, or wood. Vinegar, in particular, can be acidic and may damage certain surfaces over time. If you’re unsure, dilute the solution further or consult the manufacturer’s instructions for the surface you’re cleaning. Avoid using vinegar on natural stone surfaces like marble or granite, as it can etch the surface. For wood, use a very diluted solution and dry the surface immediately after cleaning.
How long does the DIY cleaning solution last?
The shelf life of your DIY cleaning solution depends on the ingredients you use. Solutions containing water are more prone to bacterial growth, so it’s best to use them within a few weeks. Solutions made with vinegar or alcohol tend to last longer due to their natural preservative properties. To maximize the shelf life, store your cleaning solution in a clean, airtight container in a cool, dark place. If you notice any changes in color, odor, or consistency, discard the solution and make a fresh batch.
Can I use different types of vinegar?
White vinegar is the most commonly recommended type of vinegar for cleaning due to its high acidity and lack of color, which prevents staining. However, you can also use apple cider vinegar, although it may have a slightly stronger odor and could potentially stain light-colored surfaces. Avoid using balsamic vinegar or other flavored vinegars, as they can leave behind a sticky residue and may not be as effective at cleaning.
What essential oils are best for cleaning?
Many essential oils have antibacterial, antiviral, and antifungal properties, making them excellent additions to your DIY cleaning solution. Some popular choices include:
* Lemon: Known for its refreshing scent and degreasing properties.
* Tea Tree: A powerful antiseptic and antifungal agent.
* Lavender: Has a calming scent and antibacterial properties.
* Eucalyptus: A natural disinfectant with a refreshing aroma.
* Peppermint: Has a stimulating scent and antibacterial properties.
When using essential oils, be sure to use pure, therapeutic-grade oils and follow the recommended dilution guidelines. A few drops are usually sufficient for a standard-sized spray bottle.
Is baking soda safe to use on all surfaces?
Baking soda is a mild abrasive, so it can be used to scrub away stubborn stains and grime. However, it’s important to use it with caution on delicate surfaces, as it can scratch or dull the finish. Avoid using baking soda on polished surfaces, such as stainless steel or glass, as it can leave behind a hazy residue. When using baking soda, always test it in an inconspicuous area first and use a soft cloth or sponge to avoid scratching.
Can I use this DIY cleaning solution to clean my bathroom?
Yes, this DIY cleaning solution is effective for cleaning various surfaces in your bathroom, including sinks, toilets, showers, and tiles. The vinegar helps to dissolve soap scum and hard water stains, while the baking soda acts as a mild abrasive to scrub away grime. For tougher stains, you can create a paste of baking soda and water and apply it directly to the affected area. Be sure to rinse thoroughly after cleaning.
How can I make this cleaning solution more eco-friendly?
To make your DIY cleaning solution even more eco-friendly, consider using organic ingredients whenever possible. You can also reuse old spray bottles and containers to reduce waste. When disposing of your cleaning solution, avoid pouring it down the drain, as it can contaminate the water supply. Instead, dilute it with plenty of water and pour it onto your lawn or garden, where it can act as a natural fertilizer.
What if I don’t have vinegar or baking soda? Are there alternatives?
While vinegar and baking soda are the most common ingredients in DIY cleaning solutions, there are alternatives you can use. For example, you can use lemon juice in place of vinegar, as it also has acidic properties. Borax can be used as a substitute for baking soda, as it is a natural mineral with cleaning and disinfecting properties. However, borax can be irritating to the skin, so be sure to wear gloves when using it.
How do I get rid of the vinegar smell?
The vinegar smell will dissipate quickly after cleaning. You can also add a few drops of your favorite essential oil to the cleaning solution to mask the vinegar scent. Open windows and ventilate the area while cleaning to help the smell dissipate faster.
Is this DIY cleaner safe to use around pets and children?
While this DIY cleaner is generally safer than commercial cleaners, it’s still important to take precautions when using it around pets and children. Keep the cleaning solution out of reach of children and pets. If your pet ingests the cleaning solution, contact your veterinarian immediately. When cleaning, ventilate the area well to avoid inhaling fumes.

Leave a Comment