

Watermelon Farming Backyard: Imagine biting into a juicy, sweet watermelon you grew yourself, right in your own backyard! Sounds amazing, doesn’t it? For centuries, watermelons have been a symbol of summer, refreshment, and community gatherings. From ancient Egypt, where they were depicted in hieroglyphics, to modern-day picnics, this vibrant fruit has always held a special place in our hearts (and stomachs!).
But let’s be honest, the thought of growing watermelons can seem daunting, especially if you’re working with limited space. That’s where this DIY guide comes in! I’m here to show you that watermelon farming backyard style is totally achievable, even if you only have a small garden or patio. We’ll break down the process into easy-to-follow steps, sharing insider tips and tricks to help you cultivate thriving watermelons without needing acres of land.
Why is this DIY trick so important? Because fresh, homegrown produce tastes infinitely better than anything you can buy at the store. Plus, gardening is a fantastic way to connect with nature, reduce stress, and enjoy the satisfaction of nurturing something from seed to harvest. So, get ready to roll up your sleeves and transform your backyard into a watermelon wonderland! Let’s get started!
Growing Watermelons in Your Backyard: A Comprehensive DIY Guide
Hey there, fellow gardening enthusiasts! Ever dreamt of biting into a juicy, homegrown watermelon on a hot summer day? Well, dream no more! Growing watermelons in your backyard is totally achievable, even if you’re a beginner. I’m going to walk you through everything you need to know, from choosing the right variety to harvesting your sweet reward. Let’s get started!
Choosing the Right Watermelon Variety
First things first, you need to pick a watermelon variety that suits your climate and garden size. Some varieties are massive and need tons of space, while others are more compact and perfect for smaller gardens.
* Consider your climate: Some watermelons thrive in long, hot summers, while others are more tolerant of cooler temperatures. Check your local growing zone to see which varieties are recommended.
* Think about space: If you have a small backyard, opt for bush or compact varieties like ‘Sugar Baby’ or ‘Bush Sugar Baby’. These don’t require as much sprawling space as larger varieties like ‘Charleston Gray’ or ‘Crimson Sweet’.
* Consider days to maturity: This is the number of days it takes from planting to harvest. If you have a shorter growing season, choose a variety with a shorter maturity time.
* Personal preference: Do you prefer red, yellow, or orange flesh? Seeded or seedless? There’s a watermelon out there for everyone!
I personally love ‘Sugar Baby’ because it’s relatively small, matures quickly, and has a delicious, sweet flavor. But feel free to experiment and find your own favorite!
Preparing Your Garden Bed
Watermelons are heavy feeders, meaning they need a lot of nutrients to grow. So, preparing your garden bed properly is crucial for success.
* Sunlight is key: Watermelons need at least 6-8 hours of direct sunlight per day. Choose a spot in your backyard that gets plenty of sun.
* Soil type: Watermelons prefer well-drained, sandy loam soil with a pH between 6.0 and 6.8. If your soil is heavy clay, you’ll need to amend it with organic matter.
* Soil testing: It’s always a good idea to test your soil to determine its pH and nutrient levels. You can purchase a soil testing kit at your local garden center or send a sample to your local agricultural extension office.
* Amending the soil: Based on your soil test results, amend your soil with compost, aged manure, or other organic matter to improve drainage, fertility, and water retention. I usually add a generous amount of compost to my watermelon bed.
* Raised beds (optional): If you have poor drainage, consider growing your watermelons in raised beds. This will help prevent root rot.
Planting Your Watermelon Seeds or Seedlings
You can start watermelon seeds indoors 4-6 weeks before the last expected frost, or you can direct sow them in your garden after the soil has warmed up to at least 70°F (21°C).
* Starting seeds indoors:
1. Fill seed trays or small pots with seed-starting mix.
2. Sow 2-3 seeds per cell or pot, about 1 inch deep.
3. Water gently and keep the soil moist but not soggy.
4. Place the trays or pots in a warm, sunny location or under grow lights.
5. Once the seedlings have emerged, thin them to one plant per cell or pot.
6. Harden off the seedlings by gradually exposing them to outdoor conditions for a week before transplanting.
* Direct sowing seeds:
1. Prepare your garden bed as described above.
2. Sow seeds 1 inch deep and 2-3 feet apart.
3. Water gently and keep the soil moist.
4. Once the seedlings emerge, thin them to one plant per hill.
* Transplanting seedlings:
1. Dig holes that are slightly larger than the root balls of your seedlings.
2. Gently remove the seedlings from their pots and loosen the roots.
3. Place the seedlings in the holes and backfill with soil.
4. Water thoroughly.
5. Space the seedlings 2-3 feet apart.
I prefer to start my watermelon seeds indoors to get a head start on the growing season. But direct sowing works just as well if you live in a warm climate.
Caring for Your Watermelon Plants
Once your watermelon plants are established, it’s important to provide them with proper care to ensure a bountiful harvest.
* Watering: Watermelons need consistent moisture, especially during fruit development. Water deeply and regularly, especially during dry spells. Avoid overhead watering, as this can lead to fungal diseases. Drip irrigation is ideal.
* Fertilizing: Watermelons are heavy feeders, so fertilize them regularly with a balanced fertilizer. I like to use a fertilizer that’s high in phosphorus and potassium, which are essential for fruit development. Follow the instructions on the fertilizer label.
* Weeding: Keep your watermelon bed free of weeds, as they can compete with your plants for nutrients and water. Hand-pull weeds or use a hoe to remove them. Mulching can also help suppress weeds.
* Pruning (optional): Some gardeners prune their watermelon plants to encourage fruit production. You can prune off the suckers (small shoots that grow from the base of the plant) to direct more energy to the main vines.
* Pollination: Watermelons need to be pollinated in order to produce fruit. Bees are the primary pollinators, so encourage them to visit your garden by planting flowers that attract bees. If you’re not seeing many bees, you can hand-pollinate your watermelons by transferring pollen from the male flowers to the female flowers with a small brush. Female flowers have a small, immature watermelon at the base.
* Protecting from pests and diseases: Watermelons can be susceptible to various pests and diseases, such as aphids, squash bugs, vine borers, and powdery mildew. Inspect your plants regularly for signs of pests or diseases and take action promptly. You can use organic pesticides or fungicides to control these problems.
I always make sure to water my watermelons deeply and regularly, especially during hot weather. And I’m a big fan of using compost tea as a natural fertilizer.
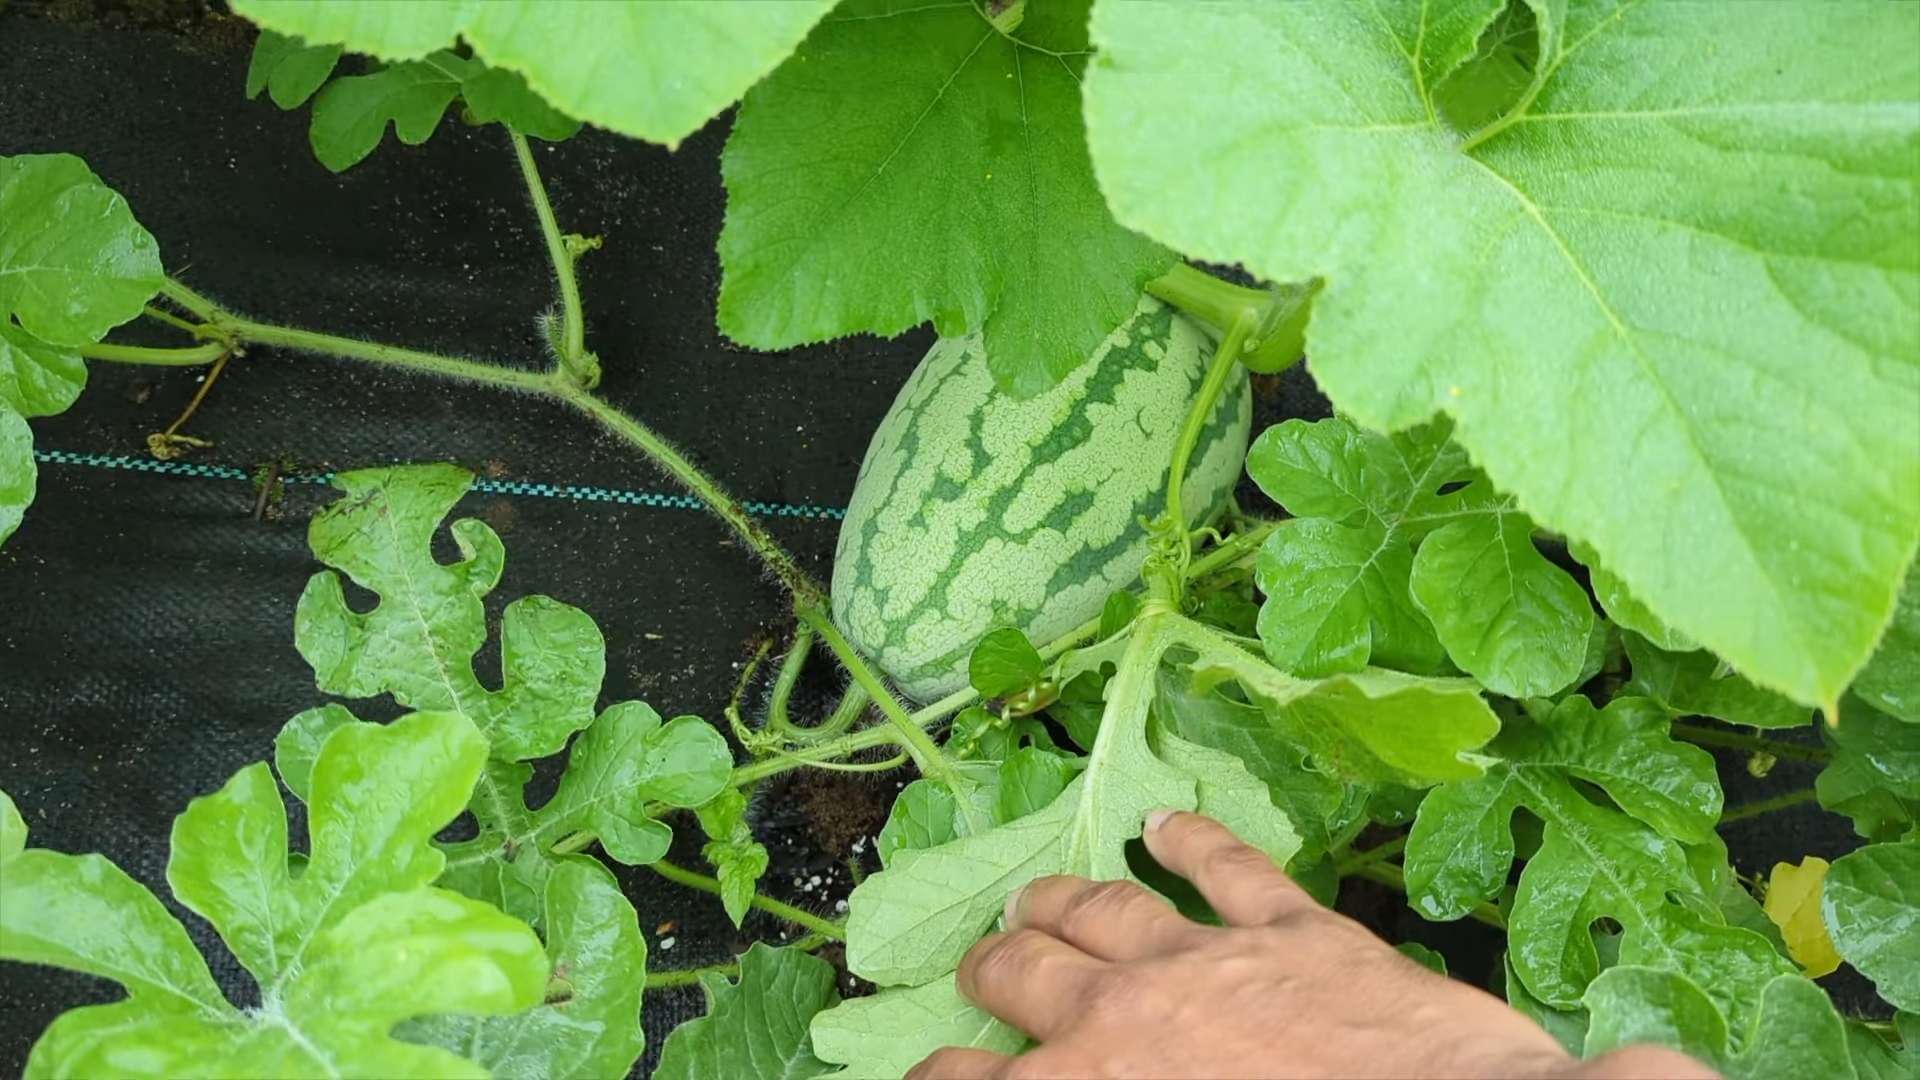
Supporting Your Watermelons
As your watermelons grow, they can become quite heavy. If you’re growing them on a trellis, you’ll need to provide support for the fruits.
* Trellising: Trellising watermelons can save space and improve air circulation. Use a sturdy trellis that can support the weight of the fruits. Tie the vines to the trellis with soft twine or fabric strips.
* Supporting fruits on the ground: If you’re growing your watermelons on the ground, you can place them on pieces of cardboard or straw to prevent them from rotting. This will also help protect them from pests.
I’ve tried both trellising and growing watermelons on the ground, and I’ve had success with both methods. It really depends on your personal preference and garden setup.
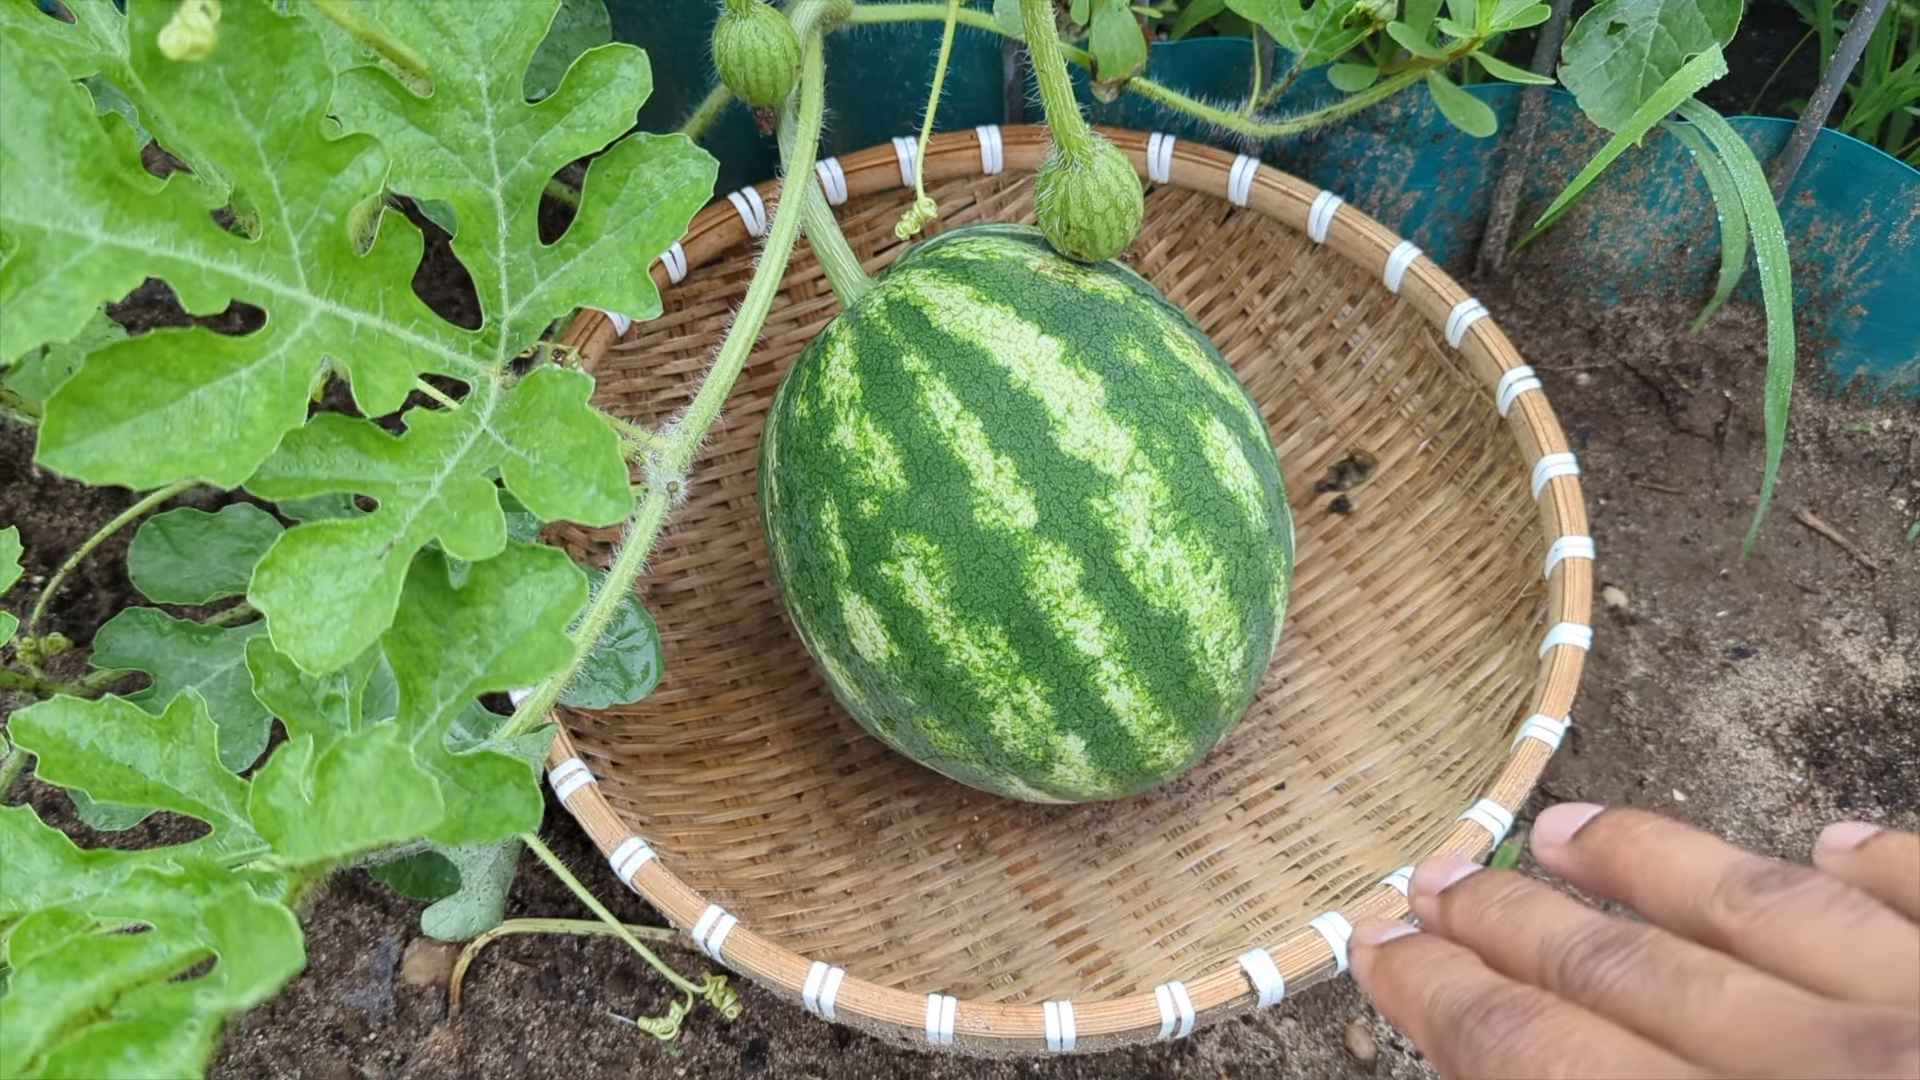
Harvesting Your Watermelons
Knowing when to harvest your watermelons can be tricky. Here are a few signs to look for:
* The tendril closest to the fruit turns brown and dries up.
* The spot where the watermelon rests on the ground turns from white to yellow.
* The watermelon sounds dull and hollow when you thump it.
* The rind becomes dull and loses its shine.
* Check the days to maturity on your seed packet or plant tag.
To harvest your watermelon, use a sharp knife to cut the stem close to the fruit. Be careful not to damage the watermelon.
I always wait until the tendril closest to the fruit is completely brown and dry before harvesting. And I always give the watermelon a good thump to make sure it sounds hollow.
Enjoying Your Homegrown Watermelon
Congratulations! You’ve successfully grown your own watermelons in your backyard. Now it’s time to enjoy the fruits of your labor.
* Chill your watermelon in the refrigerator for a few hours before serving.
* Cut it into wedges or cubes and enjoy!
* You can also use watermelon in smoothies, salads, or desserts.
There’s nothing quite like the taste of a homegrown watermelon. It’s so much sweeter and more flavorful than store-bought watermelons. I hope you enjoy your harvest!
Troubleshooting Common Watermelon Problems
Even with the best care, you might encounter some problems while growing watermelons. Here are a few common issues and how to address them:
* Poor fruit set: This can be caused by lack of pollination, cool temperatures, or nutrient deficiencies. Make sure you have plenty of bees in your garden, hand-pollinate if necessary, and fertil
Conclusion
So, there you have it! Transforming your backyard into a mini watermelon farm is not only achievable but also incredibly rewarding. We’ve walked you through the essential steps, from selecting the right watermelon varieties to nurturing your plants and protecting them from pests. But why should you even bother with this DIY project?
Simply put, growing your own watermelons offers a taste experience that store-bought melons simply can’t match. Imagine biting into a juicy, sun-ripened watermelon, bursting with flavor and sweetness, knowing that you nurtured it from seed to fruit. The satisfaction alone is worth the effort. Beyond the superior taste, you also gain control over the growing process, ensuring that your watermelons are free from harmful pesticides and chemicals. You’ll be providing your family with a healthy and delicious treat, all while enjoying the therapeutic benefits of gardening.
This DIY watermelon farming trick isn’t just about growing watermelons; it’s about connecting with nature, learning new skills, and creating a sustainable food source right in your own backyard. It’s about the joy of watching a tiny seed transform into a sprawling vine laden with delicious fruit.
Don’t be afraid to experiment with different watermelon varieties to find your favorites. Consider trying smaller, bush-type watermelons if you have limited space, or explore heirloom varieties for unique flavors and colors. You can also adapt the techniques we’ve discussed to suit your specific climate and soil conditions. For example, if you live in a cooler climate, you might want to start your watermelon seeds indoors to give them a head start. Or, if your soil is heavy clay, you can amend it with compost and other organic matter to improve drainage.
Variations to consider:
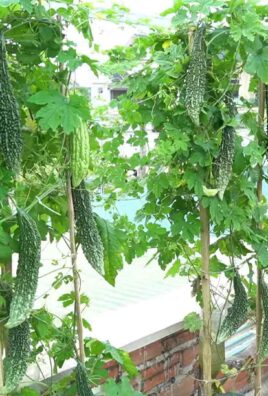
* Vertical Watermelon Farming: If space is truly limited, explore vertical gardening techniques. You can train your watermelon vines to grow up a trellis or fence, saving valuable ground space. Just be sure to provide adequate support for the heavy fruits.
* Companion Planting: Enhance your watermelon patch by incorporating companion plants like marigolds, basil, or nasturtiums. These plants can help deter pests and attract beneficial insects, creating a healthier and more productive growing environment.
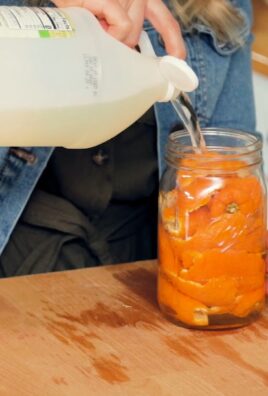
* Watermelon Fermentation: Once you have a successful harvest, explore the world of watermelon fermentation. From watermelon rind pickles to refreshing watermelon wine, there are countless ways to preserve and enjoy your bounty.
We encourage you to take the plunge and embark on your own watermelon farming adventure. It may seem daunting at first, but with a little planning and effort, you’ll be amazed at what you can achieve. Remember to document your progress, take photos, and share your experiences with other gardening enthusiasts. We’d love to hear about your successes, challenges, and any tips or tricks you discover along the way. Share your watermelon farming journey with us in the comments below! Let’s build a community of backyard watermelon farmers and inspire others to grow their own food.
FAQ
What is the best time to start watermelon seeds?
The ideal time to start watermelon seeds depends on your climate. In general, you should start seeds indoors about 6-8 weeks before the last expected frost. Watermelons need warm weather to thrive, so wait until the soil temperature reaches at least 70°F (21°C) before transplanting seedlings outdoors. If you live in a warmer climate with a longer growing season, you can direct sow seeds into the garden after the last frost.
How much space do watermelons need?
Watermelons are sprawling plants that require plenty of space. Allow at least 3-4 feet between plants and 6-8 feet between rows. If you’re growing bush-type watermelons, you can reduce the spacing slightly. Consider vertical gardening techniques if you have limited space.
What kind of soil do watermelons need?
Watermelons prefer well-drained, sandy loam soil that is rich in organic matter. The soil pH should be between 6.0 and 6.8. Amend heavy clay soil with compost and other organic matter to improve drainage.
How often should I water my watermelons?
Water watermelons deeply and regularly, especially during hot, dry weather. Aim to provide at least 1-2 inches of water per week. Avoid overhead watering, as this can promote fungal diseases. Use a soaker hose or drip irrigation to water at the base of the plants. Reduce watering as the fruits begin to ripen to prevent them from splitting.
What are some common watermelon pests and diseases?
Common watermelon pests include aphids, squash bugs, cucumber beetles, and vine borers. Diseases include powdery mildew, anthracnose, and fusarium wilt. Monitor your plants regularly for signs of pests or diseases and take appropriate action. Use organic pest control methods whenever possible. Ensure good air circulation and avoid overhead watering to prevent fungal diseases.
How do I know when my watermelons are ripe?
There are several indicators that a watermelon is ripe:
* The tendril closest to the fruit turns brown and dries up.
* The spot where the watermelon rests on the ground (the “ground spot”) turns from white to yellow.
* The watermelon sounds hollow when you thump it.
* The rind becomes dull and loses its shine.
It takes practice to accurately determine ripeness, so don’t be discouraged if you don’t get it right the first time.
Can I grow watermelons in containers?
Yes, you can grow watermelons in containers, but you’ll need a large container (at least 20 gallons) and a bush-type watermelon variety. Use a high-quality potting mix and provide regular watering and fertilization. Container-grown watermelons may require more frequent watering than those grown in the ground.
What kind of fertilizer should I use for watermelons?
Watermelons benefit from regular fertilization. Use a balanced fertilizer (e.g., 10-10-10) at planting time and then side-dress with a nitrogen-rich fertilizer when the vines begin to run. Avoid over-fertilizing, as this can lead to excessive vine growth and reduced fruit production.
How can I protect my watermelons from animals?
Animals like raccoons, squirrels, and birds can damage watermelons. To protect your fruits, you can use netting, fencing, or row covers. You can also try using deterrents like motion-activated sprinklers or ultrasonic pest repellers.
Is it really worth the effort to grow my own watermelons?
Absolutely! While it requires some effort, growing your own watermelons is a rewarding experience that offers numerous benefits. You’ll enjoy superior flavor, control over the growing process, and the satisfaction of harvesting your own homegrown fruit. Plus, it’s a fun and educational activity for the whole family. Give this DIY watermelon farming trick a try and taste the difference!

Leave a Comment